
Equipment Transfers let you move machines and attachments from one branch to another, so the fleet ends up where the work is and every step of the move is recorded against the equipment.
Overview
Fleet rarely stays where you bought it. A quiet month in Sydney and a busy one in Brisbane is all it takes, and Latner gives you a paper trail for the move rather than a phone call and a hopeful truck driver.
-
There are two ways in. The branch sending the gear raises an Equipment Transfer directly. The branch wanting the gear raises an Equipment Transfer Request, which the sending branch then converts into a transfer.
-
A transfer runs through four statuses: Open, In Transfer, Received and Cancelled.
-
Equipment stops being available the moment you add it to a transfer, not when you send it.
-
Receiving the transfer changes the equipment's Current Branch. Its home branch, the branch that owns it, does not change.
-
You can attach a transport docket to a transfer to organise the truck, but you do not have to.
-
Both serialized machines and bulk equipment can be transferred. Serialized equipment always moves one at a time; for bulk equipment you enter a quantity.
This article is about equipment transfers, which move equipment between branches. Parts and consumables use a separate feature, Stock › Transfers, which moves stock between warehouses. The two do not share records or screens.
Before You Begin
A few things need to be in place before the Transfers screen is usable.
|
Requirement |
Where to Find It |
|---|---|
|
At least one transfer reason |
Equipment › Configuration › Transfer Reasons |
|
Equipment Transfer permission - view and search transfers |
Security › Configuration › Permission Groups › Equipment |
|
Equipment Transfer Request permission - view, search and create transfer requests |
Security › Configuration › Permission Groups › Equipment |
|
Transfer Equipment permission - create, add to, send, receive, cancel and convert |
Security › Configuration › Permission Groups › Equipment |
|
Equipment Transfer Reason permission - view and create transfer reasons |
Security › Configuration › Permission Groups › Equipment |
|
Create Inspection after receiving Equipment Transfer setting - optional |
Security › Settings › Equipment |
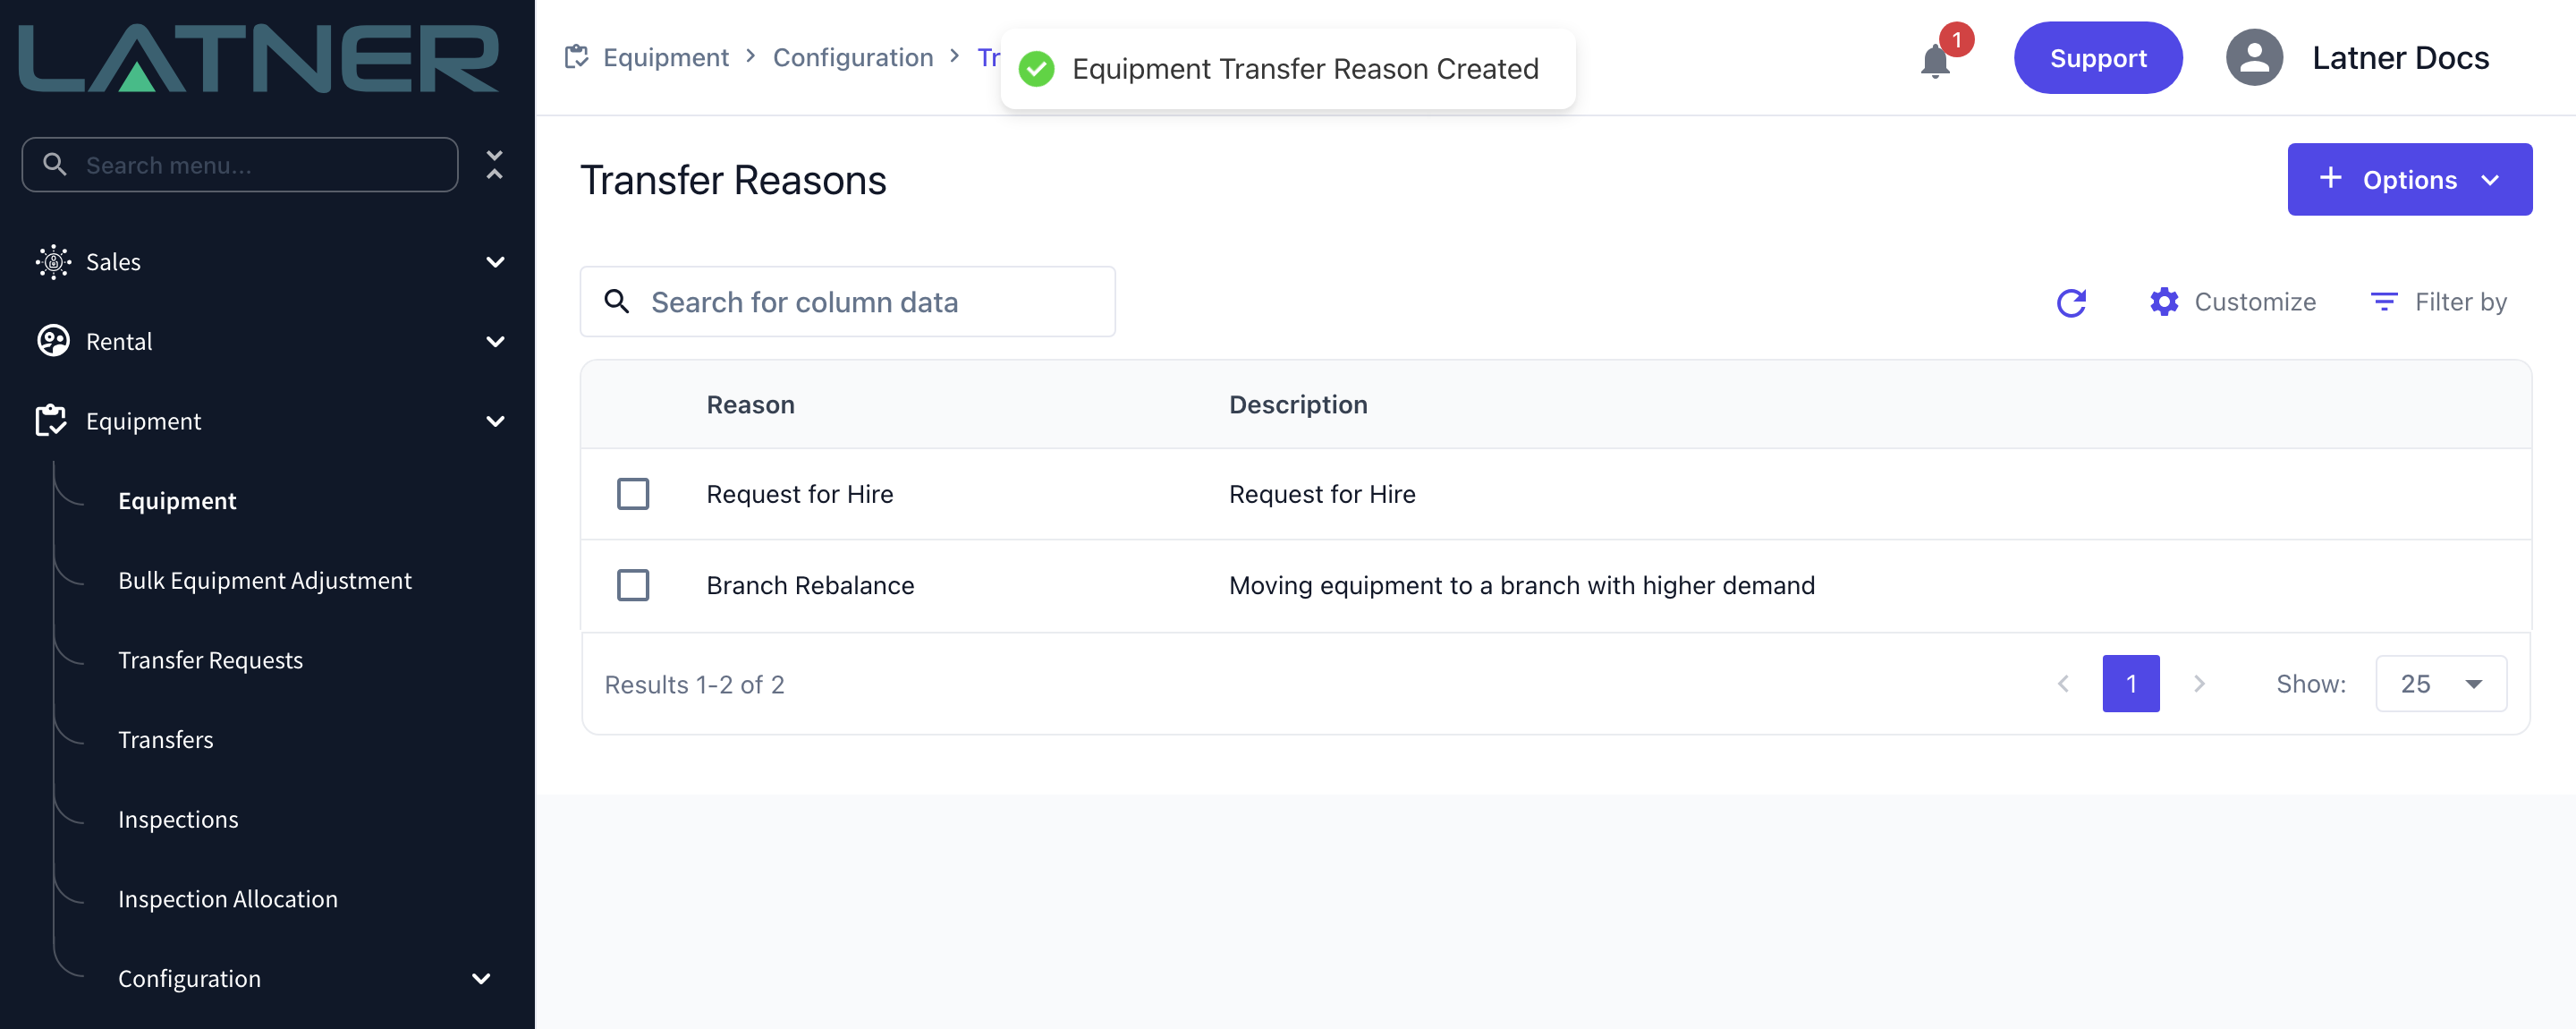
Transfer Reason is required on every transfer and every request, so set up your reasons first. A reason is just a name and a description, and you can add as many as you need.
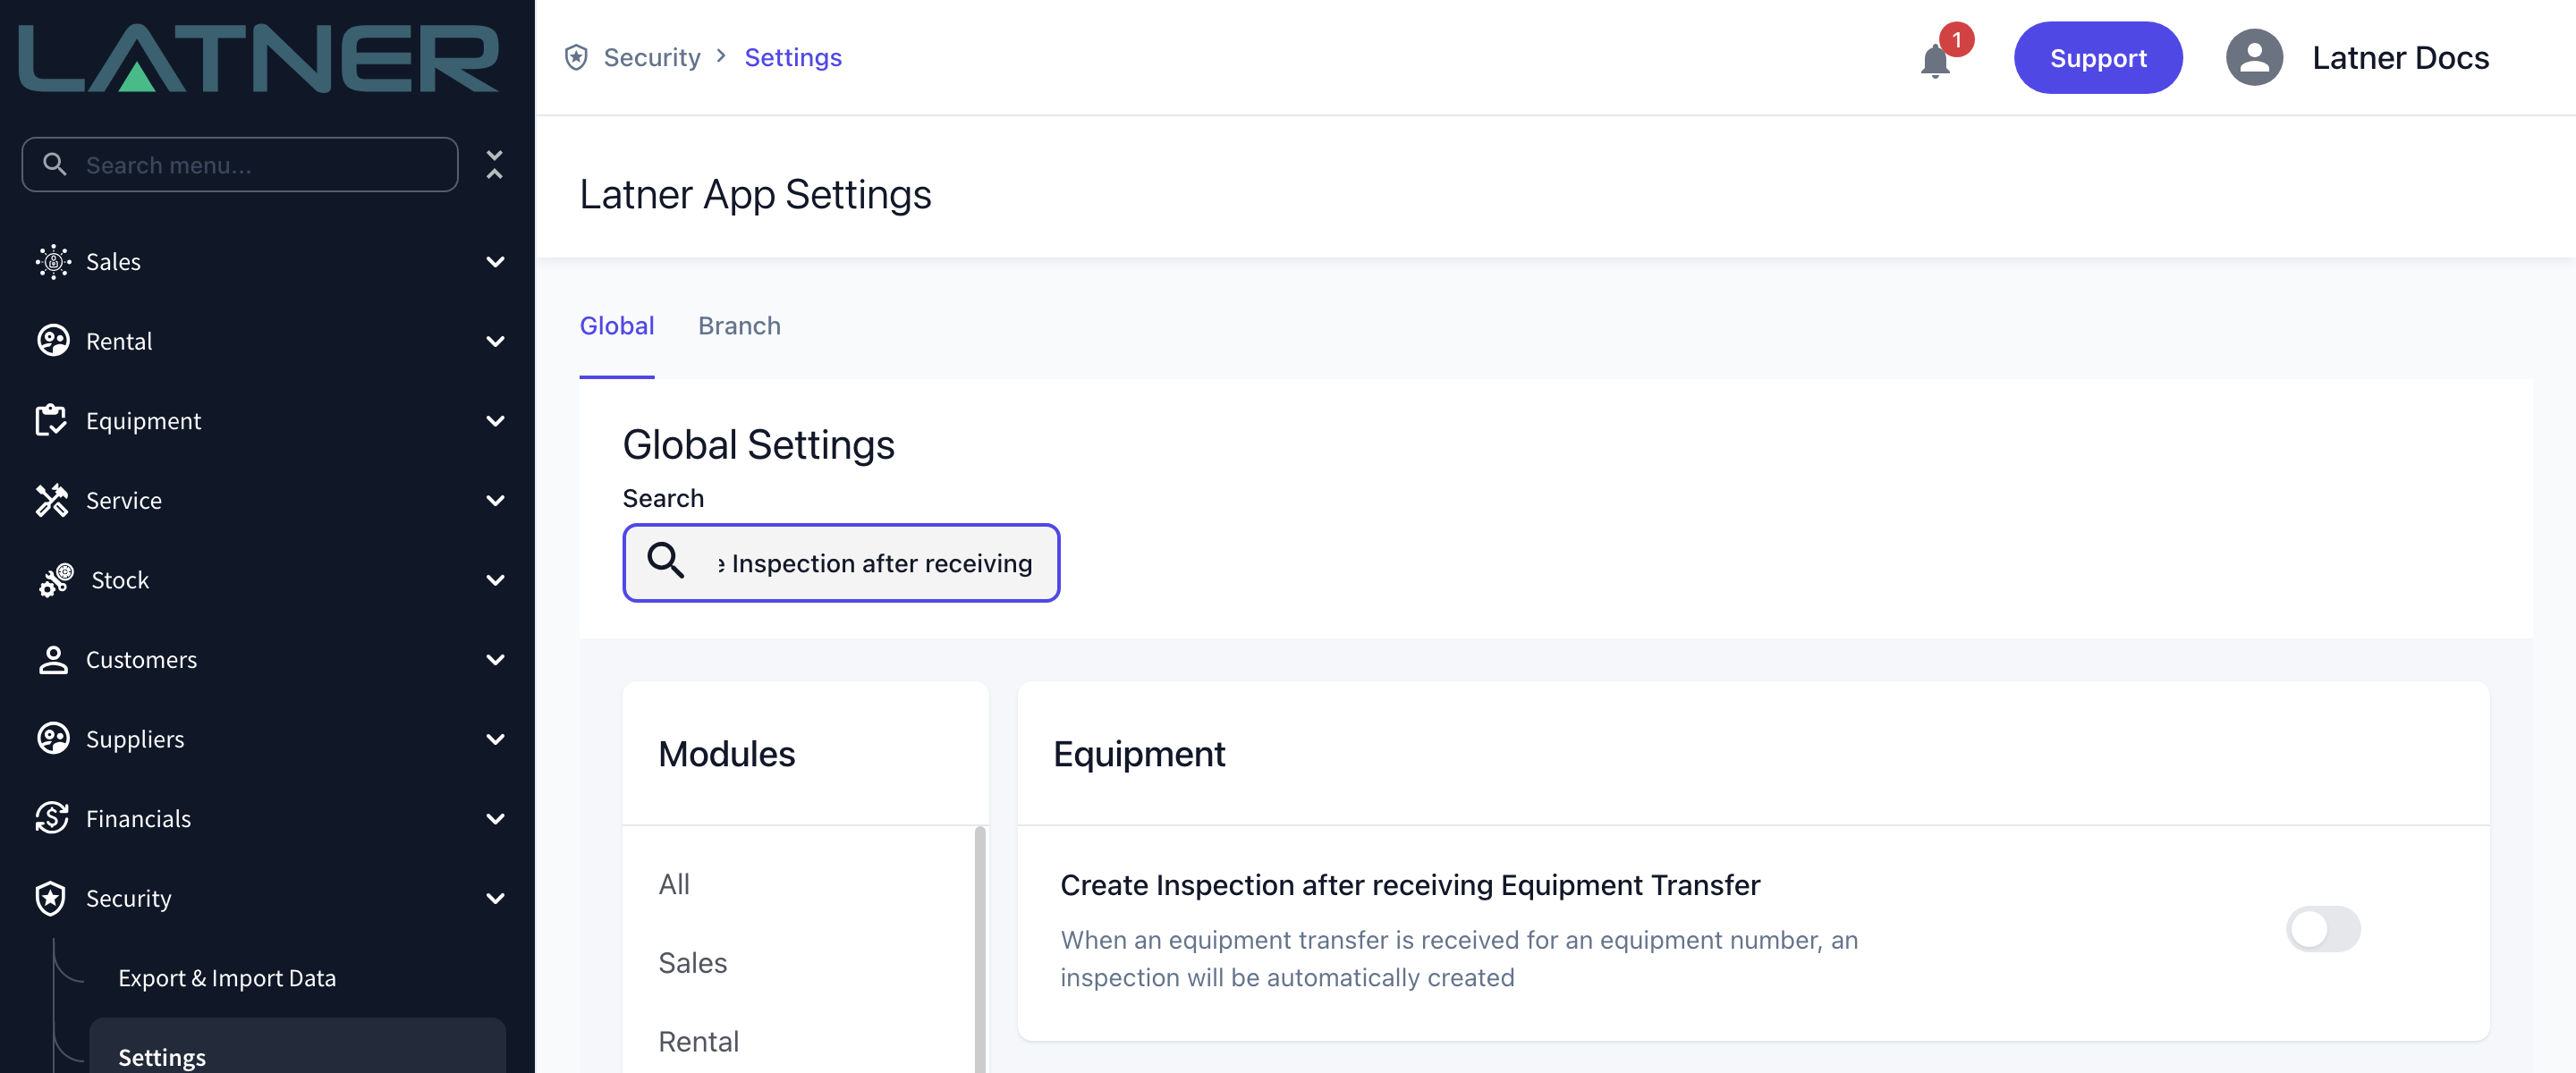
If you want the receiving branch to inspect the machine as it arrives, turn on Create Inspection after receiving Equipment Transfer. On its own the setting does nothing - an inspection is only raised when the equipment's Class or Model also has Equipment Transfer Inspections ticked, and the checklist comes from the Equipment Transfer Checklist on the model, falling back to the class.
Transfer Equipment is checked against a branch. If your permission group is limited to particular branches, you need it at the From Branch to send, cancel or convert, and at the To Branch to receive. A dispatcher who can only send out of Sydney will not be able to receive the same transfer into Brisbane.
Transferring Equipment Directly
Use this when you are the branch sending the equipment.
Step 1 - Open the Transfers screen
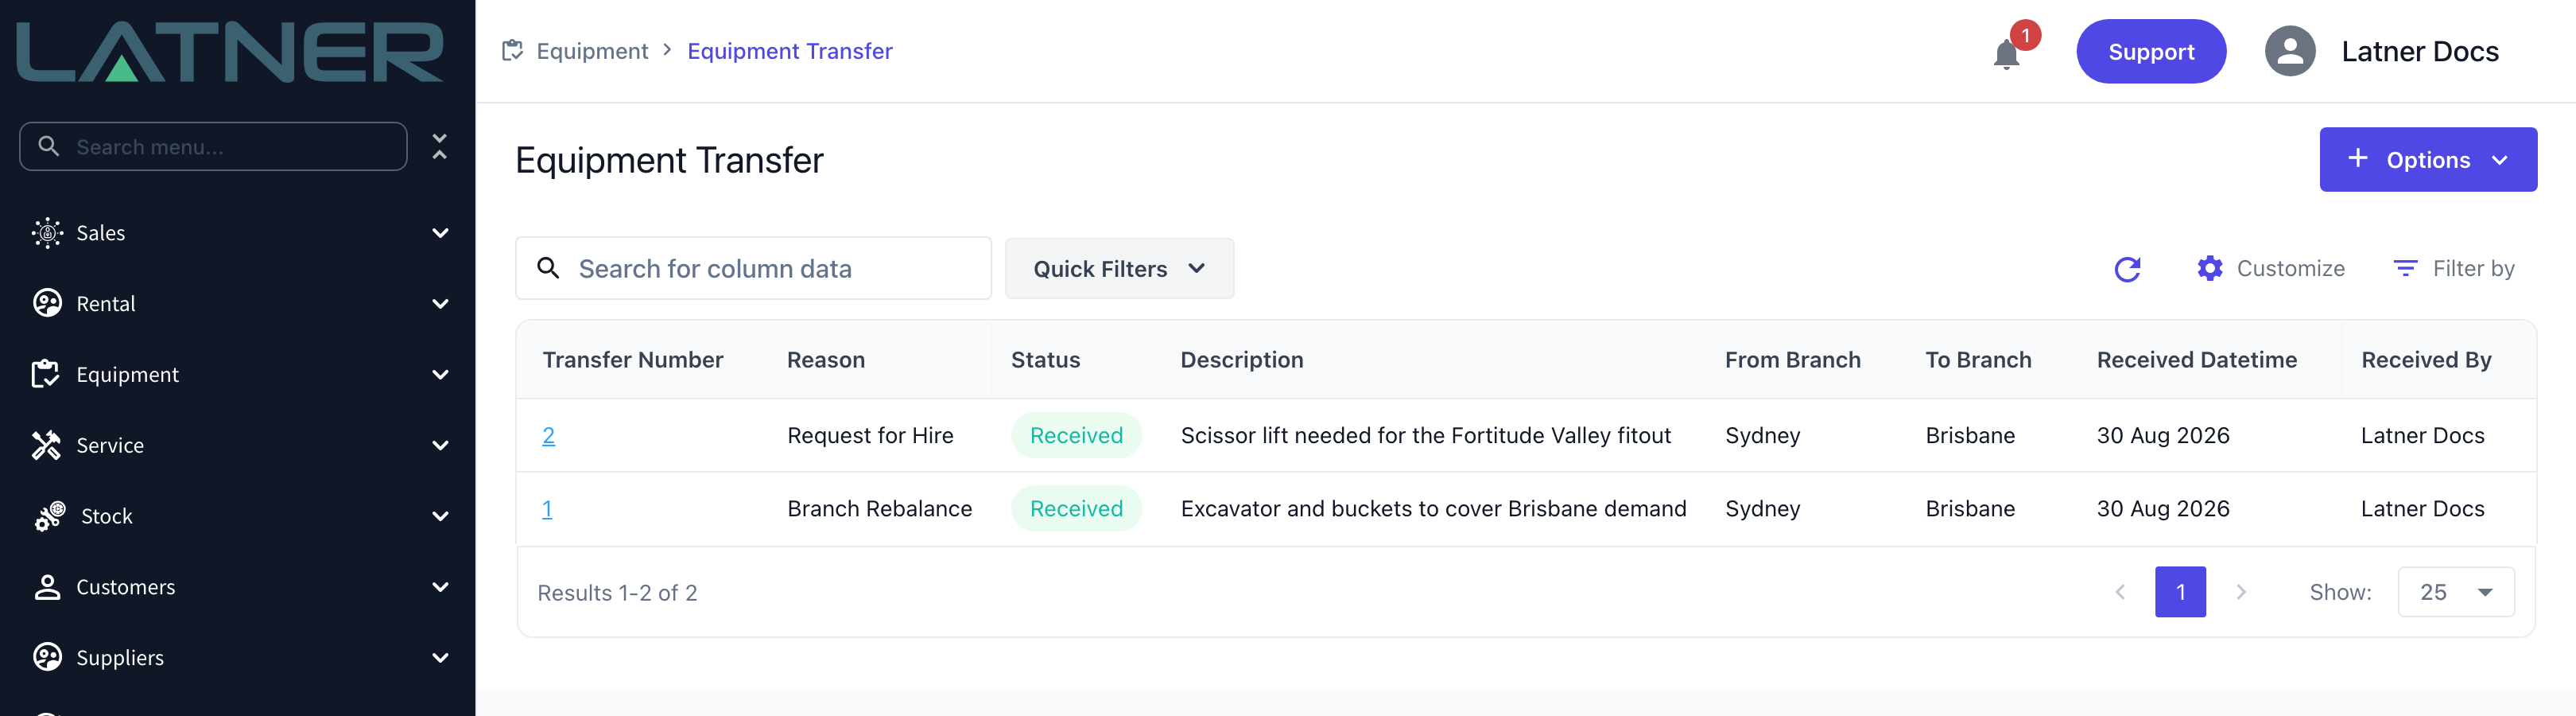
Go to Equipment › Transfers. The list shows every transfer in and out of your business, with Quick Filters for Open, In Transfer, Received and Cancelled.
Step 2 - Create the transfer
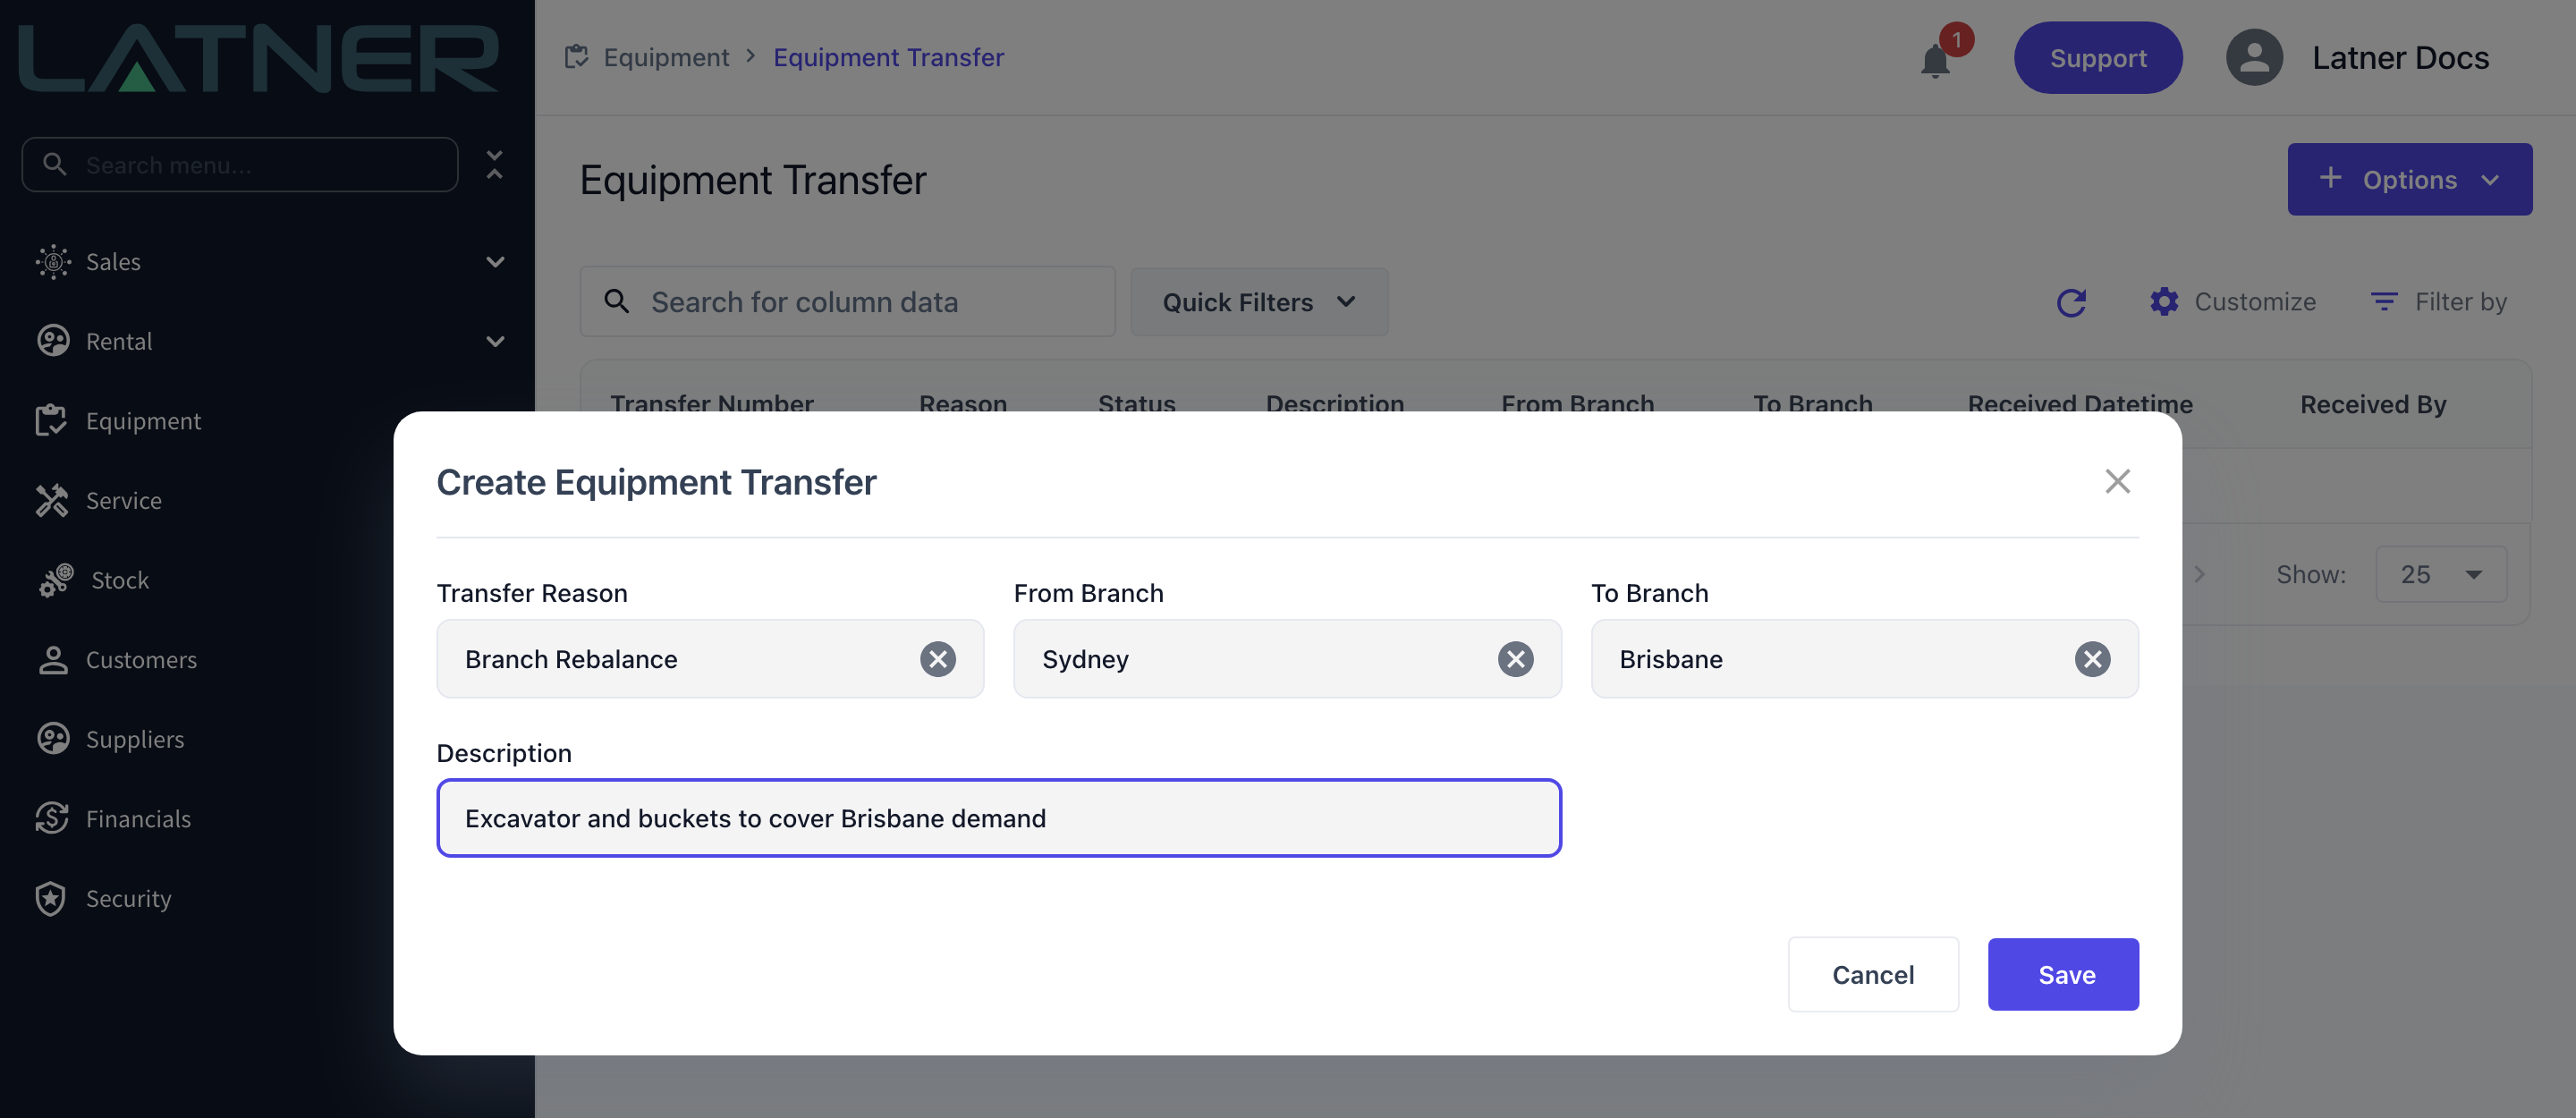
Choose Options › Create Equipment Transfer and fill in the header. All four fields are required:
-
Transfer Reason - why the gear is moving, picked from your configured reasons.
-
From Branch - the branch the equipment is leaving.
-
To Branch - the branch it is going to. This cannot be the same as the From Branch.
-
Description - a short free-text note that shows on the list, so make it something you would recognise a week later.
Save, and Latner takes you straight to the new transfer with a status of Open.
Step 3 - Add the equipment
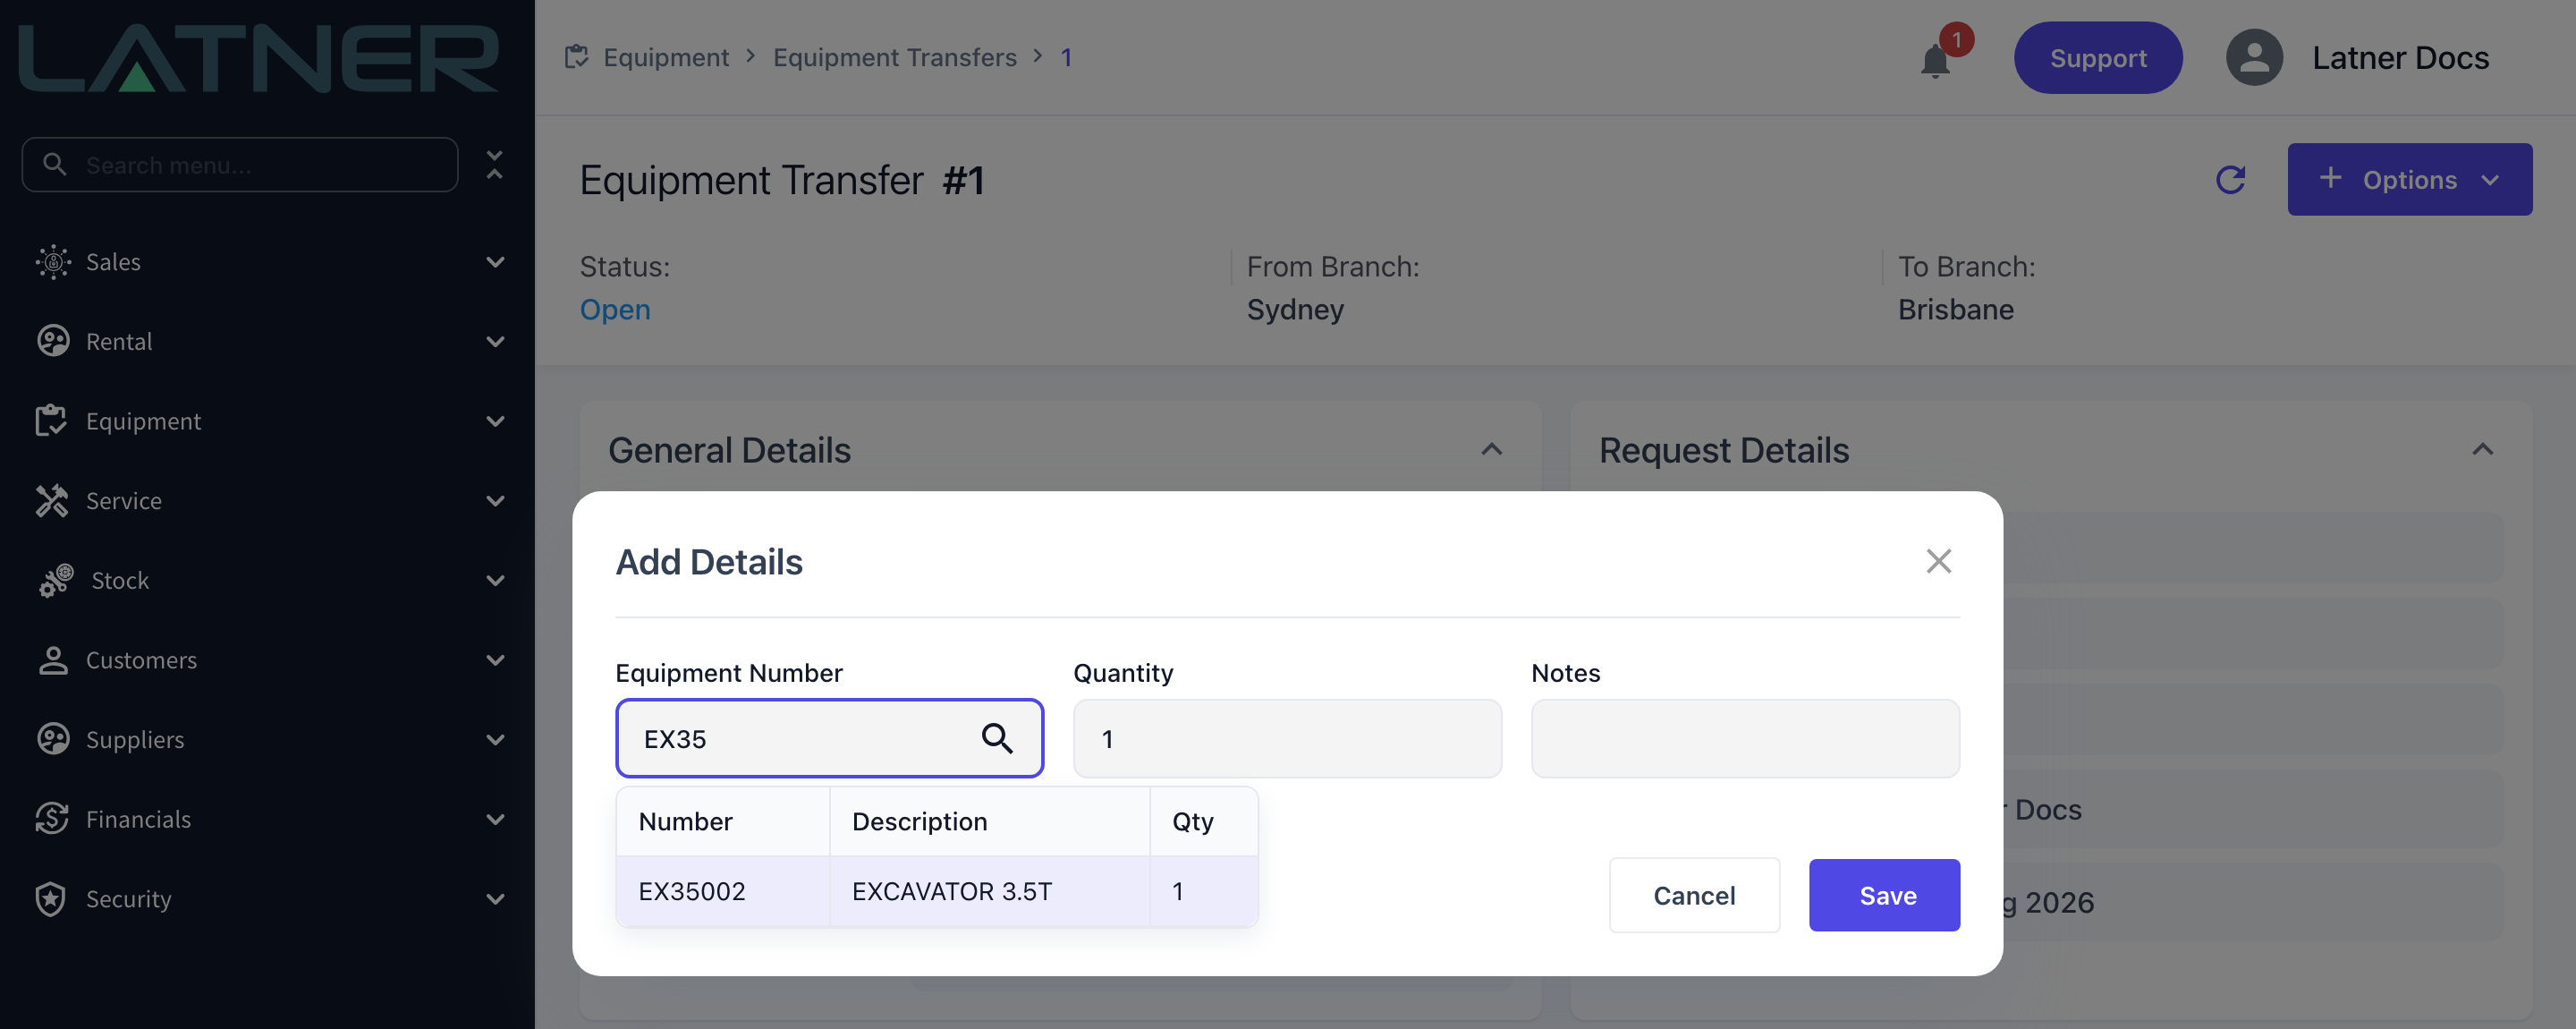
Choose Options › Add Details and add a line for each item you are moving.
-
Equipment Number - required. The picker only lists equipment sitting at the From Branch with quantity available, so anything on rent or already on another transfer will not appear. Rows whose service status is not Available are highlighted, because you can still transfer a machine that is out of service or overdue for a service.
-
Quantity - defaults to 1. Serialized equipment is always 1; for bulk equipment enter how many you are sending.
-
Notes - optional, and useful for telling the receiving branch what the item is for.
Save writes the line and reopens the form ready for the next one, so a multi-item transfer is one trip through the dialog.
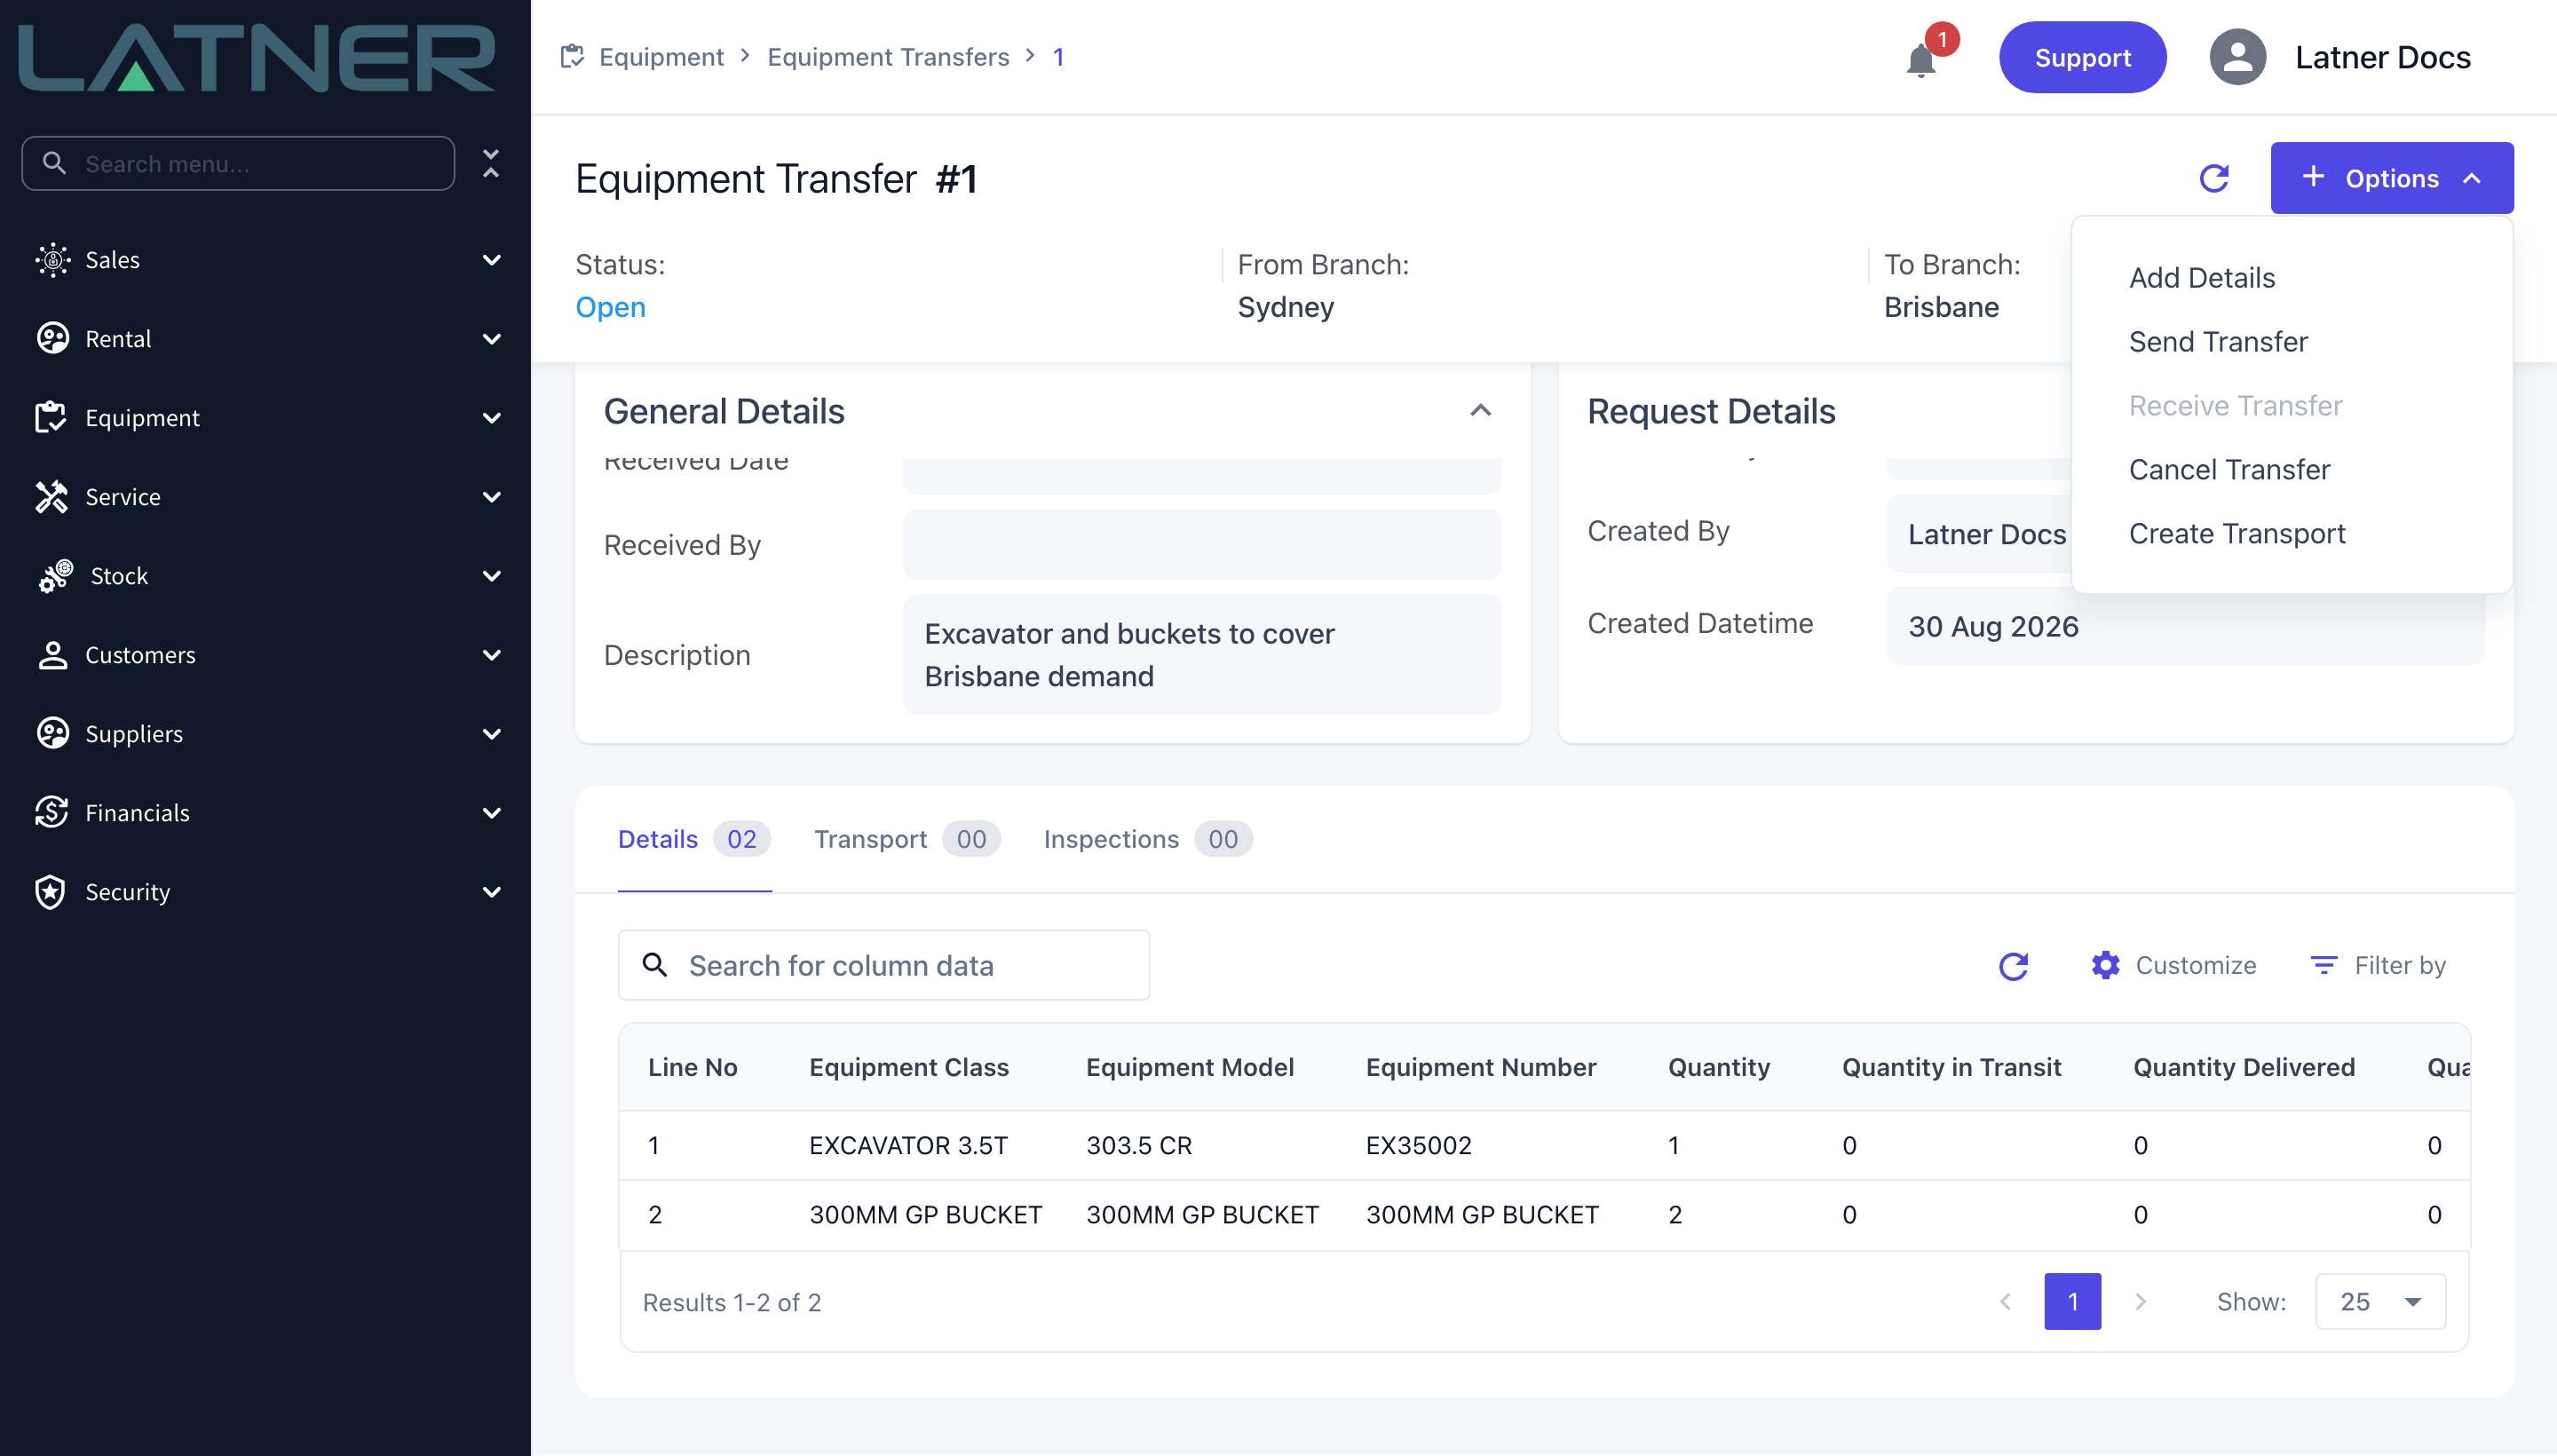
Adding a line takes the equipment out of availability immediately, while the transfer is still Open. A serialized machine goes to a rental status of In Transfer and can no longer be hired out or reserved; bulk quantity moves from available into in-transfer. If you added the wrong item, cancel the transfer to hand the equipment straight back to the sending branch.

Step 4 - Send the transfer
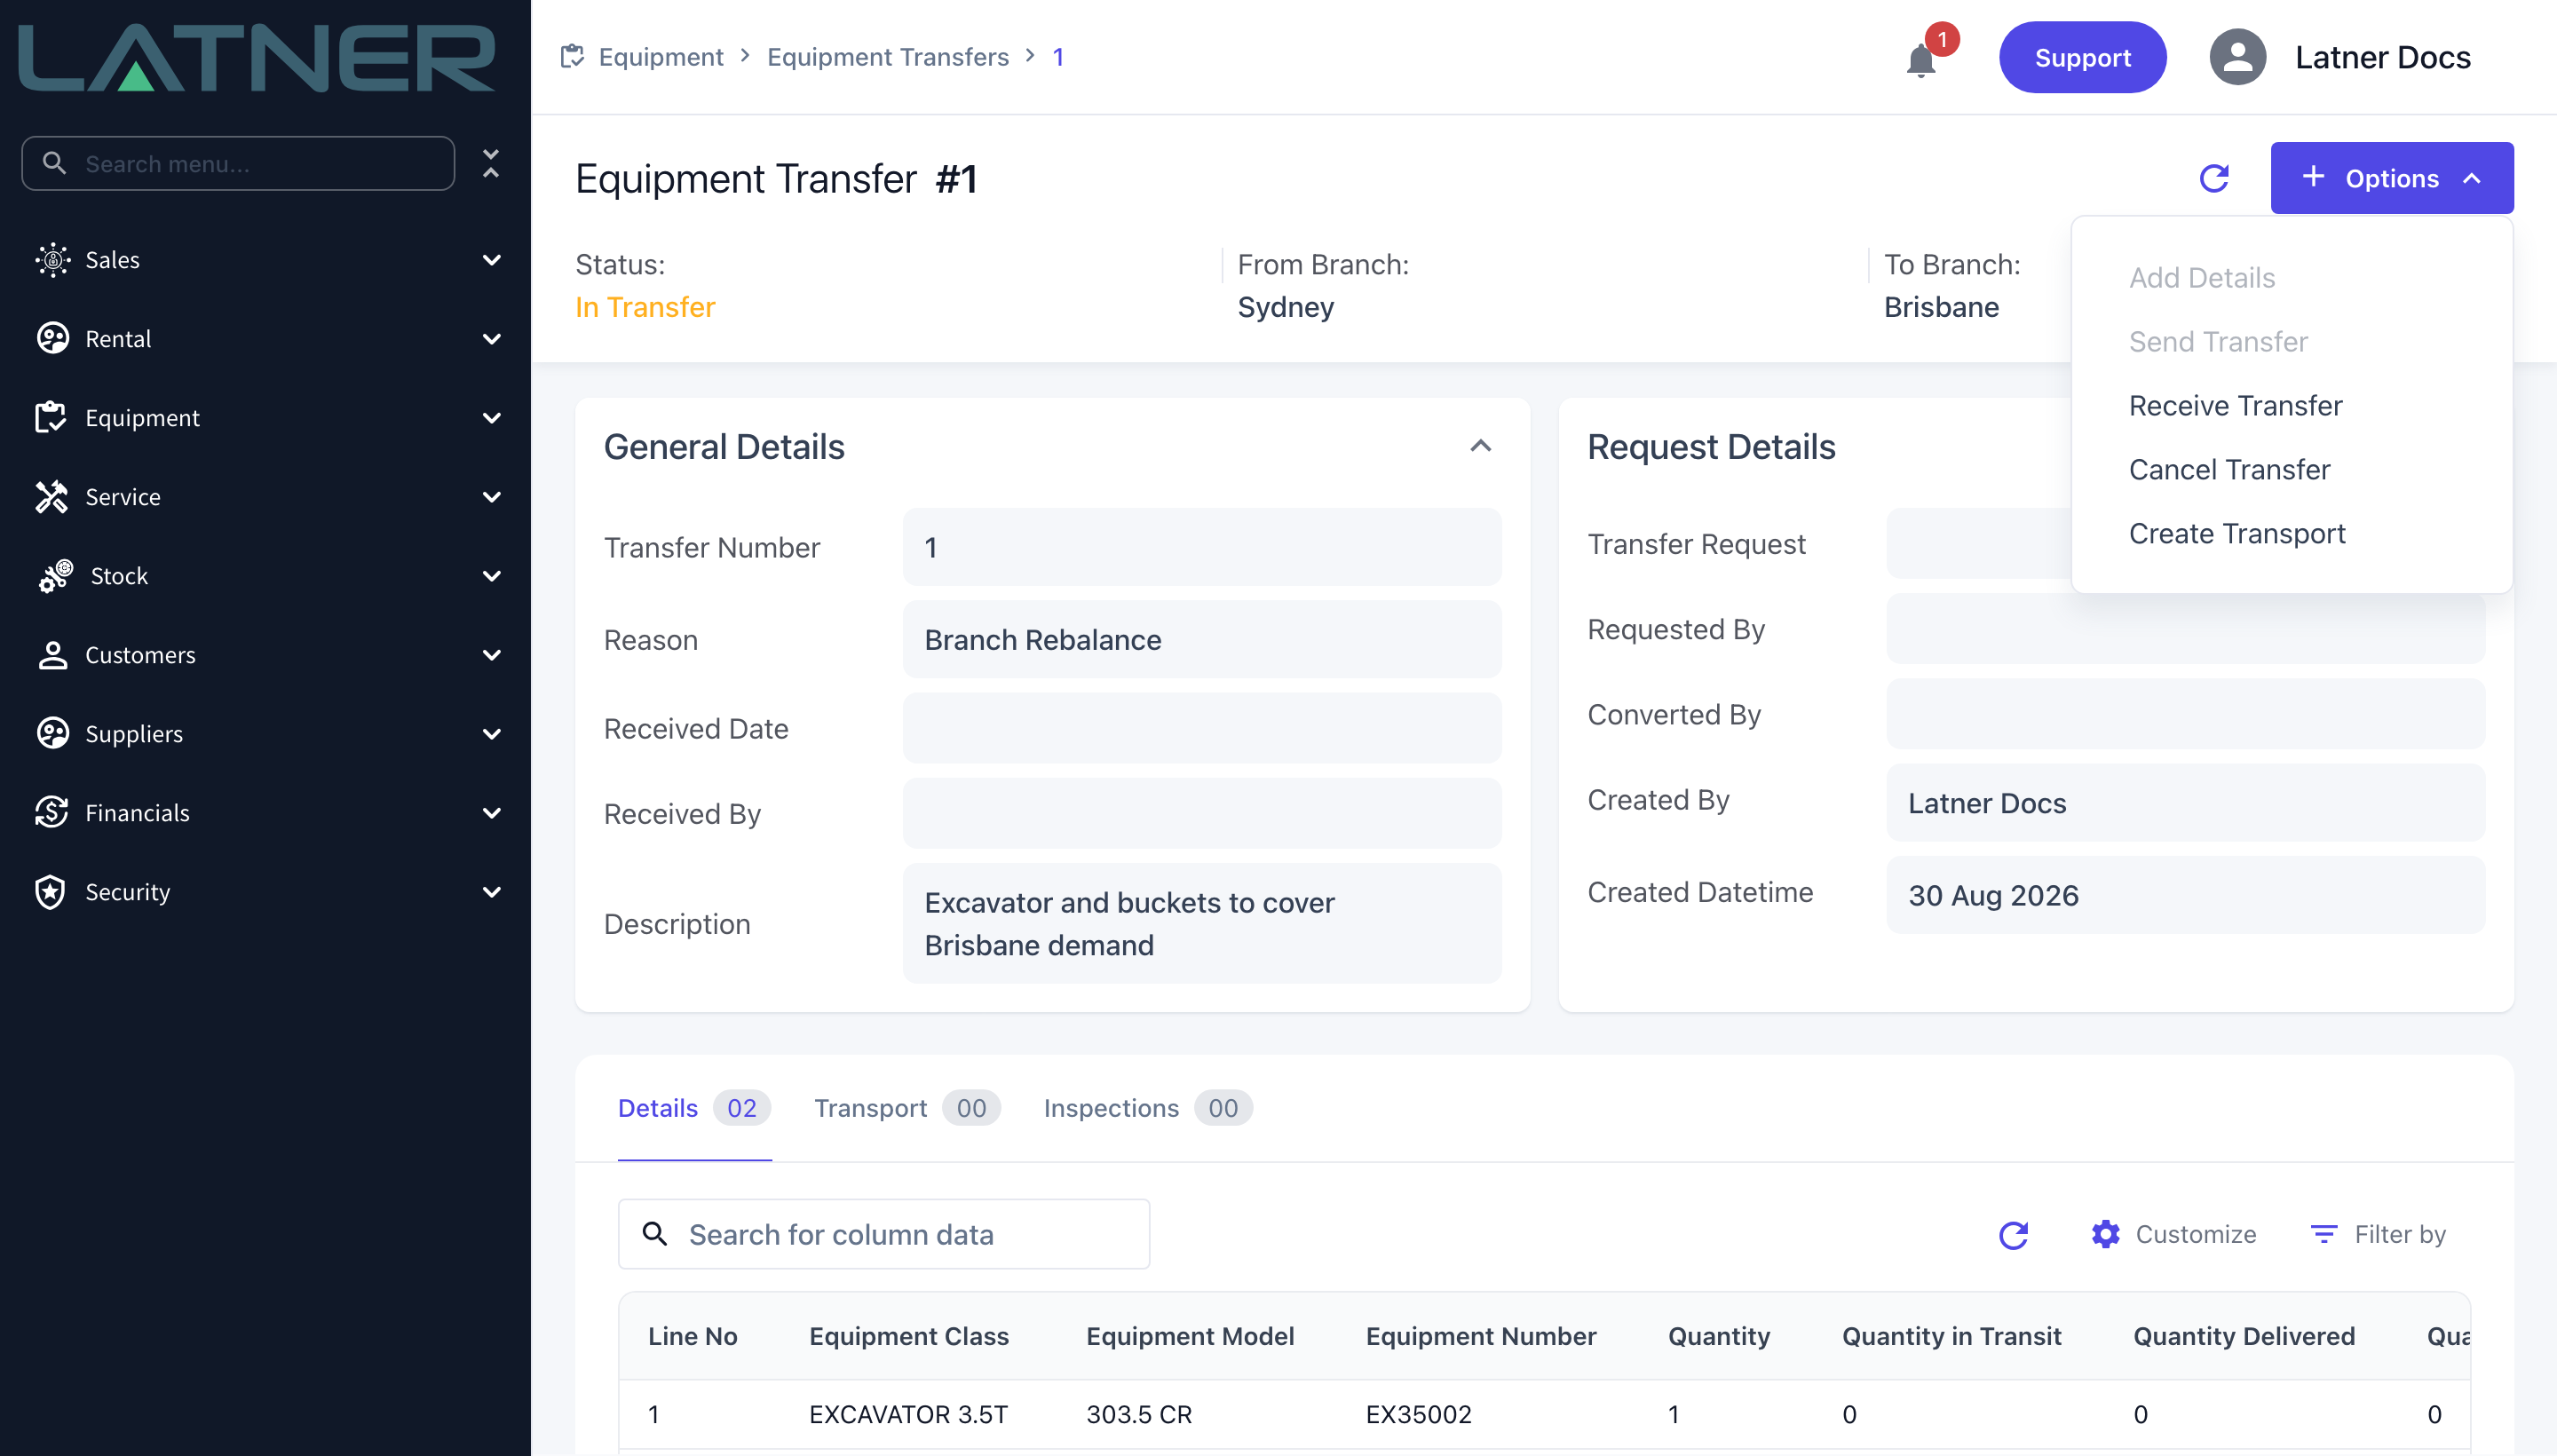
When the equipment physically leaves the yard, choose Options › Send Transfer. There is no confirmation prompt. The status moves to In Transfer, Add Details and Send Transfer grey out, and Receive Transfer becomes available.
Step 5 - Receive the transfer
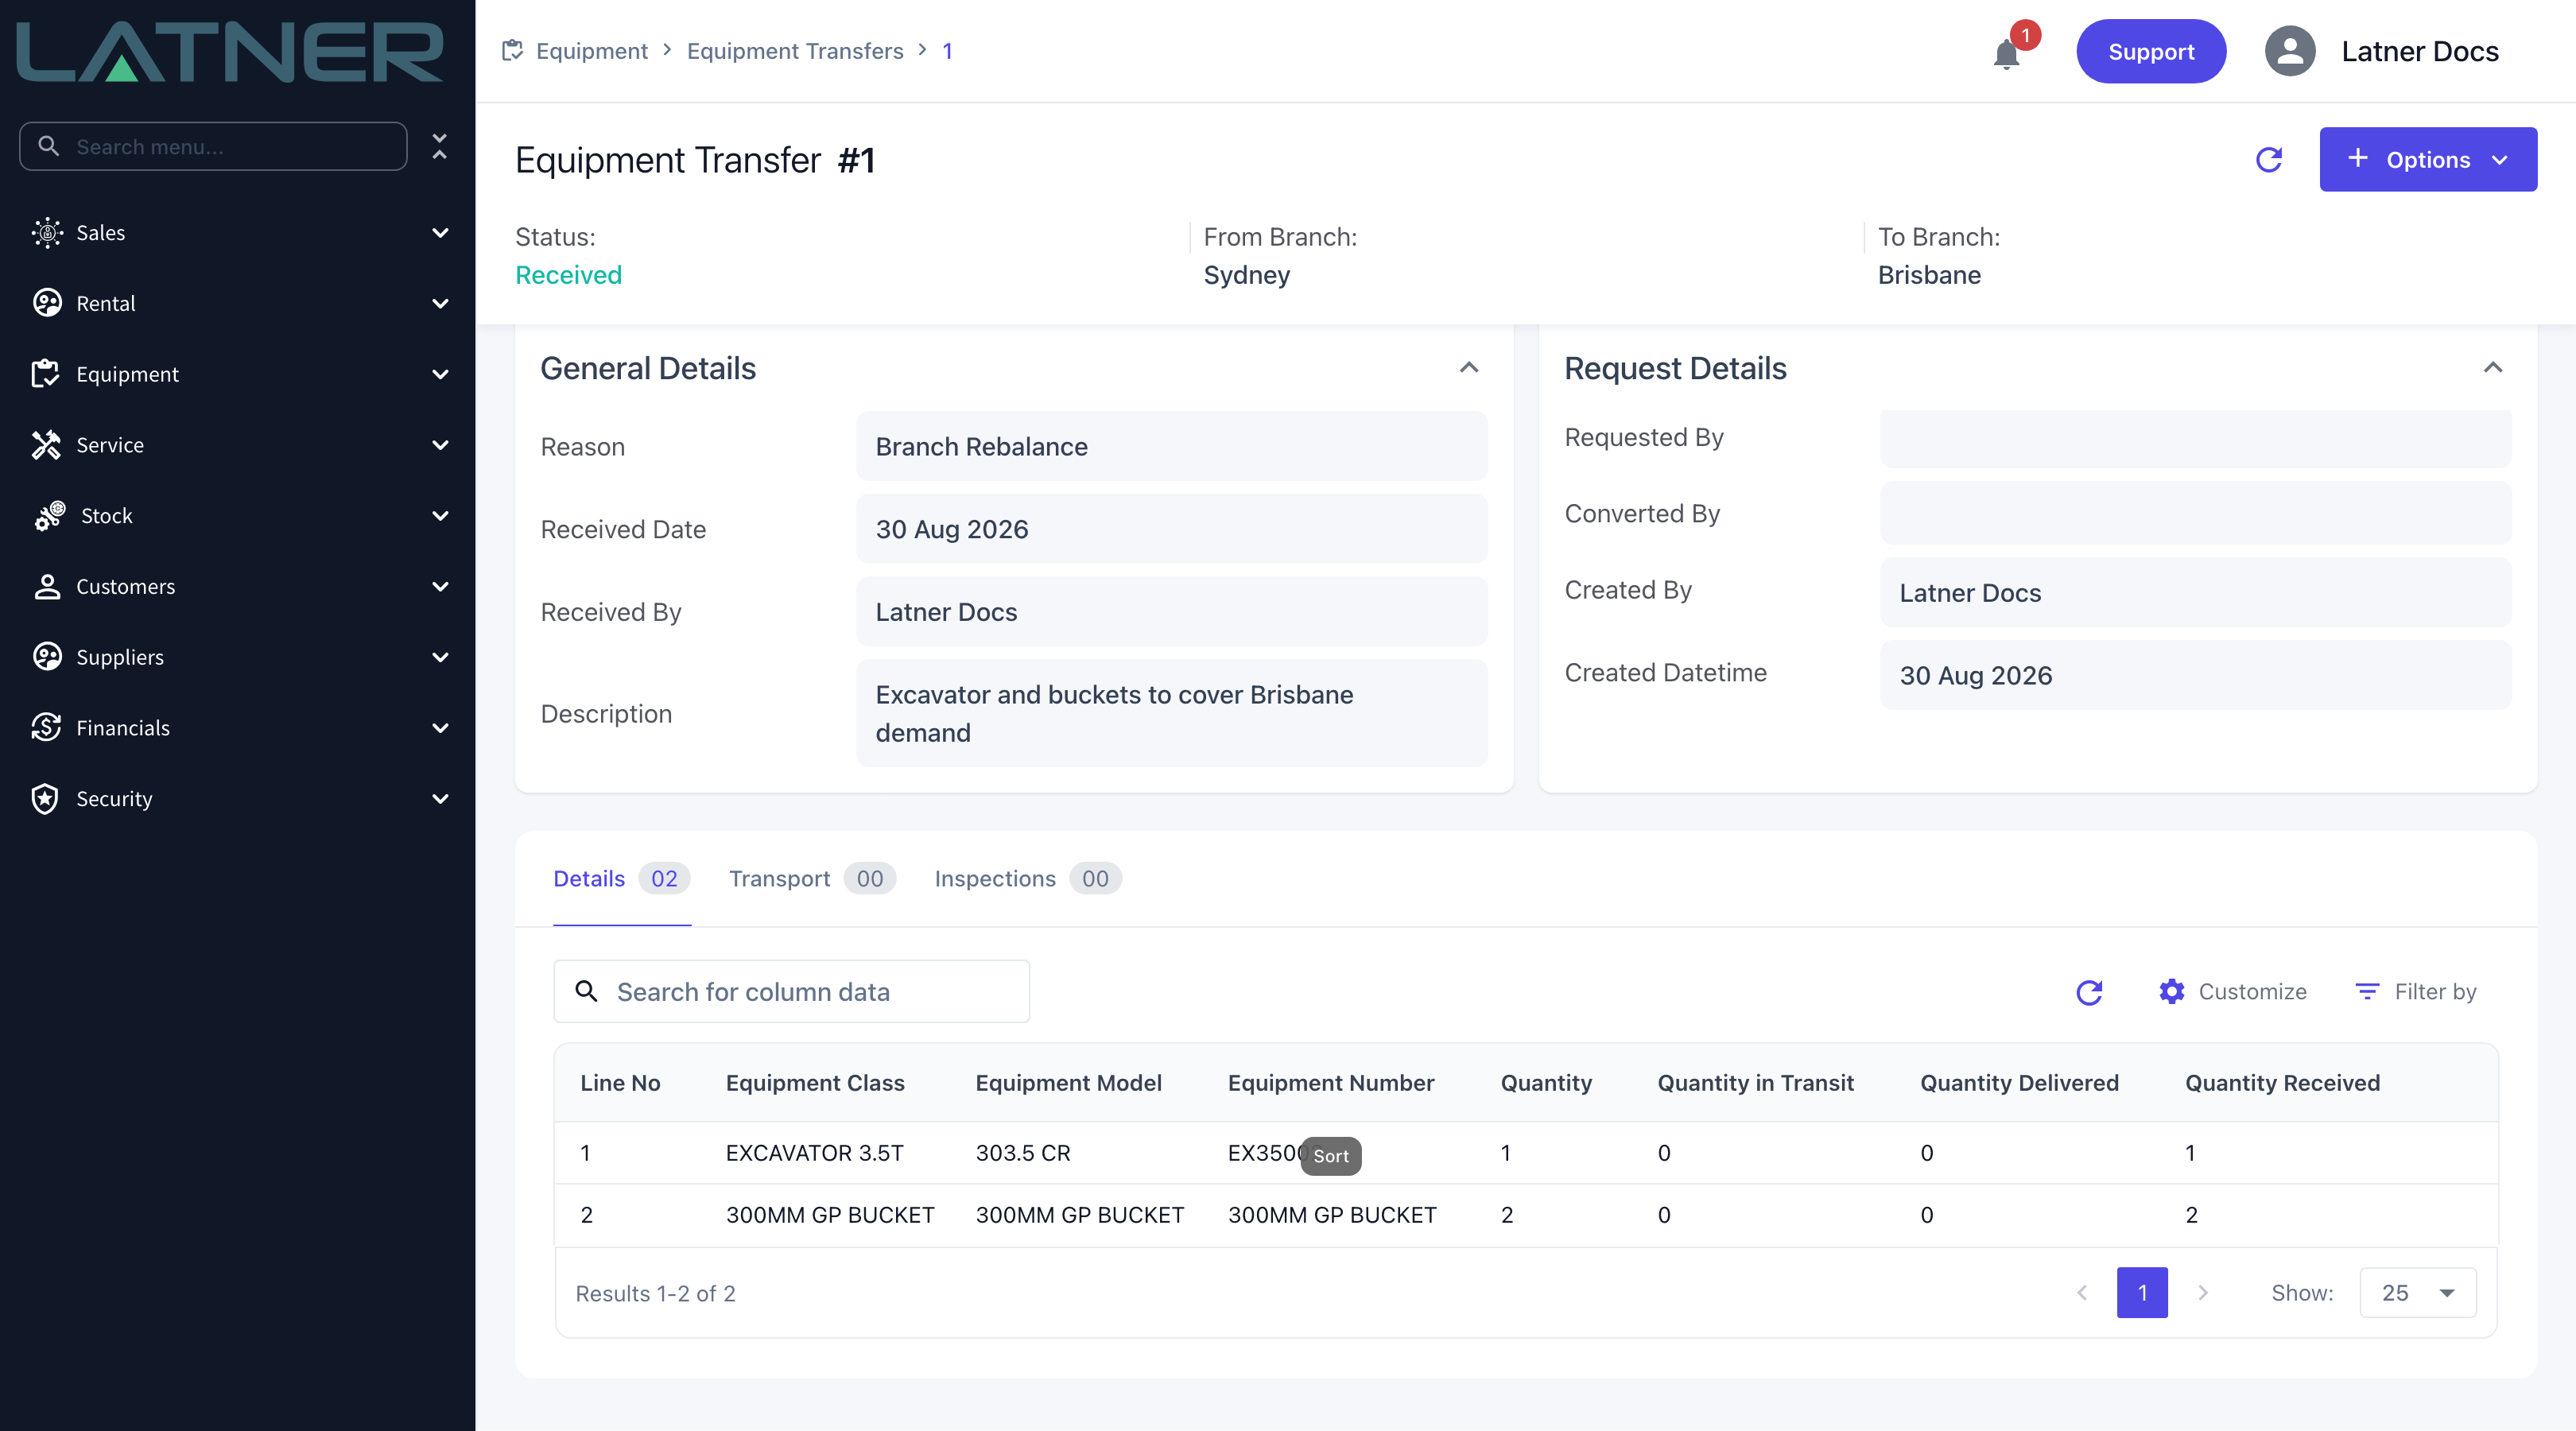
At the destination branch, choose Options › Receive Transfer once the gear has physically arrived. Latner stamps Received Date and Received By, fills in Quantity Received on every line, and moves the equipment onto the receiving branch.
Receiving is all or nothing. Every line on the transfer is received in full at the quantity that was sent - there is no partial receipt.
Moving the Equipment with a Transport Docket
A transfer records the paperwork, not the truck. If you want the move scheduled and allocated to a driver, choose Options › Create Transport from the transfer. The docket is prefilled from the transfer - the lines, and the sending and receiving branch addresses - and as it moves the transfer's Quantity in Transit and Quantity Delivered columns fill in.
An open transport docket blocks the receipt. If you try to receive while a docket attached to the transfer is still Open, Latner refuses with Cannot receive Equipment Transfer as there are still Open Transports. Complete or cancel the docket first.
Requesting a Transfer from Another Branch
Use this when you are the branch that wants the equipment. A request is a shopping list you send to the branch that holds the gear; it reserves nothing until they agree to it.
Step 1 - Create the request
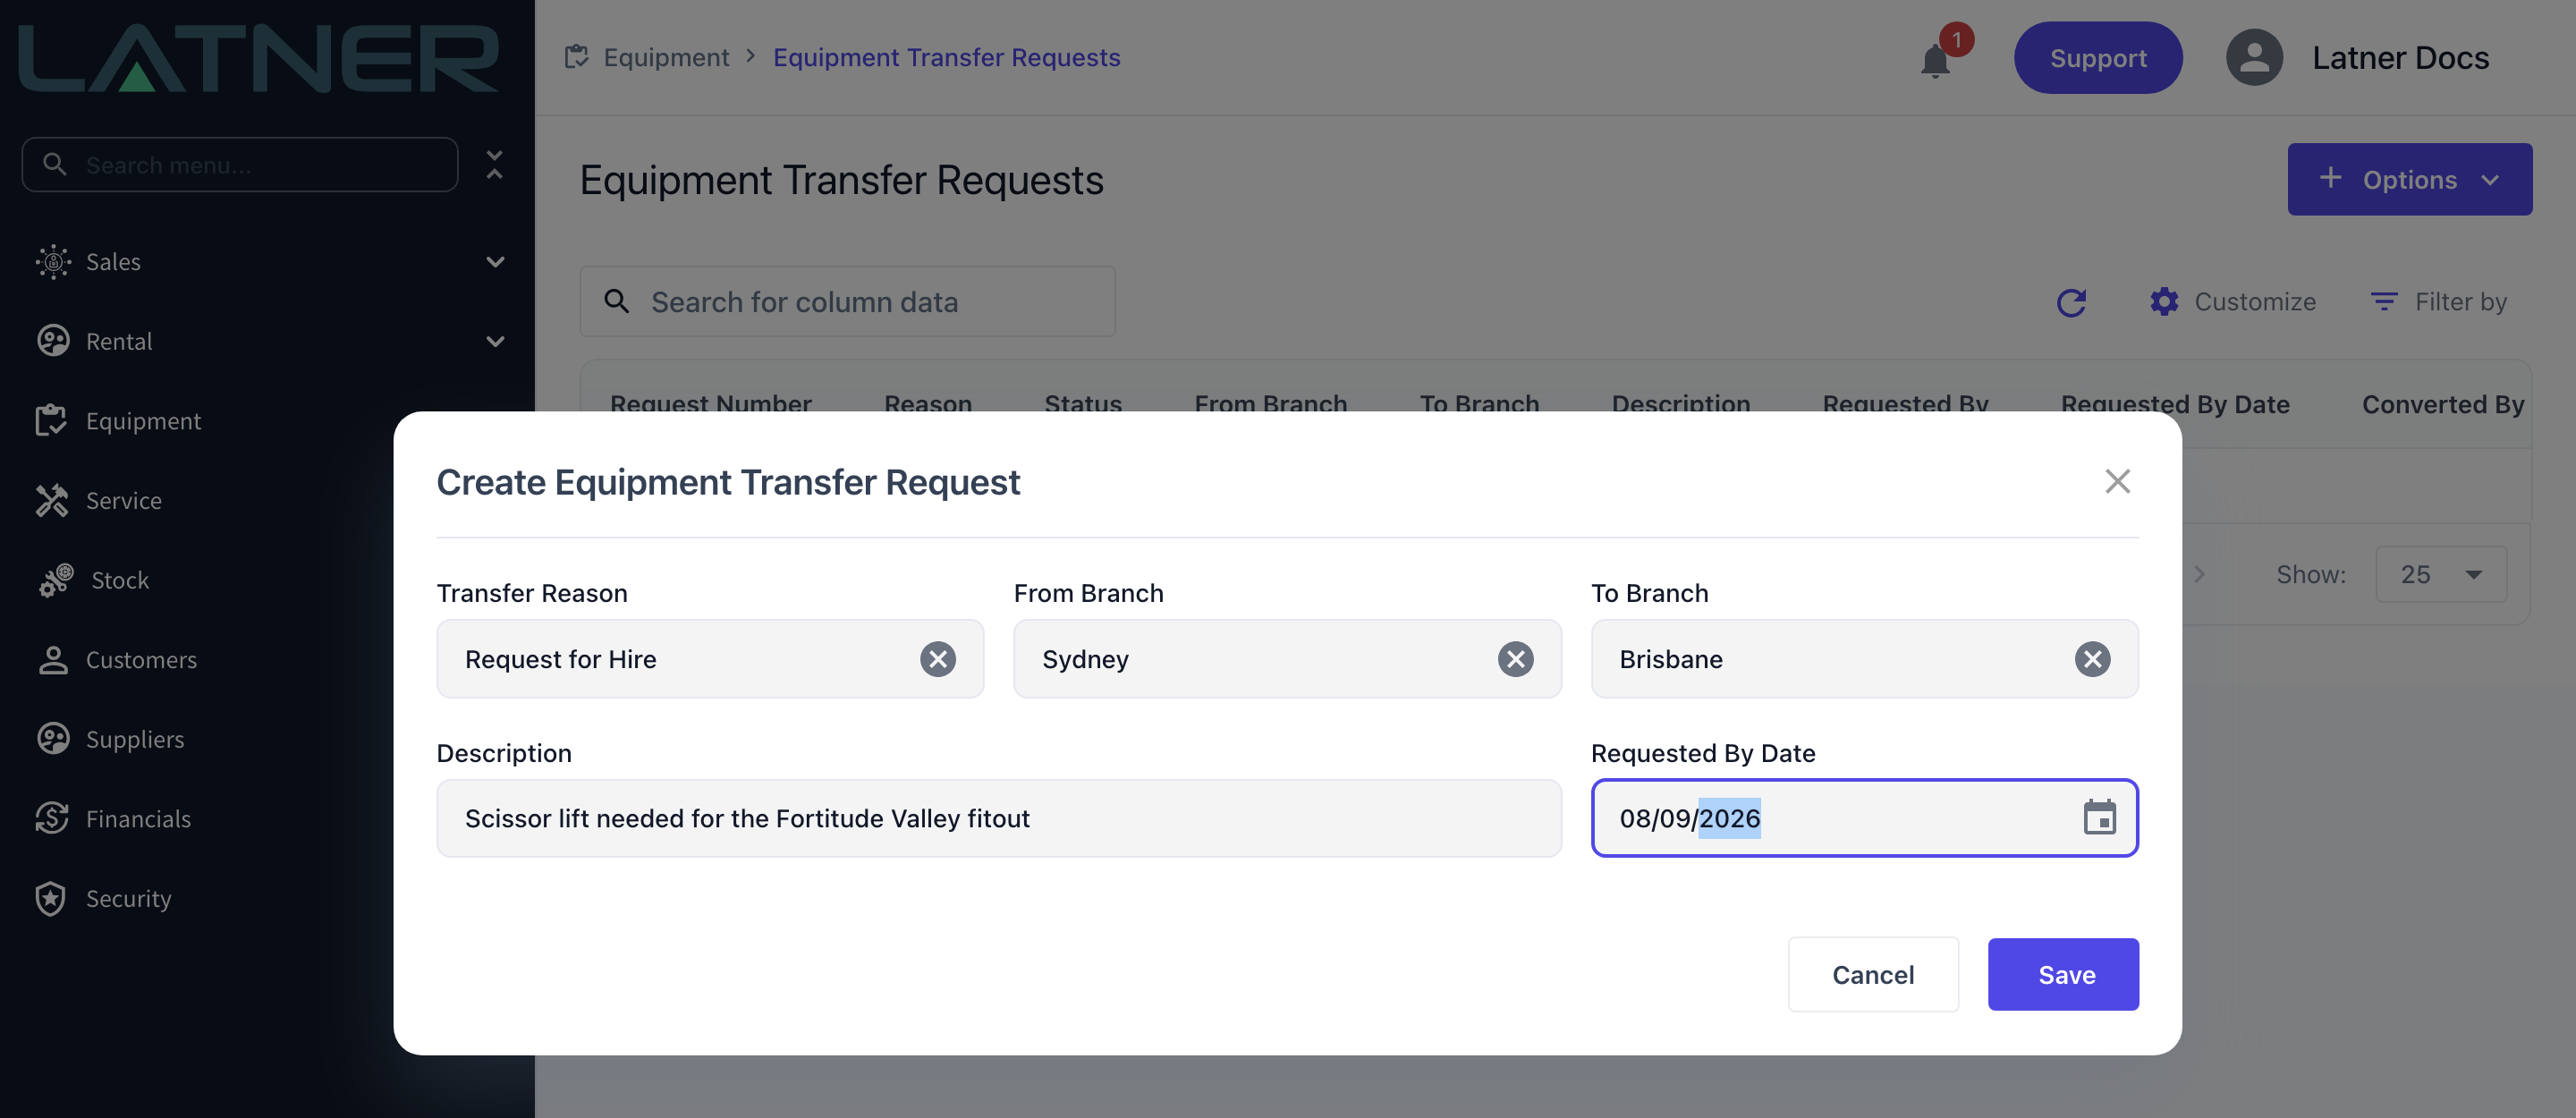
Go to Equipment › Transfer Requests and choose Options › Create Transfer Request. All five fields are required:
-
Transfer Reason, From Branch, To Branch and Description - the same as a transfer. From Branch is the branch you are asking, and To Branch is you.
-
Requested By Date - the date you need the equipment on site.
The request is created with a status of Open.
Step 2 - Add what you need
Choose Options › Add Details and add a line per item, exactly as you would on a transfer. The picker again only shows equipment available at the From Branch. Nothing is reserved at this point, so the machine you asked for can still go out on hire before the request is actioned.
Step 3 - Send the request
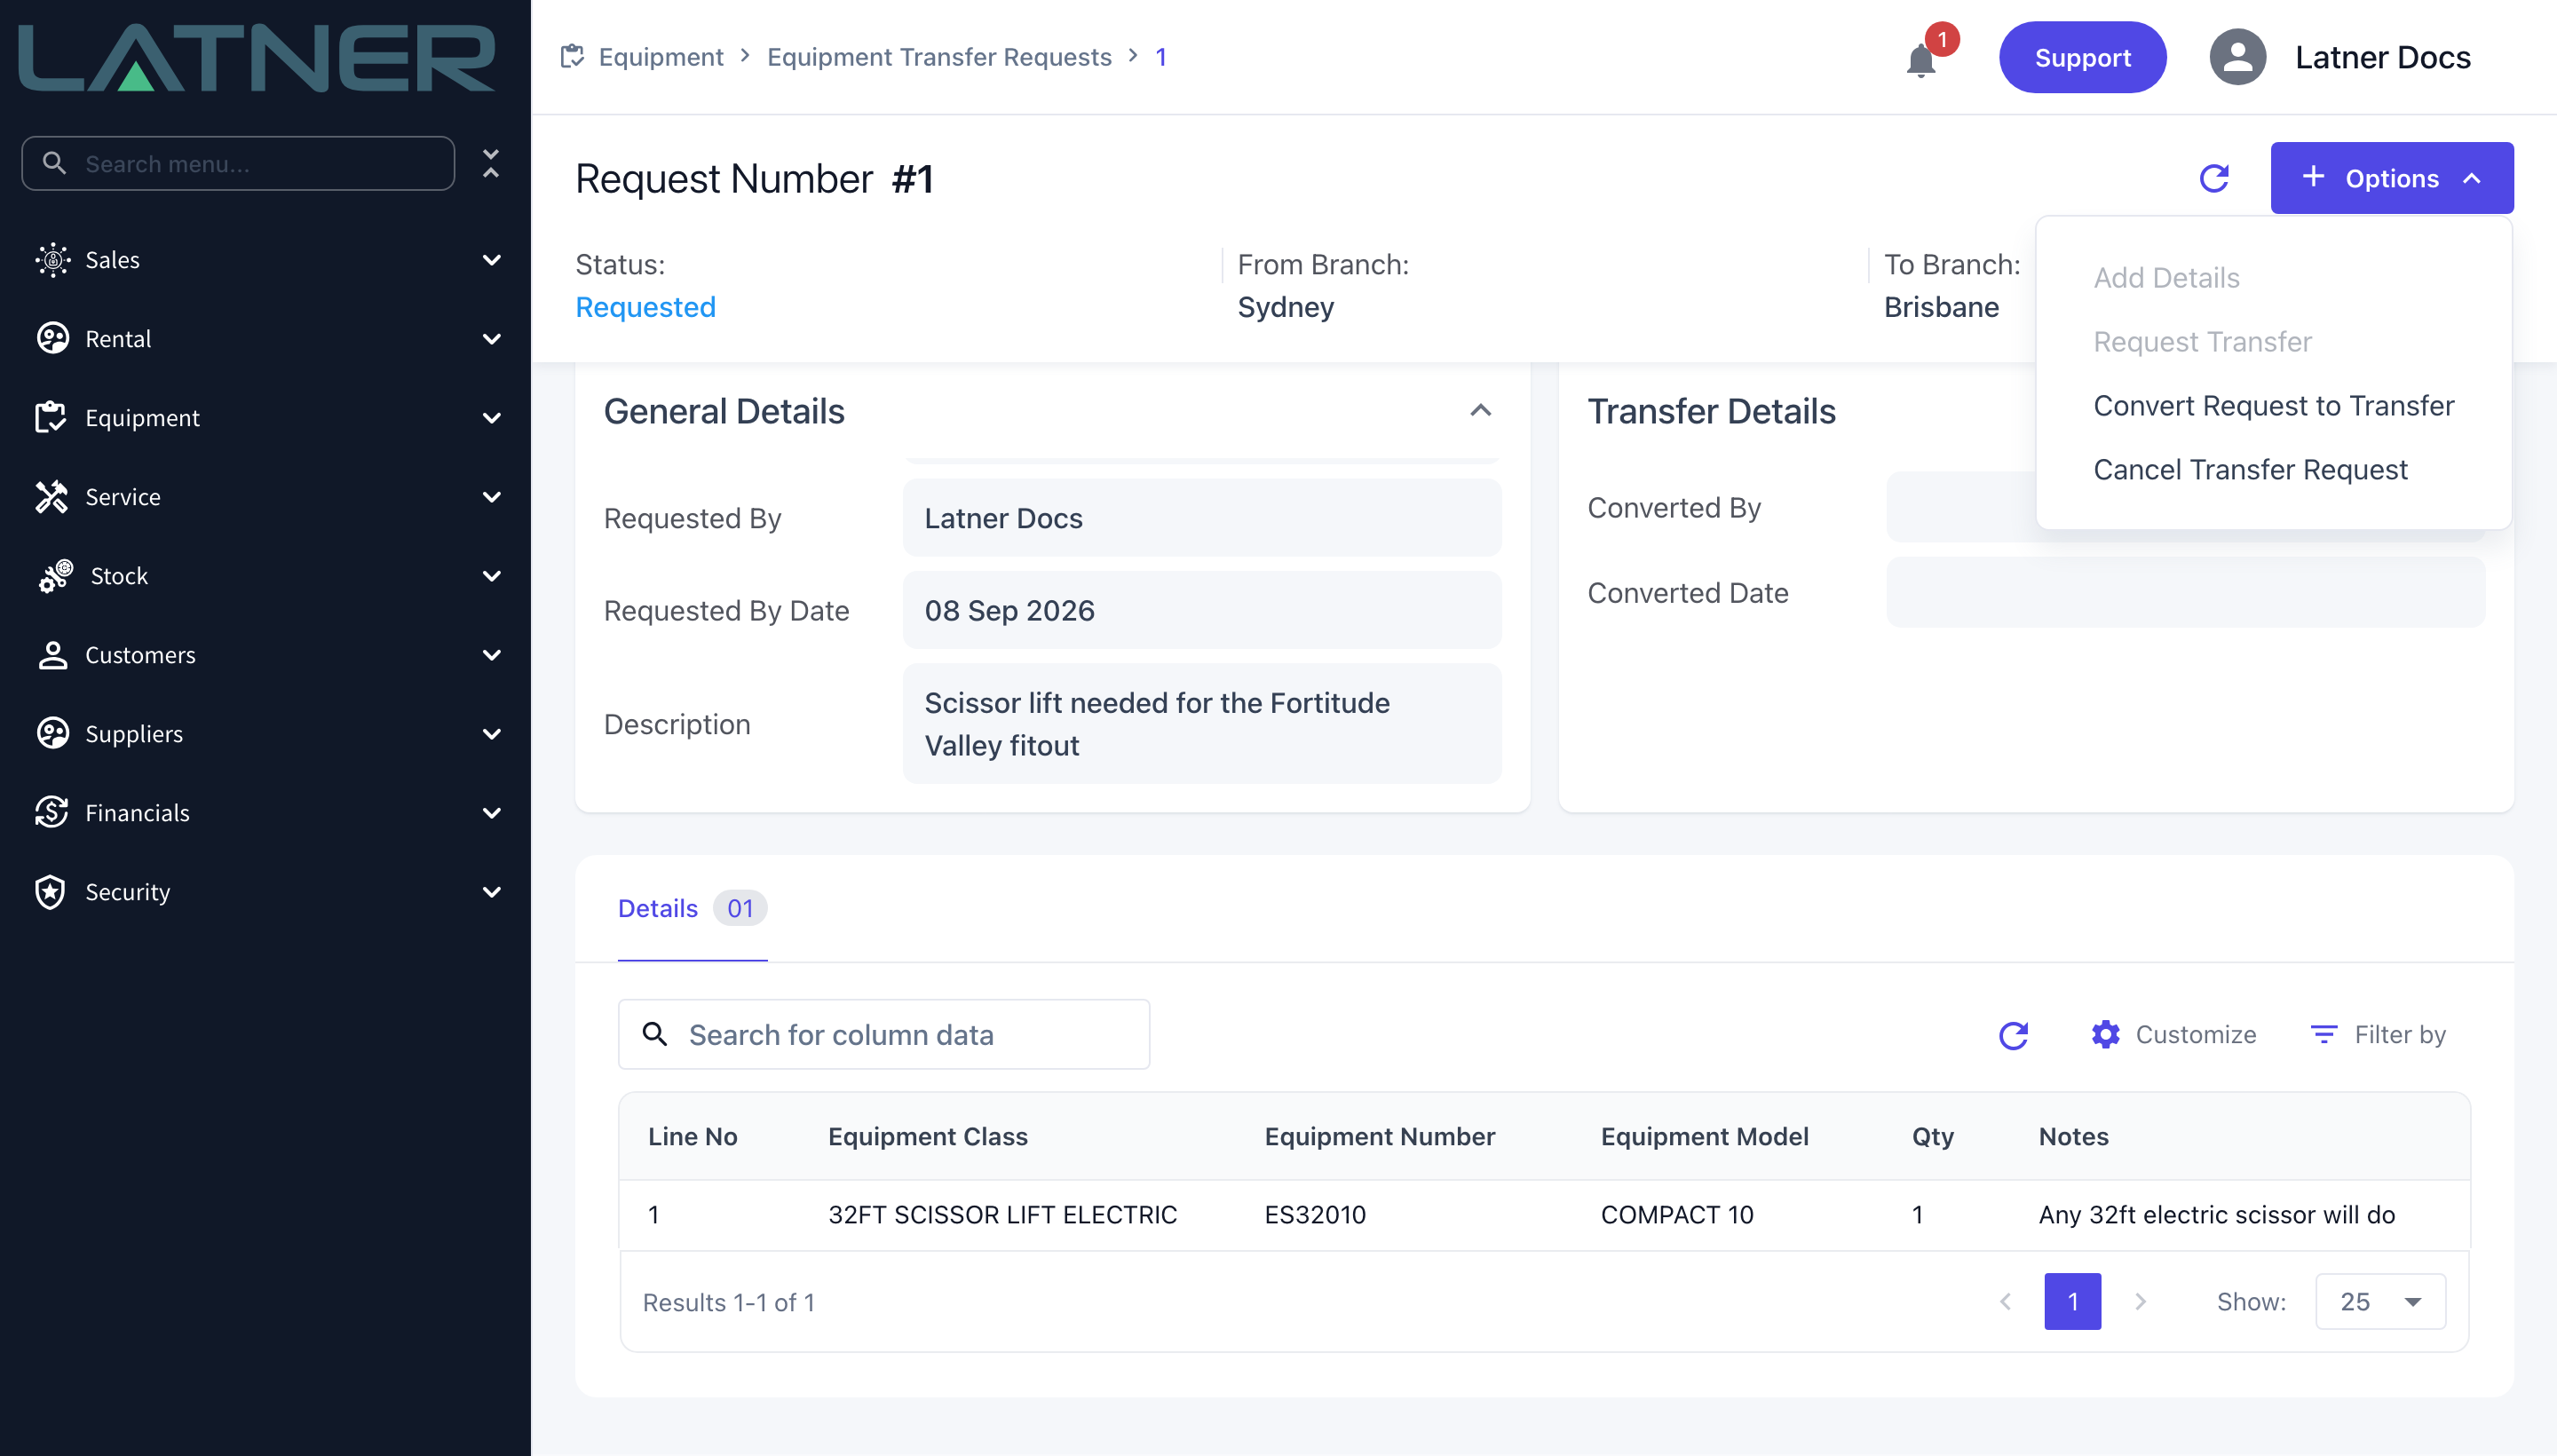
Choose Options › Request Transfer. The status moves to Requested, the request is locked for editing, and Convert Request to Transfer becomes available to the sending branch. You cannot send a request with no lines on it.
Step 4 - Convert the request into a transfer
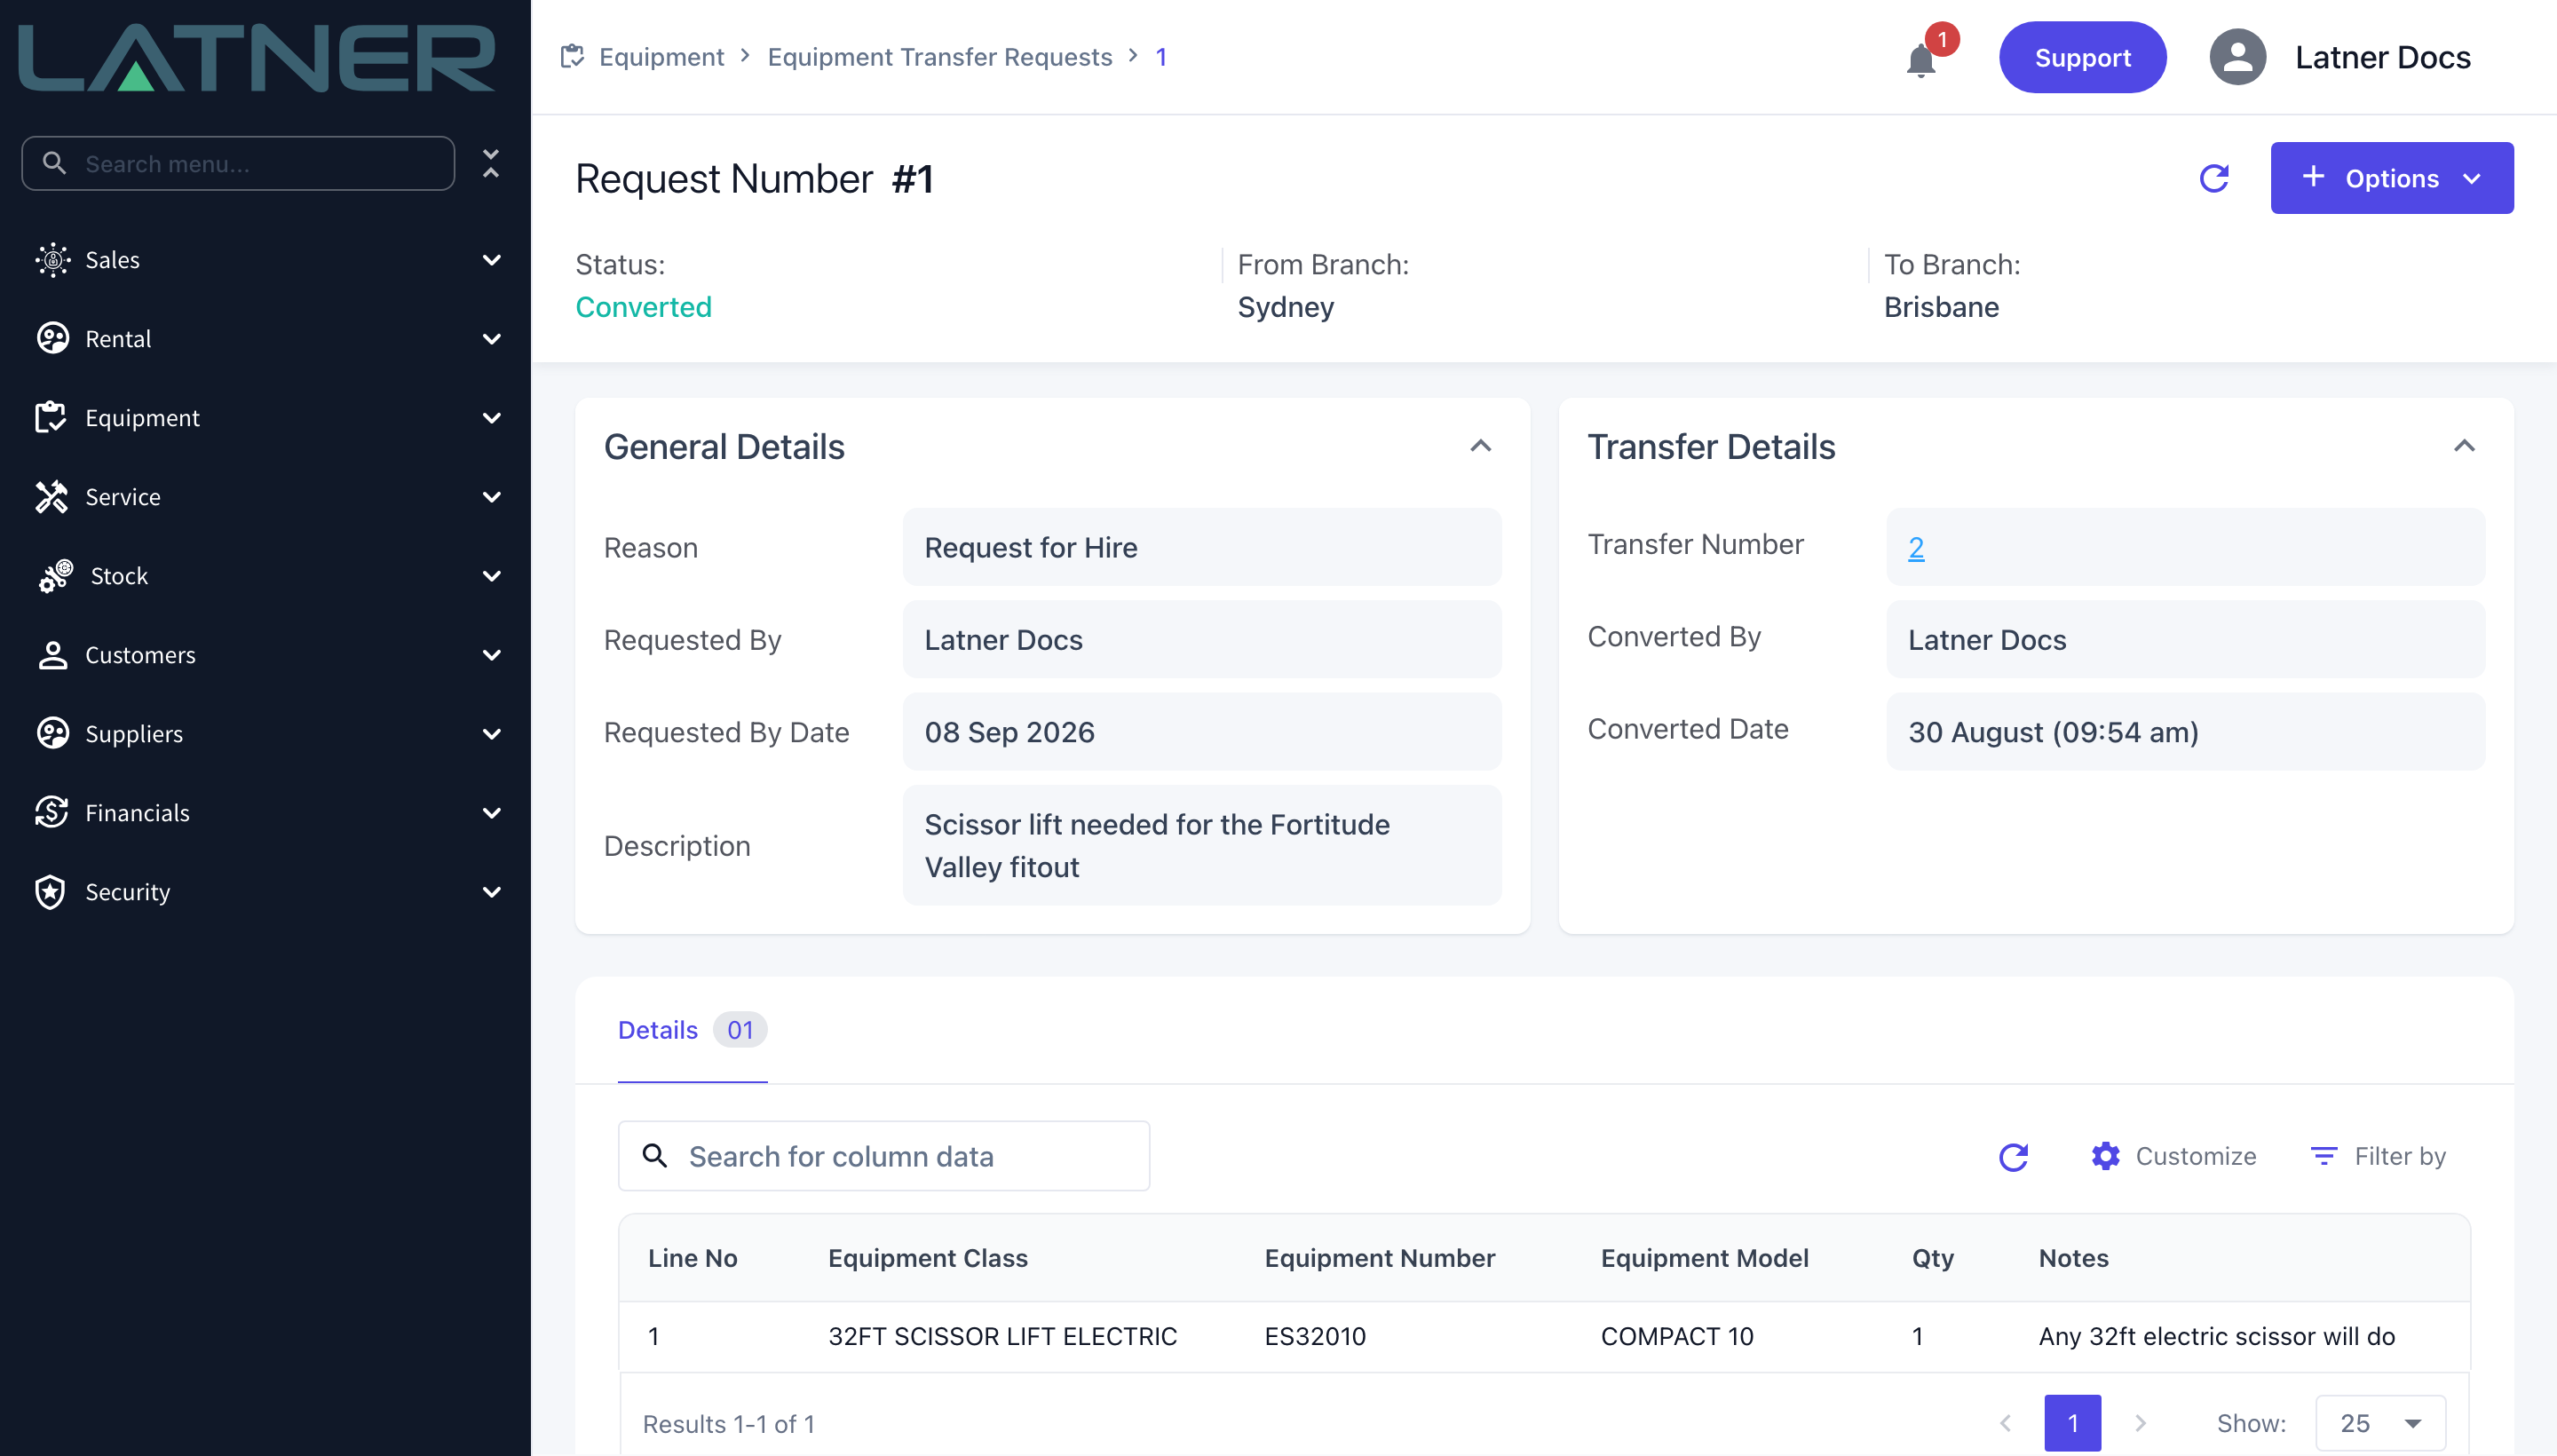
The sending branch opens the request and chooses Options › Convert Request to Transfer. Latner creates an Open equipment transfer carrying the same reason, branches, description and every requested line, and links the two records so you can hop between them from the Transfer Details panel on the request and the Request Details panel on the transfer.
Conversion is all or nothing - there is no per-line approval, so every line comes across at the quantity that was requested. If any of it is no longer available, the conversion is refused; remove or reduce the line first. From here on, carry on from Step 4 of the direct transfer above: send it, then receive it.
After the Transfer
-
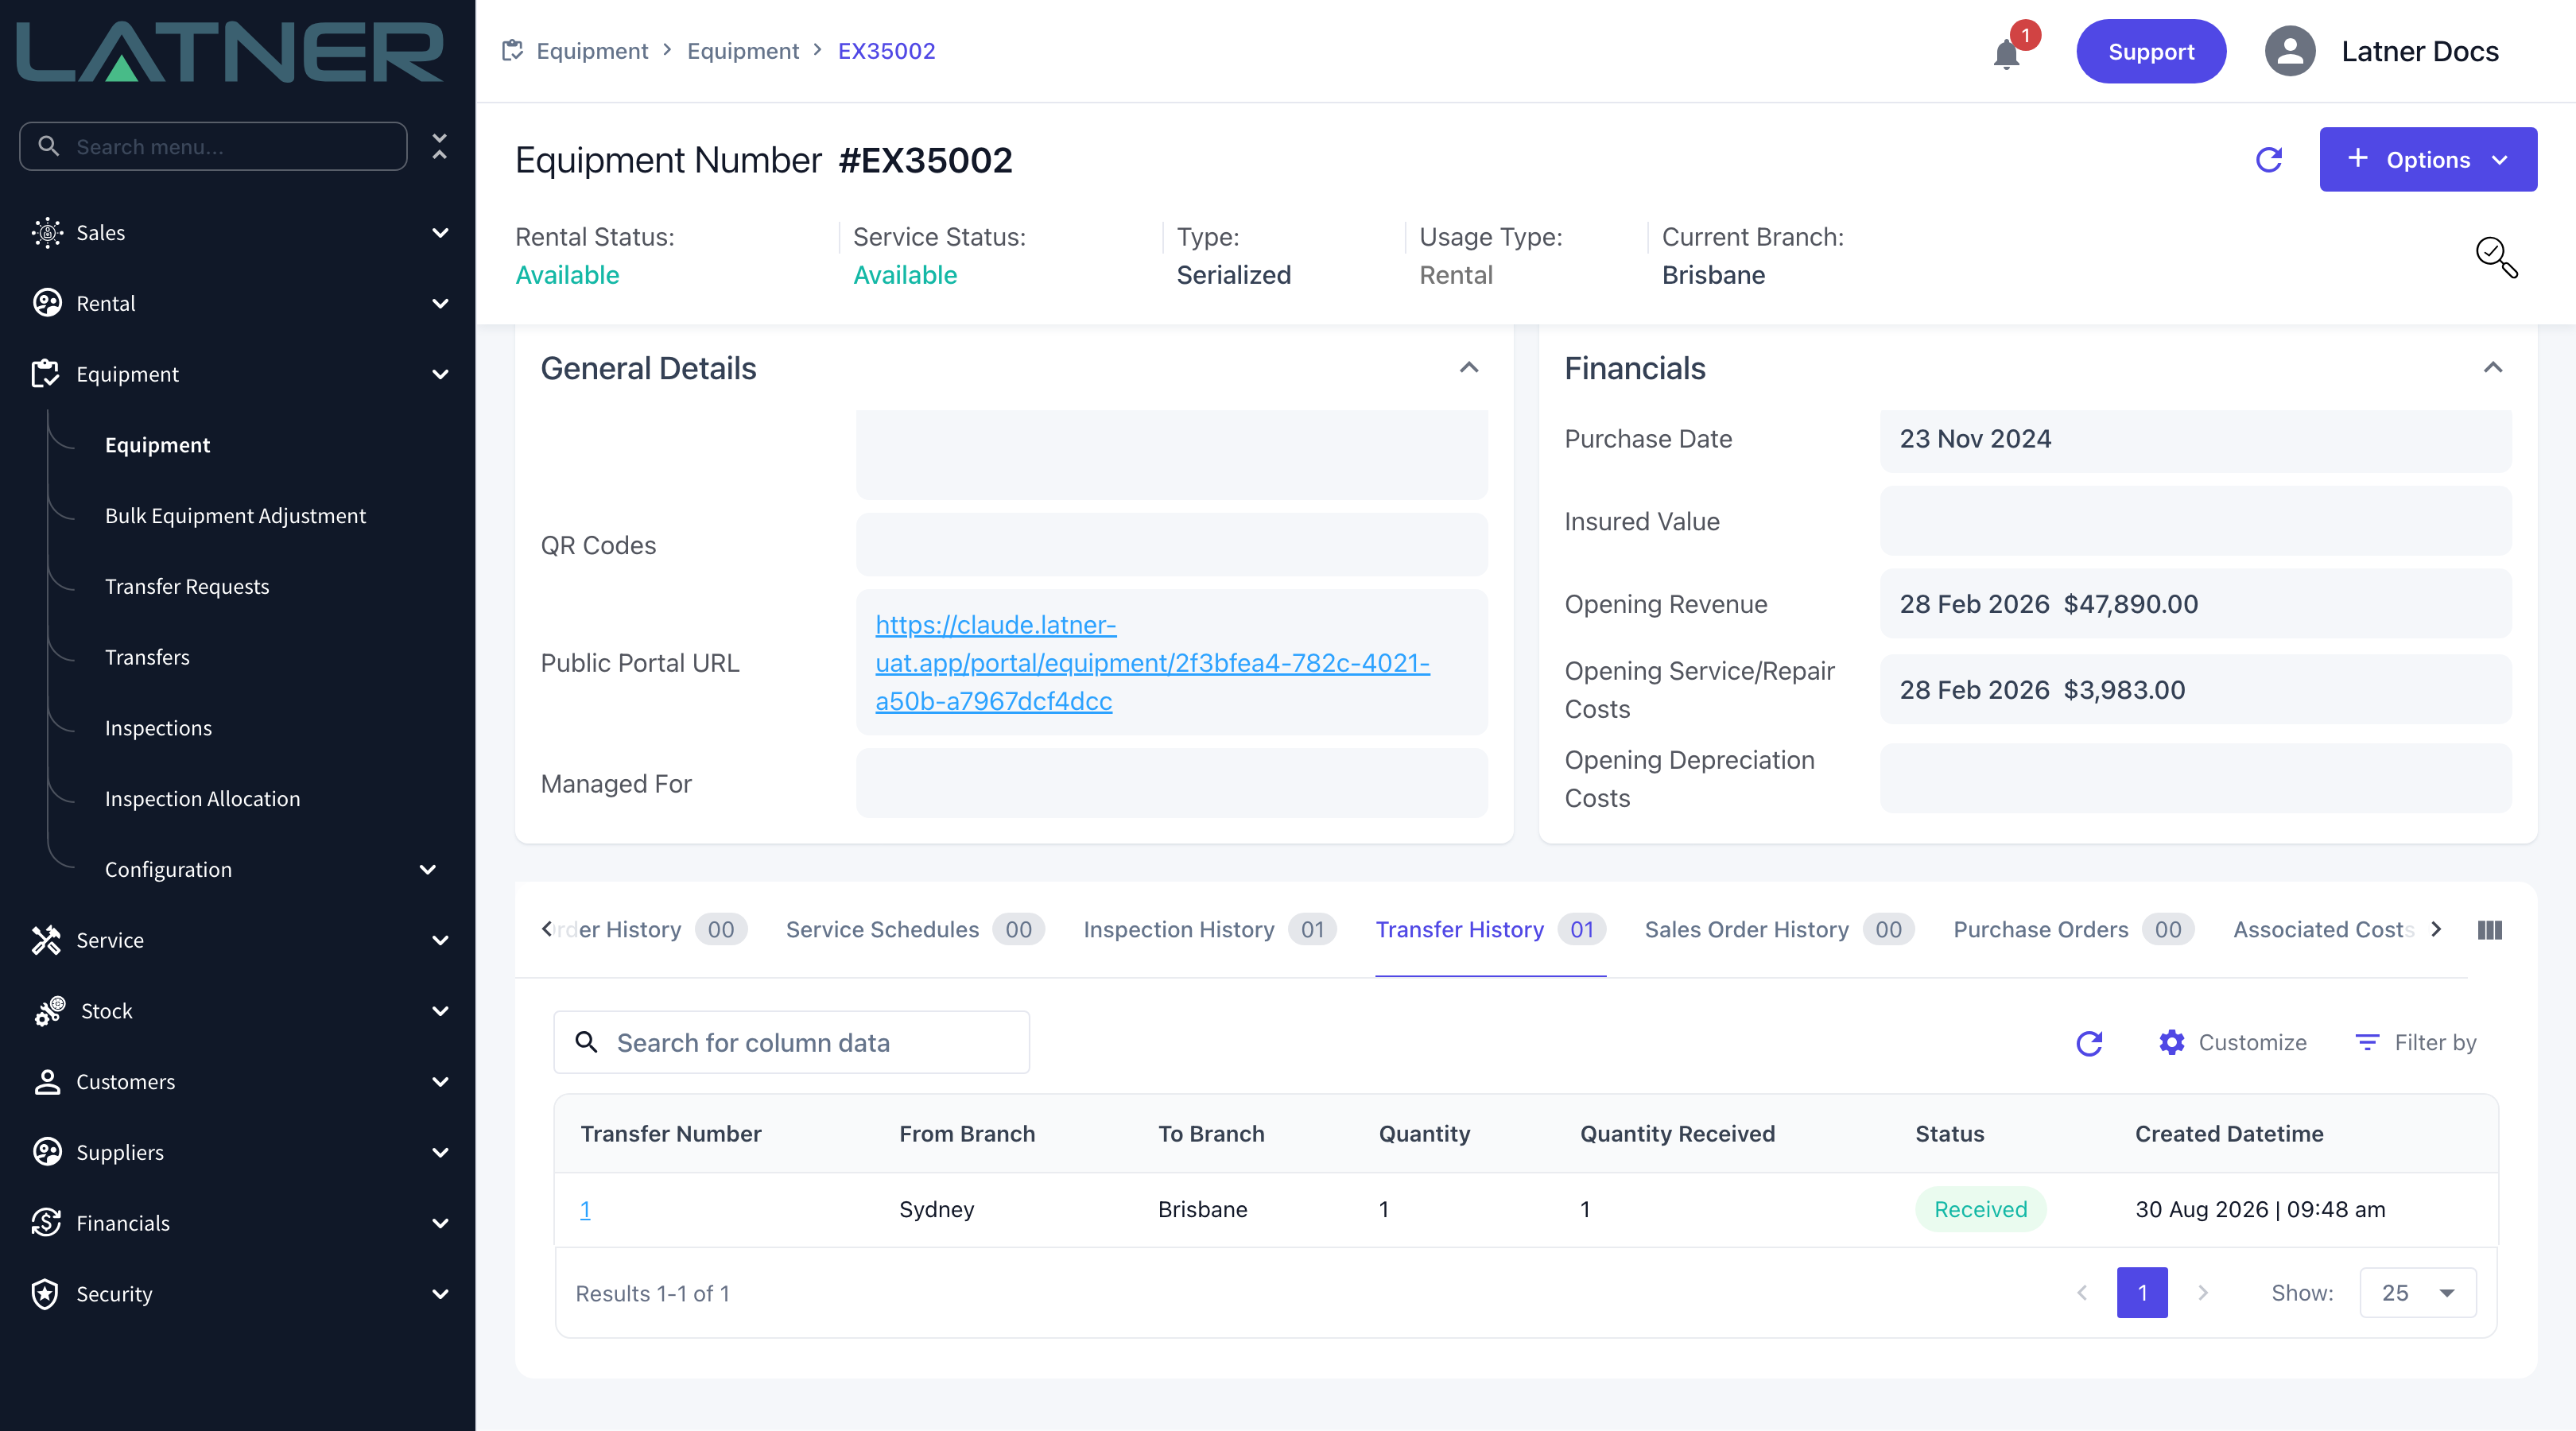
The equipment's Current Branch is now the receiving branch, and its rental status goes back to Available there.
-
The equipment's home branch is unchanged, so any reporting keyed on the owning branch still points at the branch that bought the machine.
-
A row appears on the equipment's Transfer History tab, with the transfer number, both branches, the quantity received and the status.
-
For bulk equipment, the quantity is deducted from the sending branch and added to the receiving branch's Quantities tab.
-
If the inspection setting and the class or model flag are both on, an Equipment Transfer inspection is raised at the receiving branch and appears on the transfer's Inspections tab.
A received transfer cannot be undone. There is no reverse or un-receive, and Cancel Transfer is unavailable once the status is Received. If equipment was sent to the wrong branch, raise a second transfer in the opposite direction to bring it back.