
Picking Lists turn the stock lines on a Sales Order into a job for the warehouse, so a picker knows exactly what to pull, where it lives and how much to take before the order is invoiced.
Overview
A Sales Order tells you what the customer has bought. It doesn't tell anyone in the warehouse to go and get it. A Picking List does: it lists the stock items, the warehouse and the bin they sit in, and the quantity to pull, and it hands that job to a named picker.
-
Picking Lists can be raised from a Sales Order once the order is Quoted or Partially Invoiced.
-
Only Stock lines can be picked. Serialized Stock, Asset, Labour, Admin and Transport lines never appear in the window.
-
A stock line can only be on one Picking List at a time. Once it's on one, its Picking Status becomes Picking and it drops out of the window.
-
You can pick a subset of the lines and raise a second Picking List later for the rest.
-
Completing a Picking List sets each line to Picked, fills in Qty Fulfilled and allocates the stock out of available quantity.
-
Only fulfilled quantity can be invoiced, so on orders that aren't auto fulfilled, picking is the step that makes the order invoiceable.
Before You Begin
Two things need to be in place before Create Picking List will do anything.
|
Requirement |
Where to Find It |
|---|---|
|
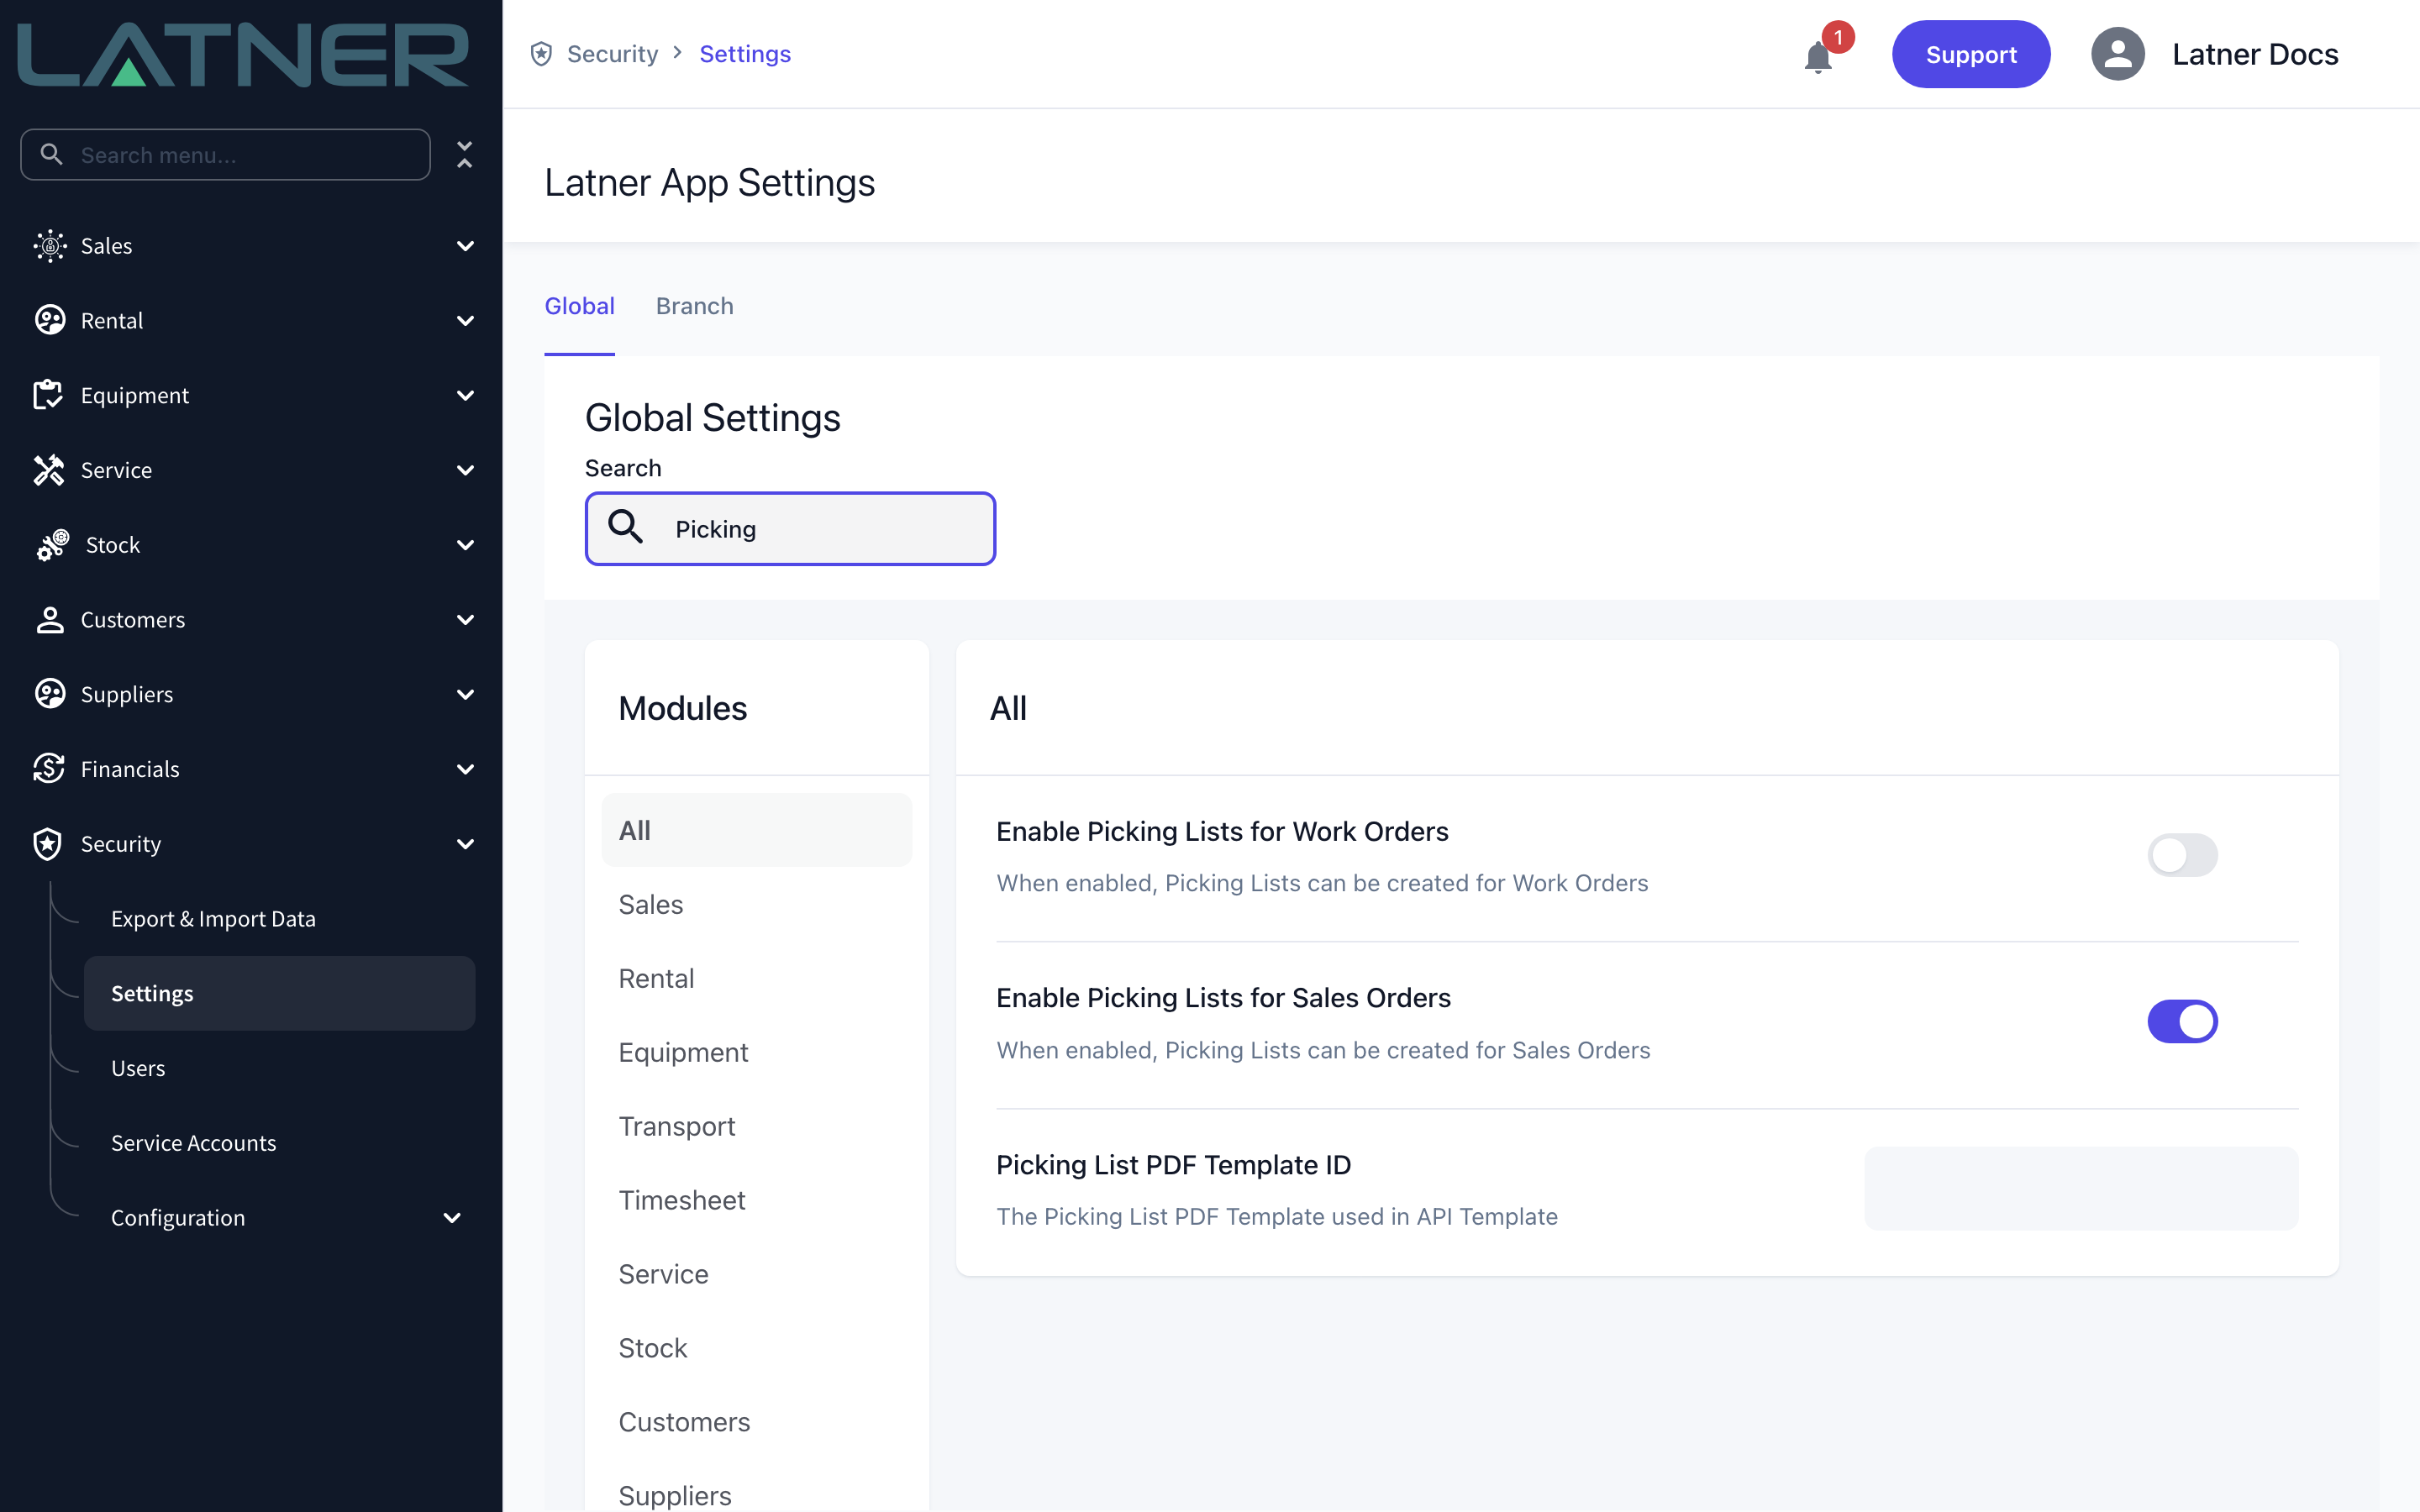
Enable Picking Lists for Sales Orders turned on |
Security › Settings › Global, module Sales |
|
Picking Lists permission (Stock module) |
Security › Configuration › Permission Groups, under Stock › Screens |
|
A Sales Order at status Quoted or Partially Invoiced, with at least one Stock line |
Sales › Sales Orders |
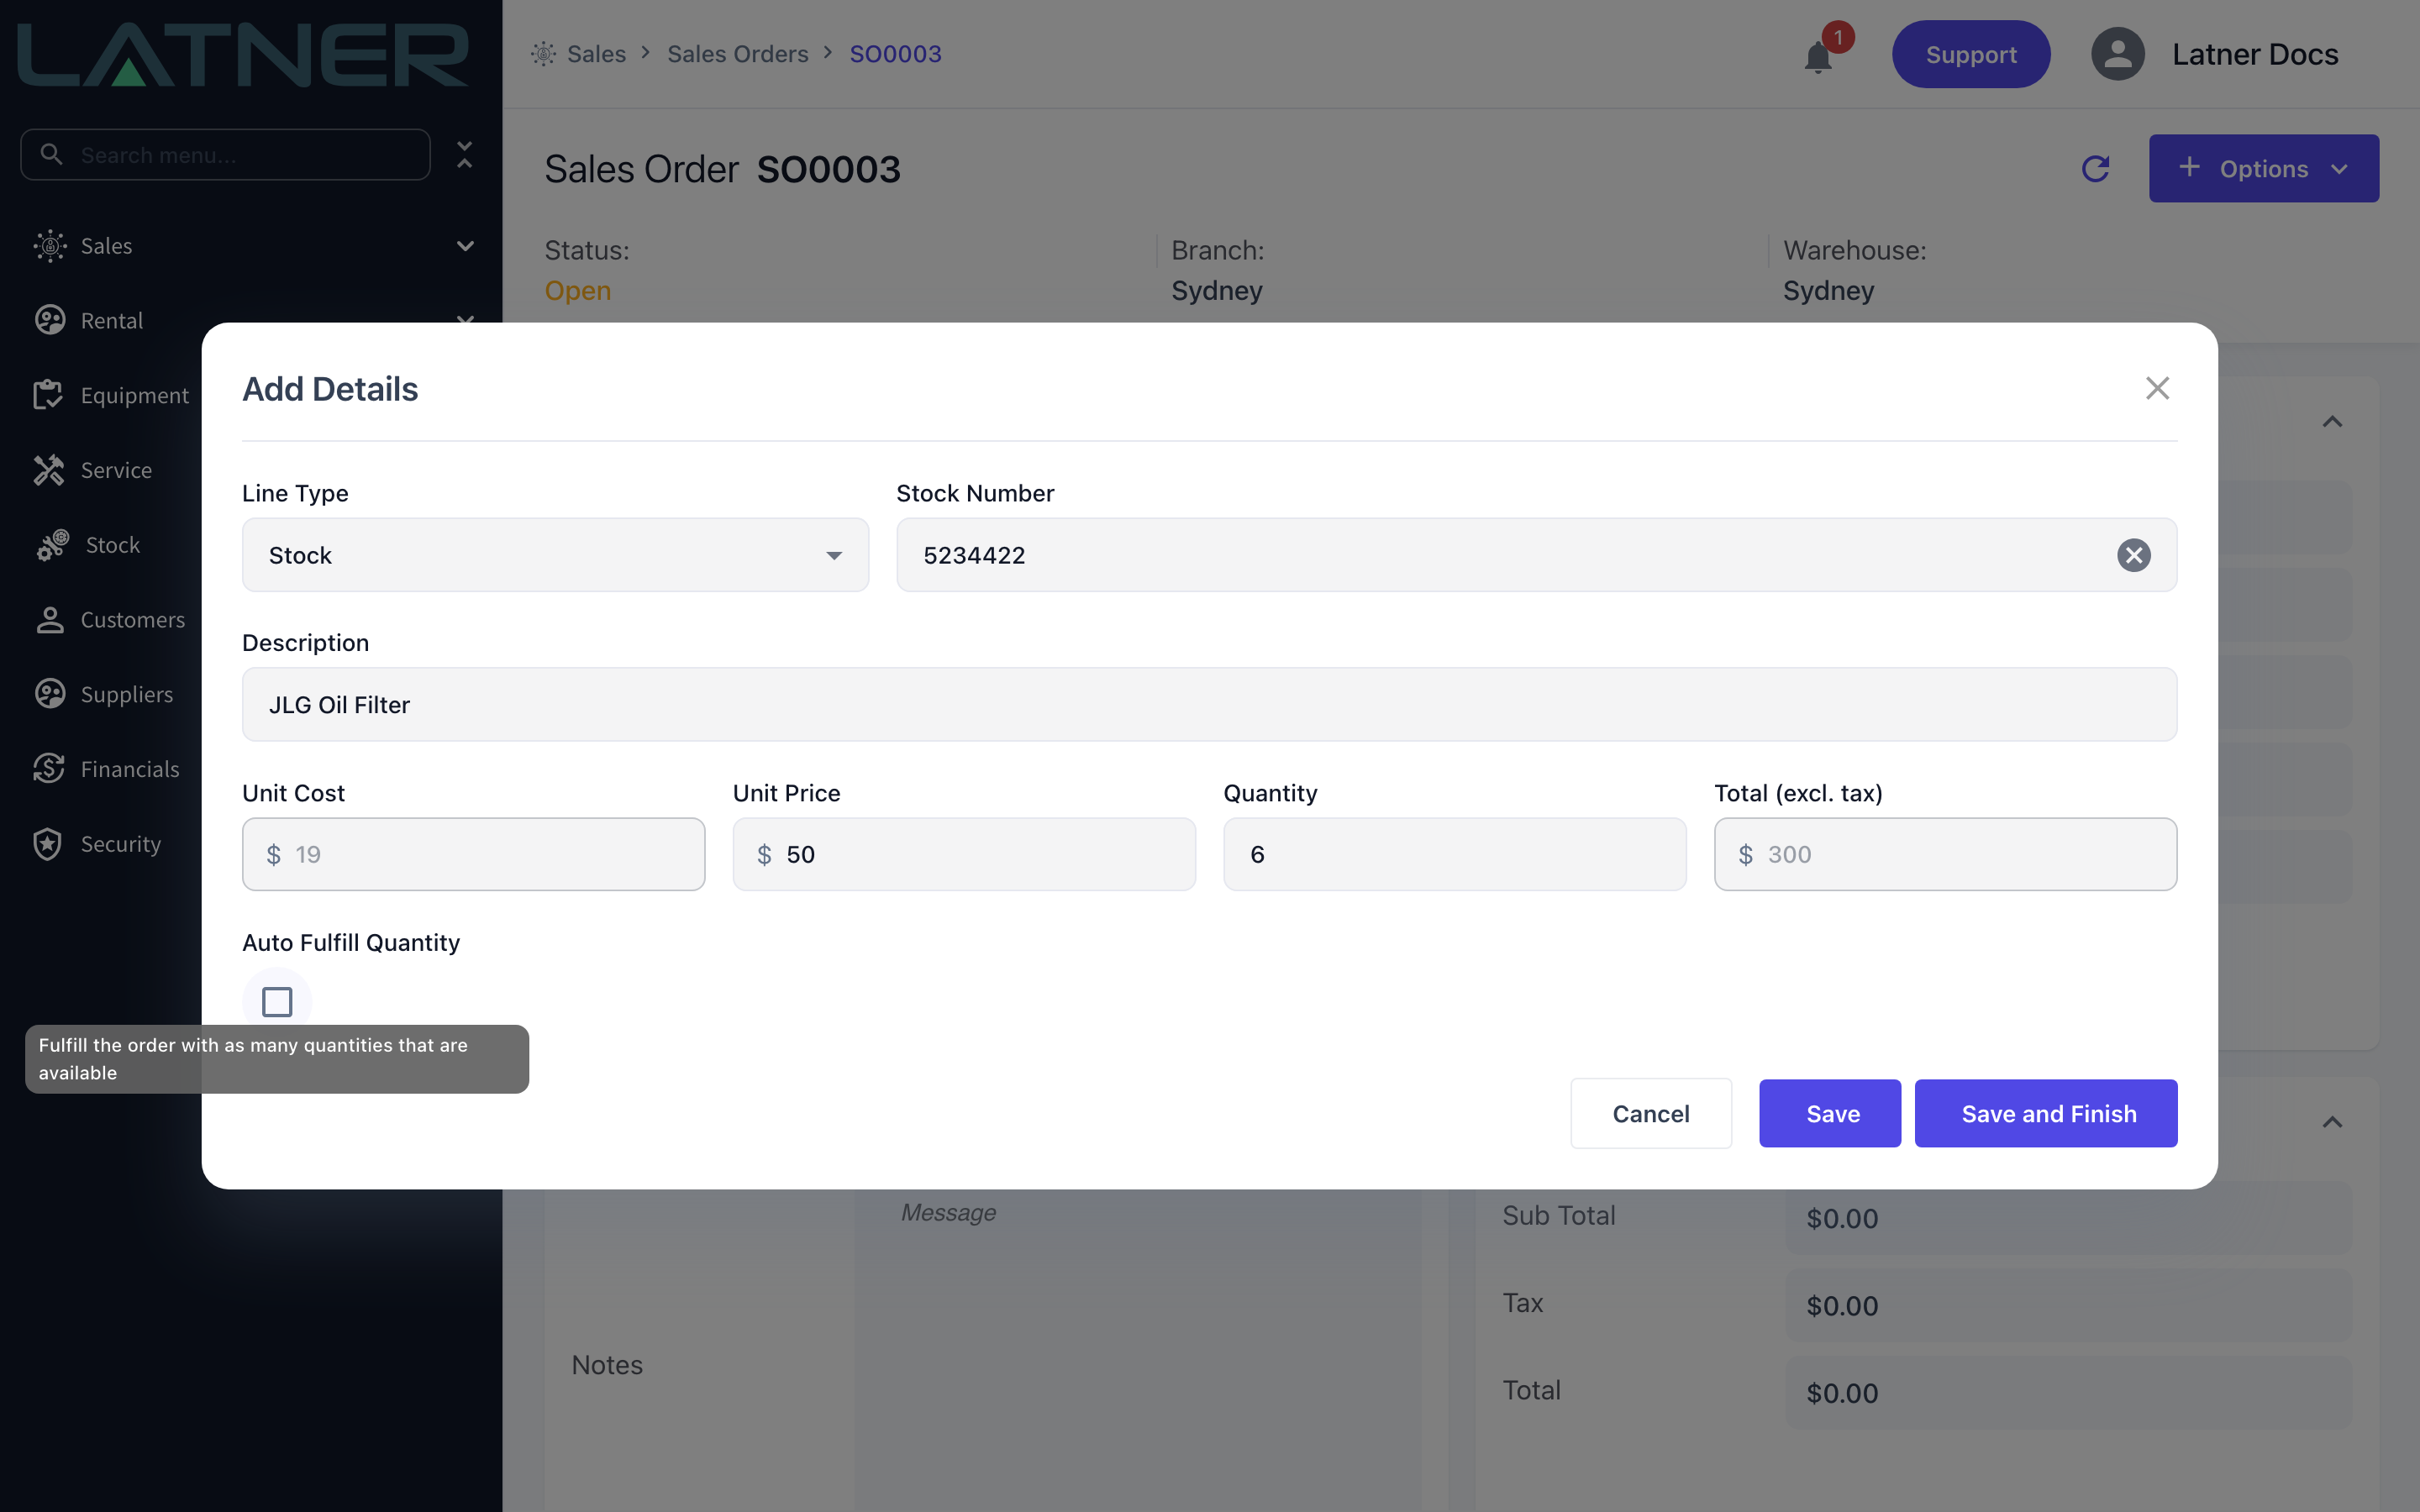
There's one more thing worth knowing before you add the stock lines. When you add a Stock line to a Sales Order, Auto Fulfill Quantity is ticked by default, and it fulfils the line from whatever is available straight away. The Picking List window only ever offers you the quantity that hasn't been fulfilled yet, so a line that was auto fulfilled shows up with a quantity of 0 and there's nothing left for the picker to do.
If the setting is turned off later, Create Picking List goes grey again and the Picking Lists tab and the Picking Status column are hidden on Sales Orders. Picking Lists you have already created aren't deleted - they're still on Stock › Picking List.
Creating the Picking List
Step 1 - Open the Sales Order and check the lines
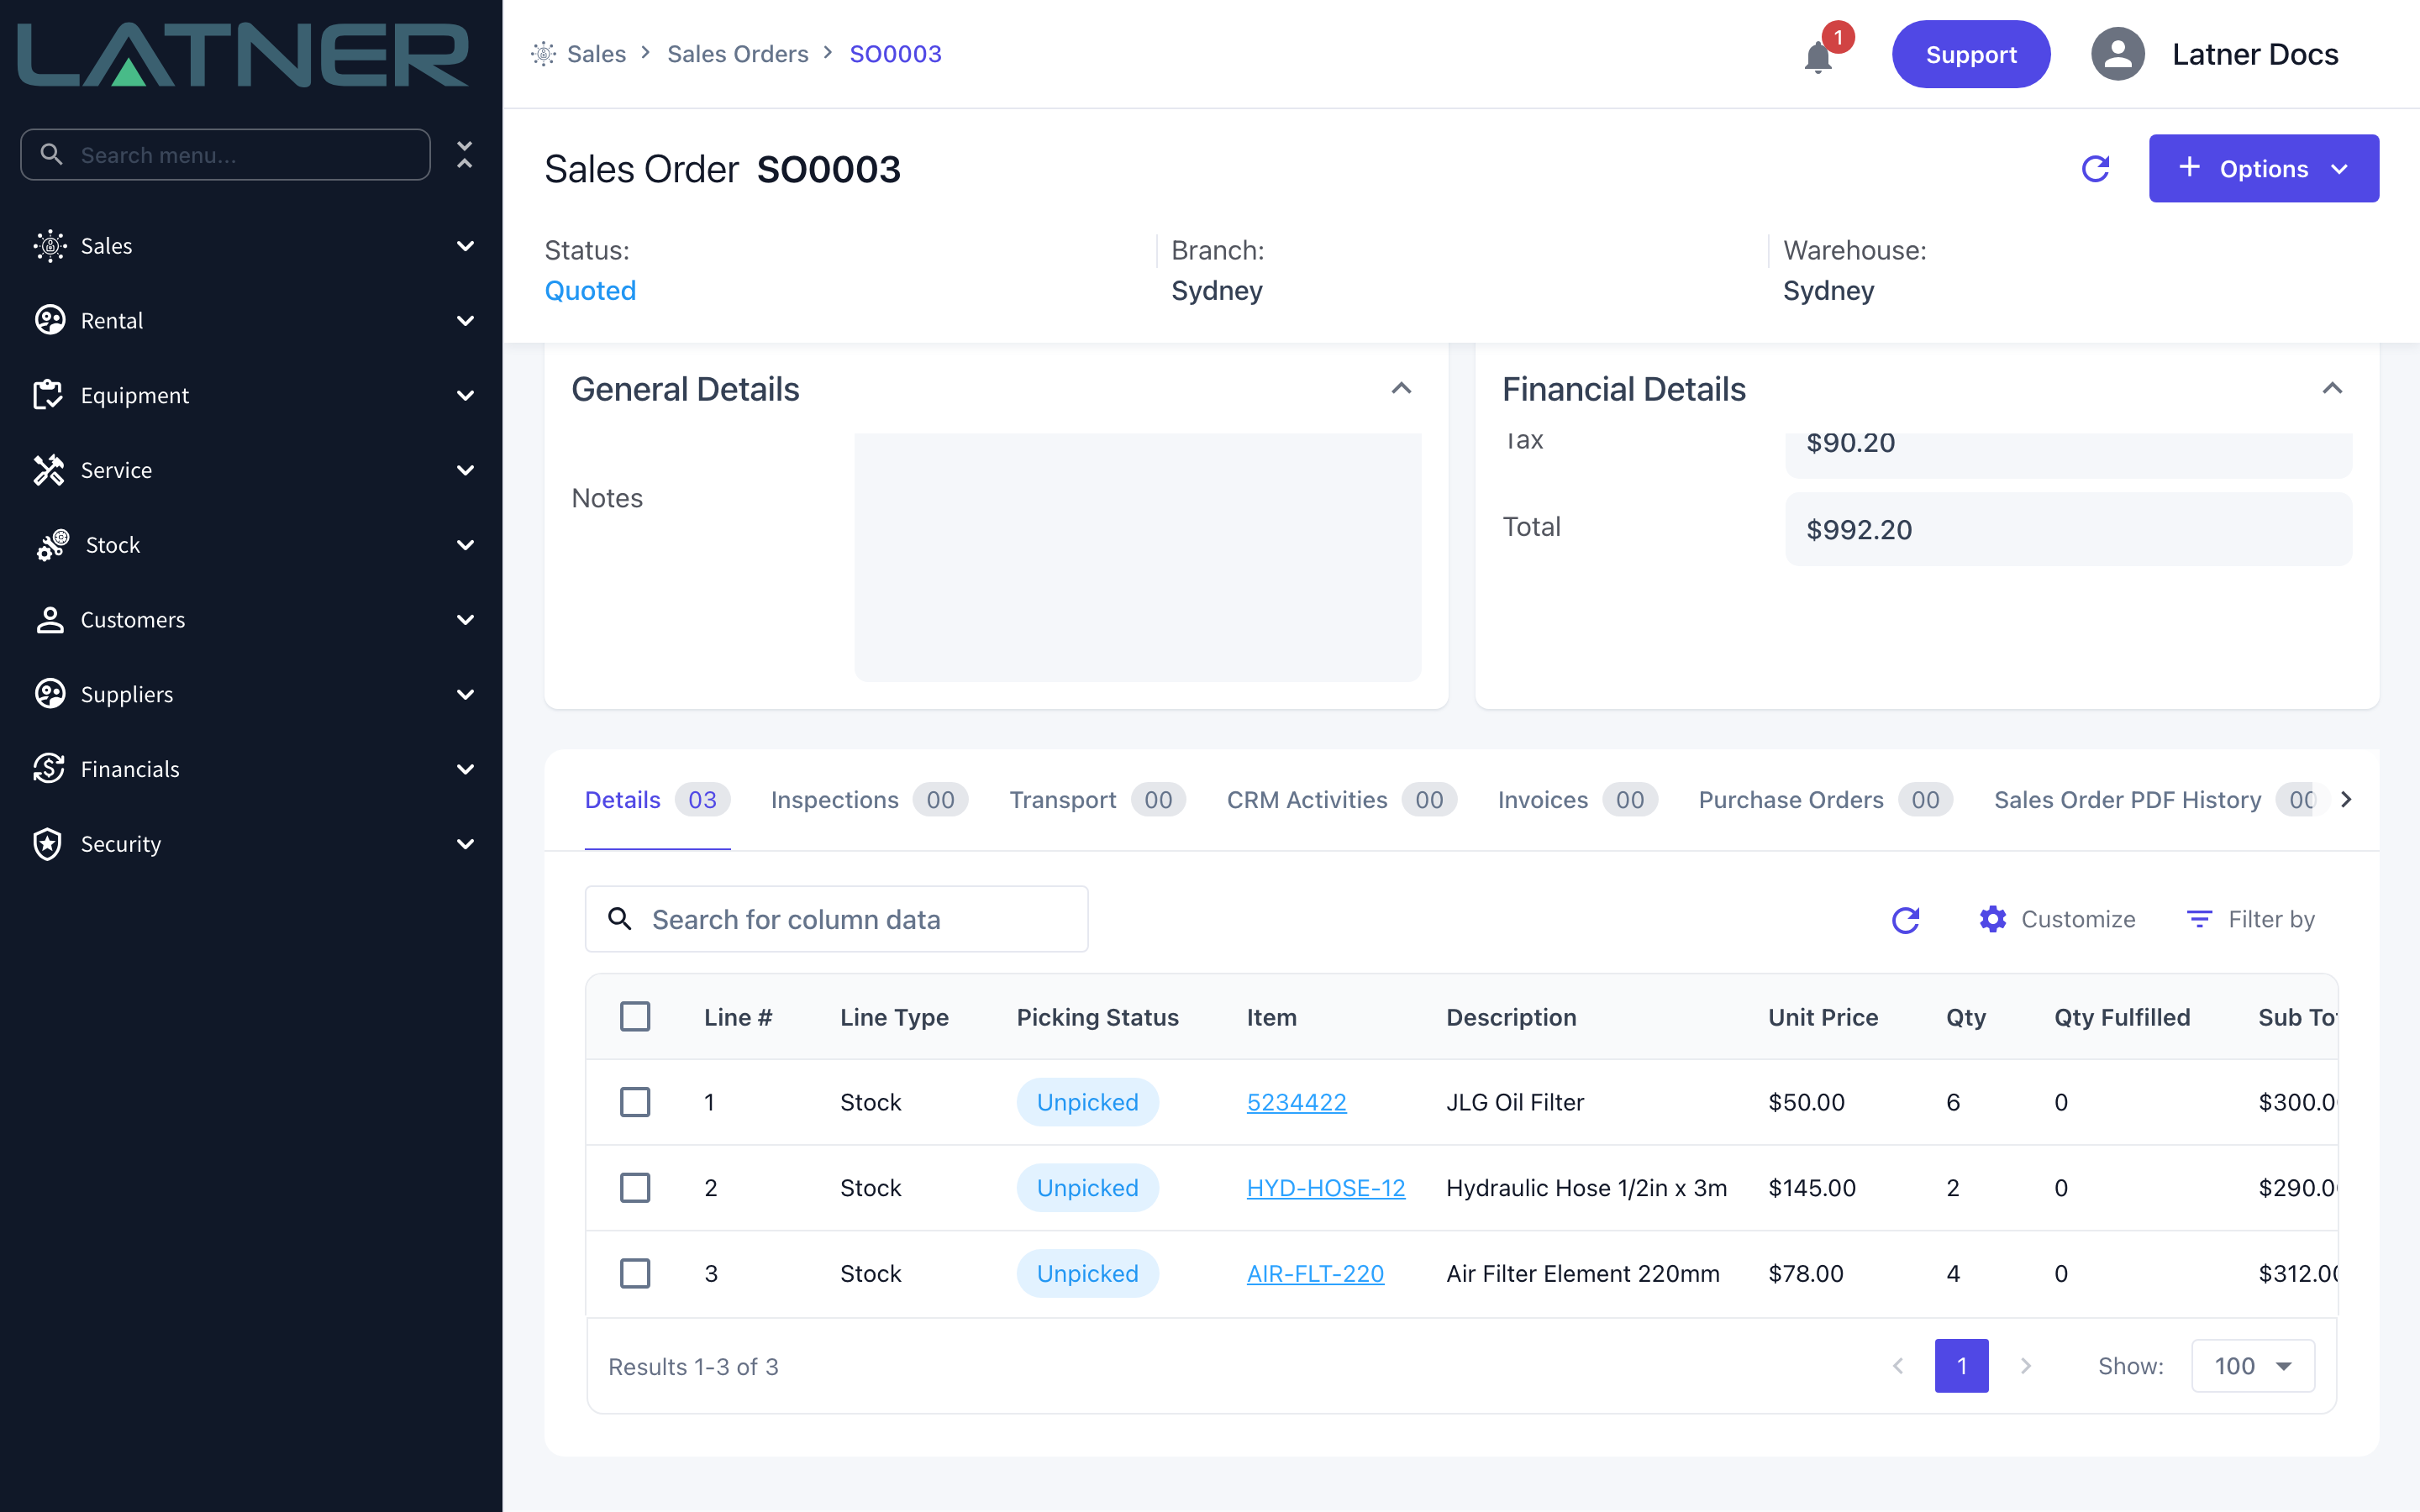
Go to Sales › Sales Orders and open the order. On the Details tab, the Picking Status column tells you where each stock line stands. Lines you can still pick show Unpicked.
Step 2 - Choose Create Picking List
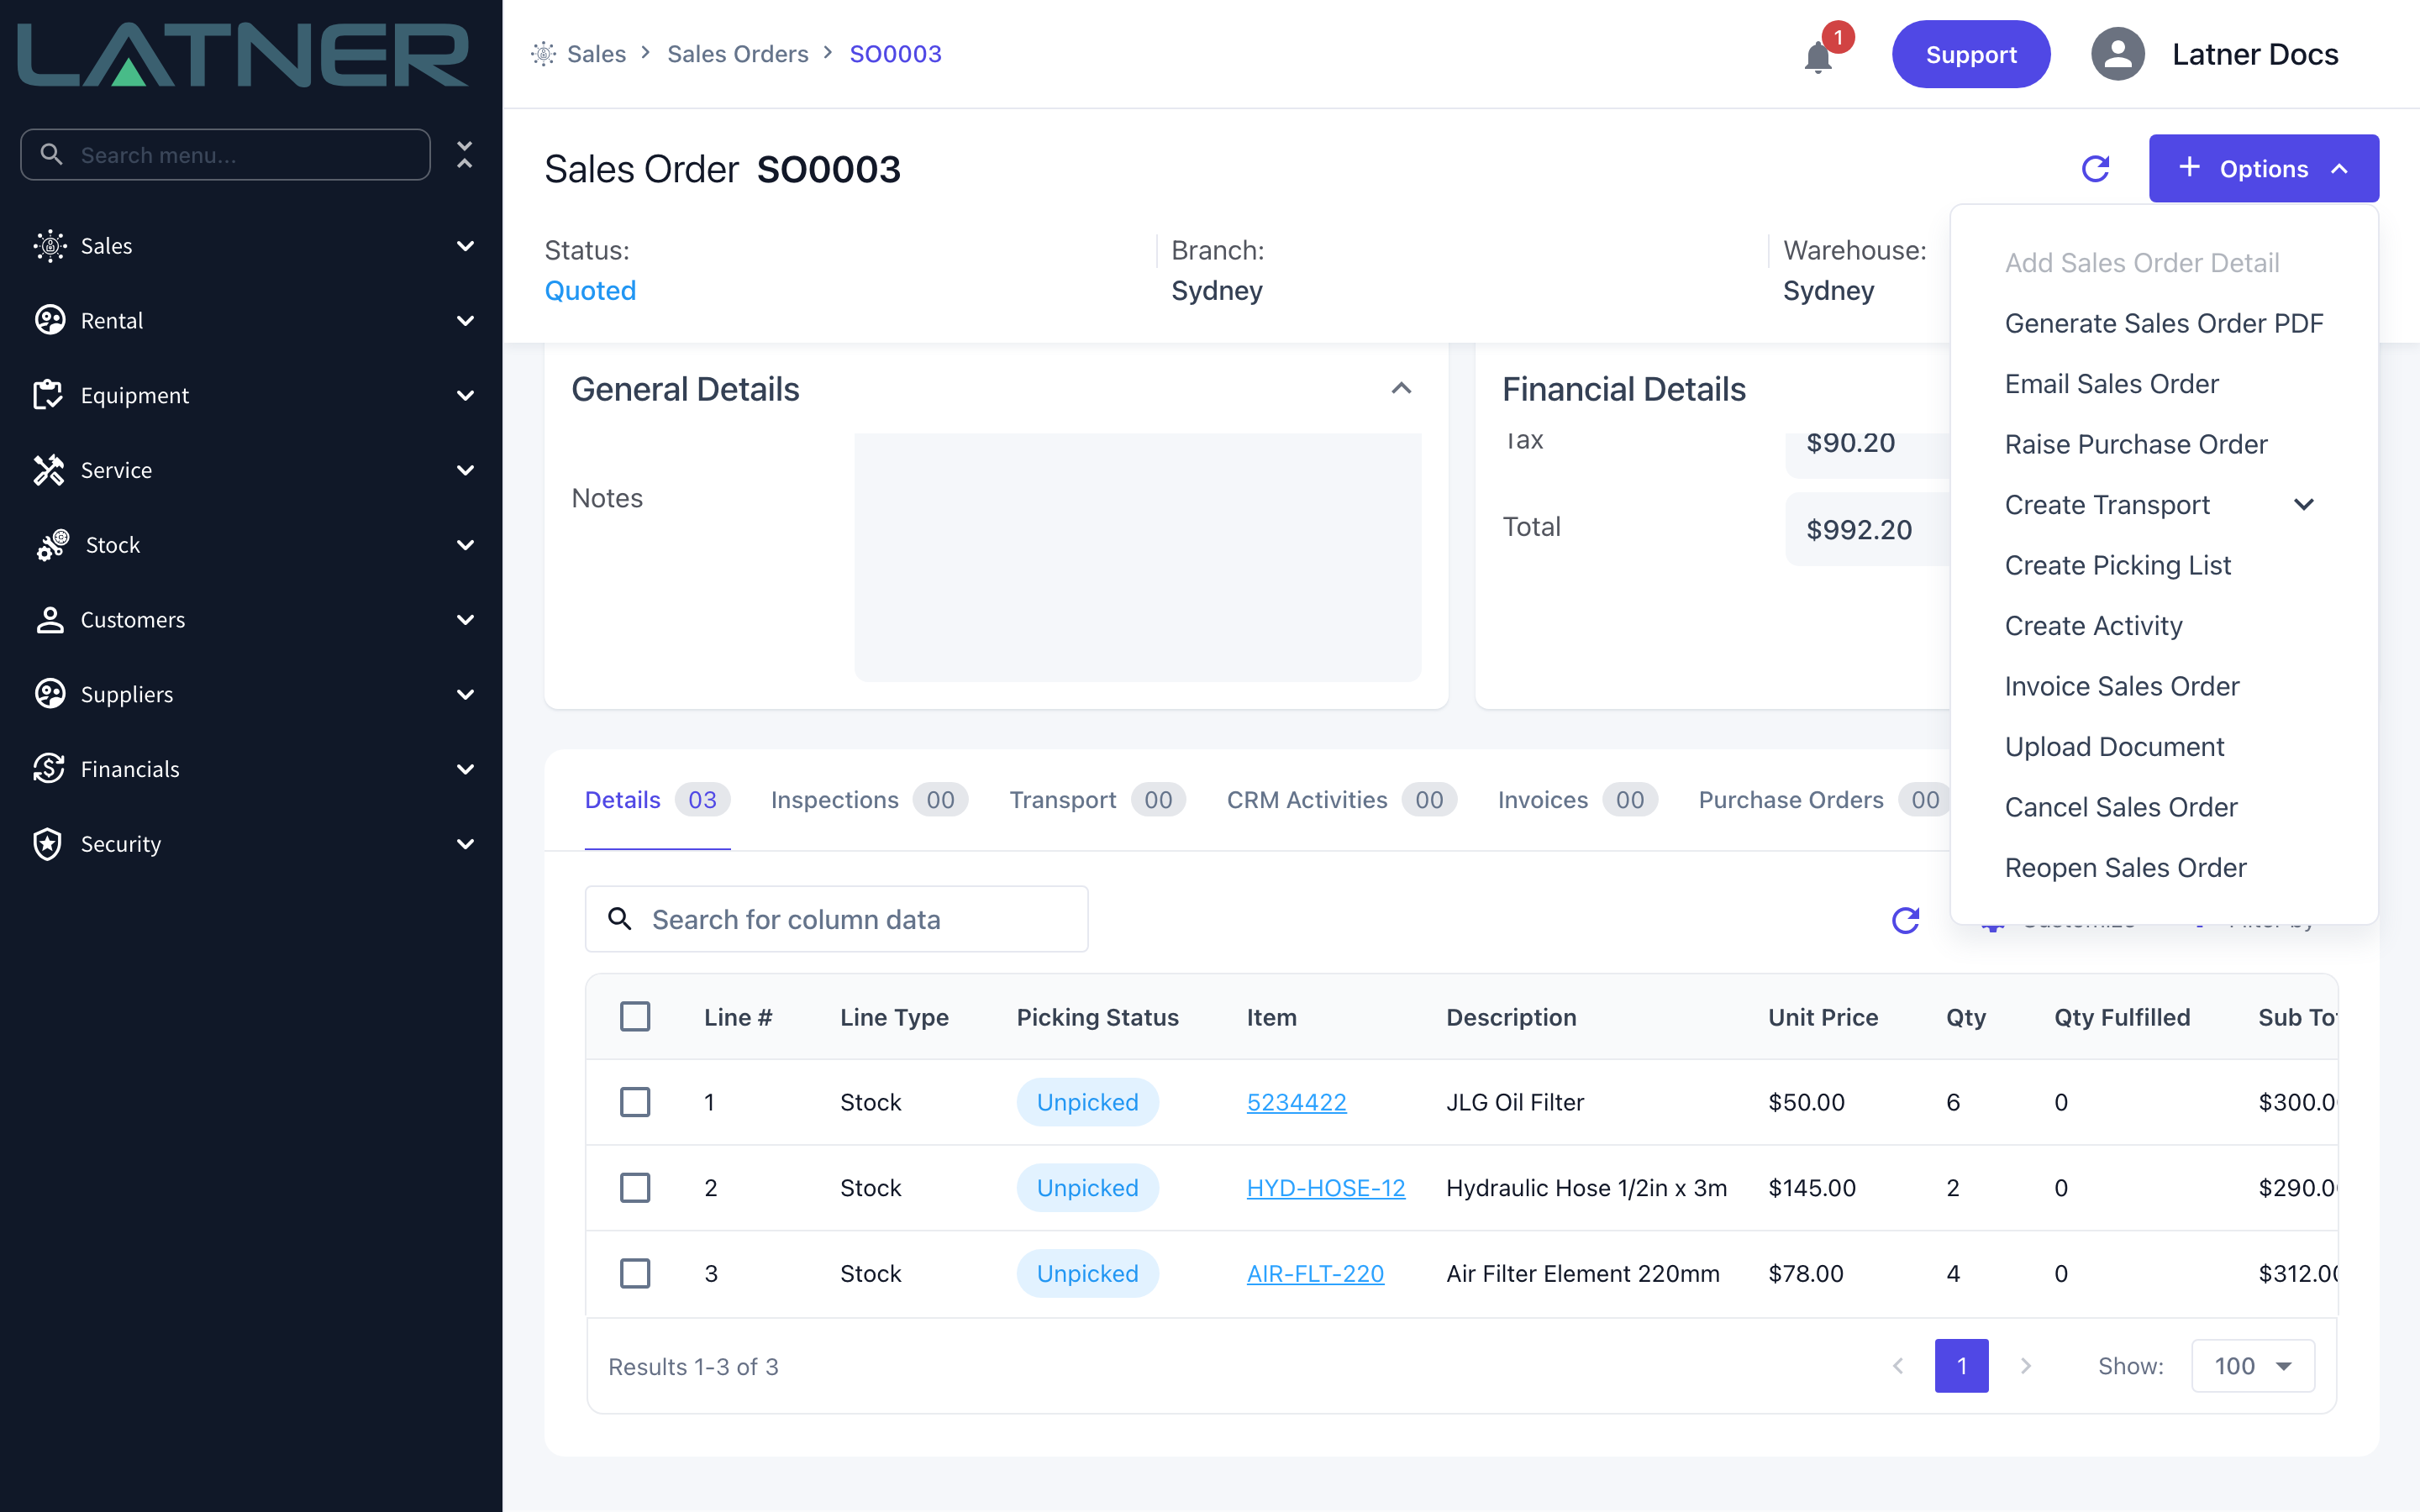
Select Options › Create Picking List. If the option is greyed out, hover it - the tooltip tells you whether the setting is off or the order isn't Quoted yet.
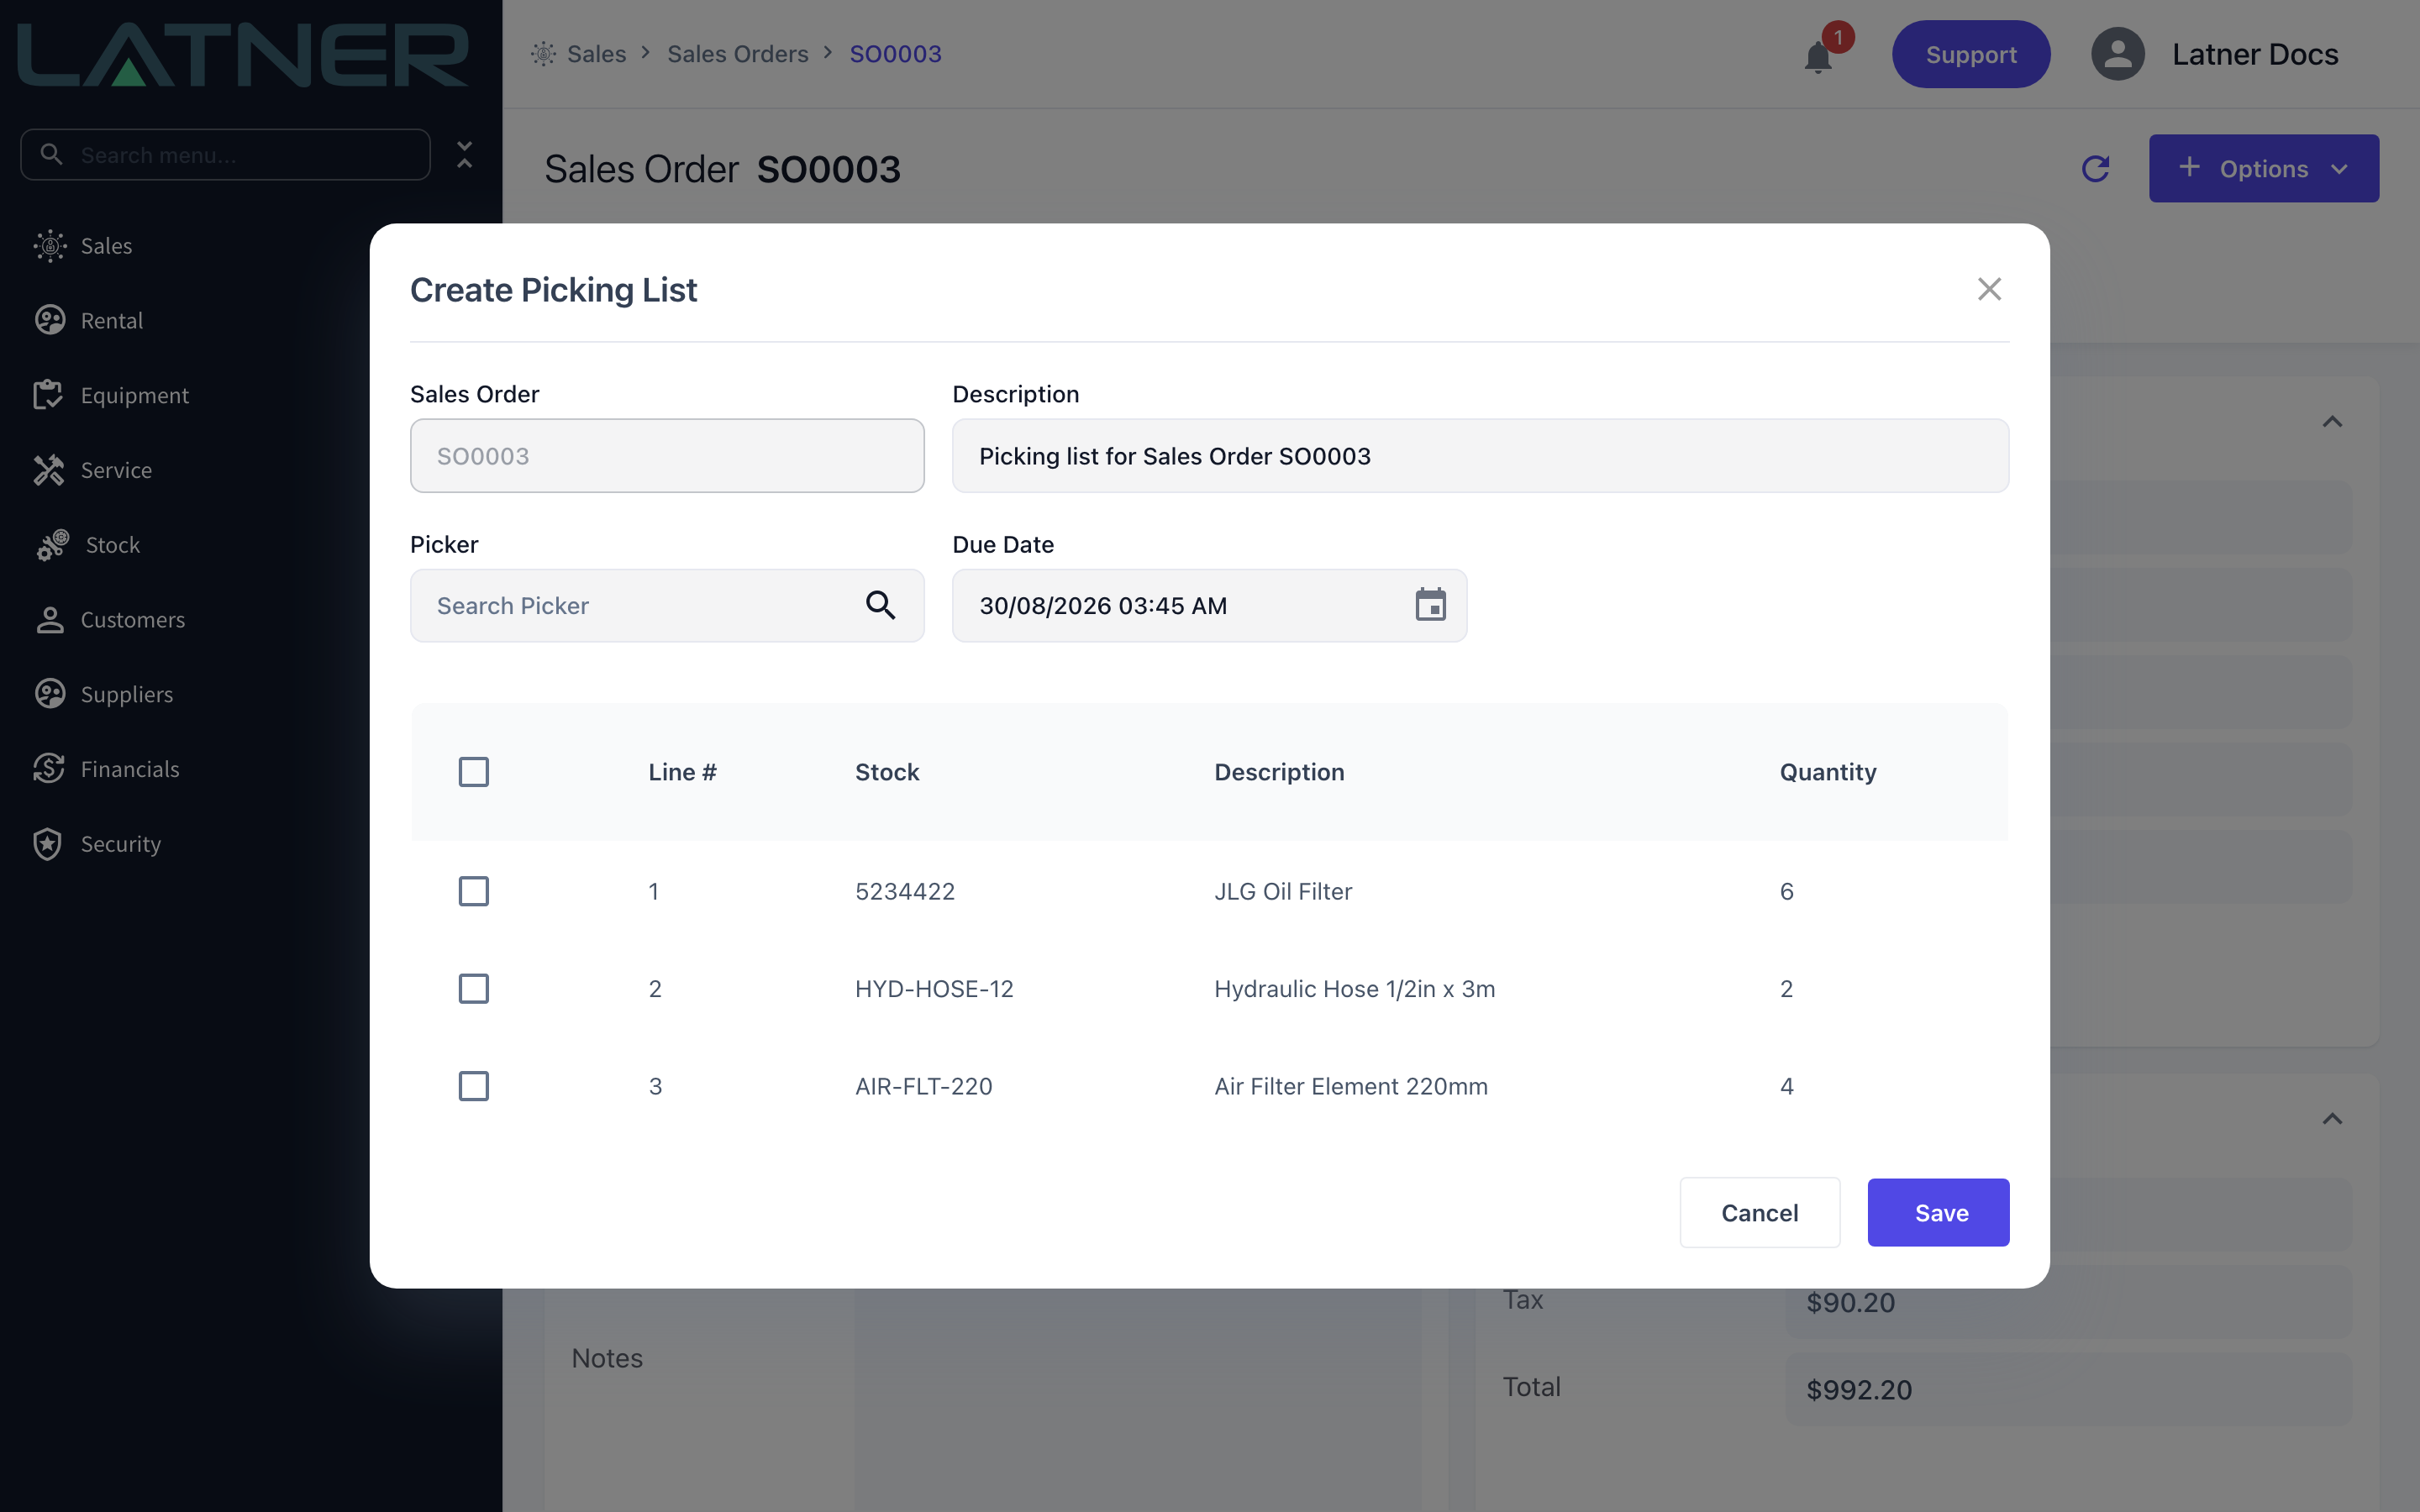
Step 3 - Review the header fields
The window opens with the Sales Order and a description already filled in. The fields are:
-
Sales Order - read only, the order you came from.
-
Description - required. It defaults to "Picking list for Sales Order <number>". Change it if your warehouse uses its own wording.
-
Picker - optional. Any active skilled person can be chosen. Setting one is what puts the job on that person's My Picking Lists view.
-
Due Date - required. It defaults to the current date and time in the branch's timezone.
Step 4 - Select the lines to pick
Tick the lines you want on this Picking List, or use the checkbox in the table header to select them all. At least one line must be ticked - saving with nothing selected returns At least one picking item must be selected.
You don't have to take everything at once. Lines you leave unticked stay Unpicked and you can raise a second Picking List for them later.
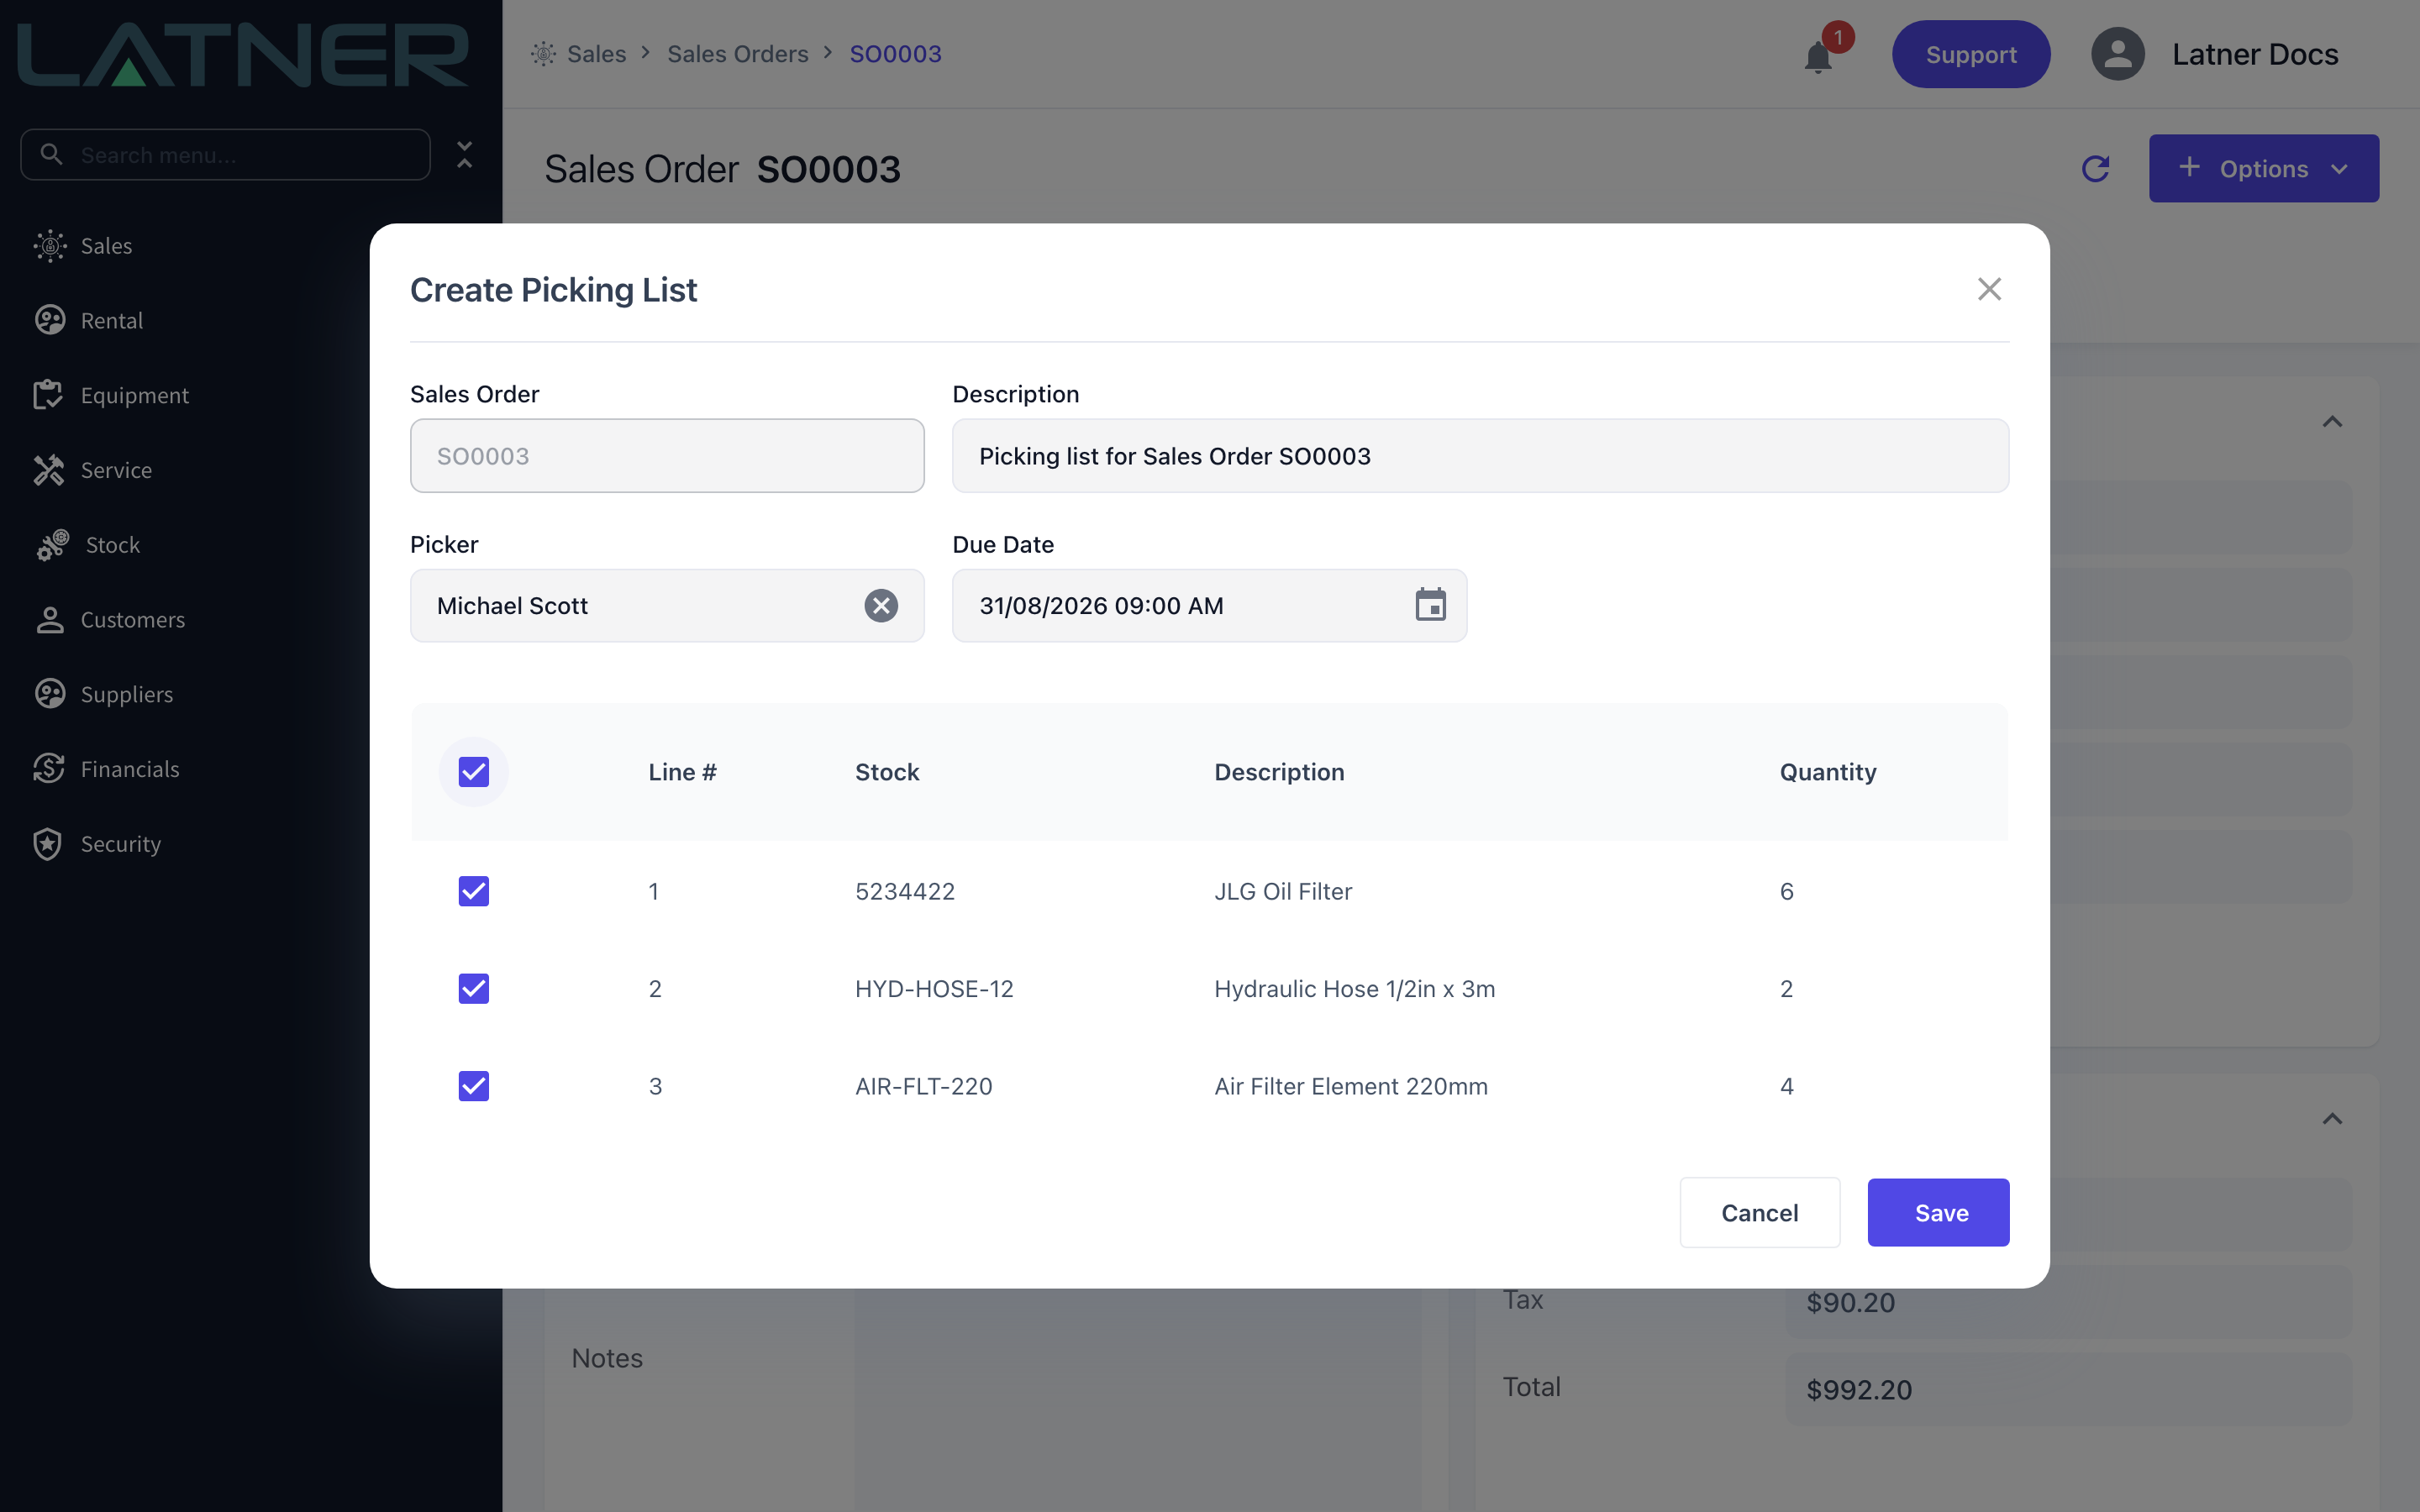
Step 5 - Save
Select Save. Latner creates the Picking List and takes you straight to it. It starts at status Open, and the Details tab shows the warehouse and bin for each item, which is what makes the list usable on the warehouse floor.
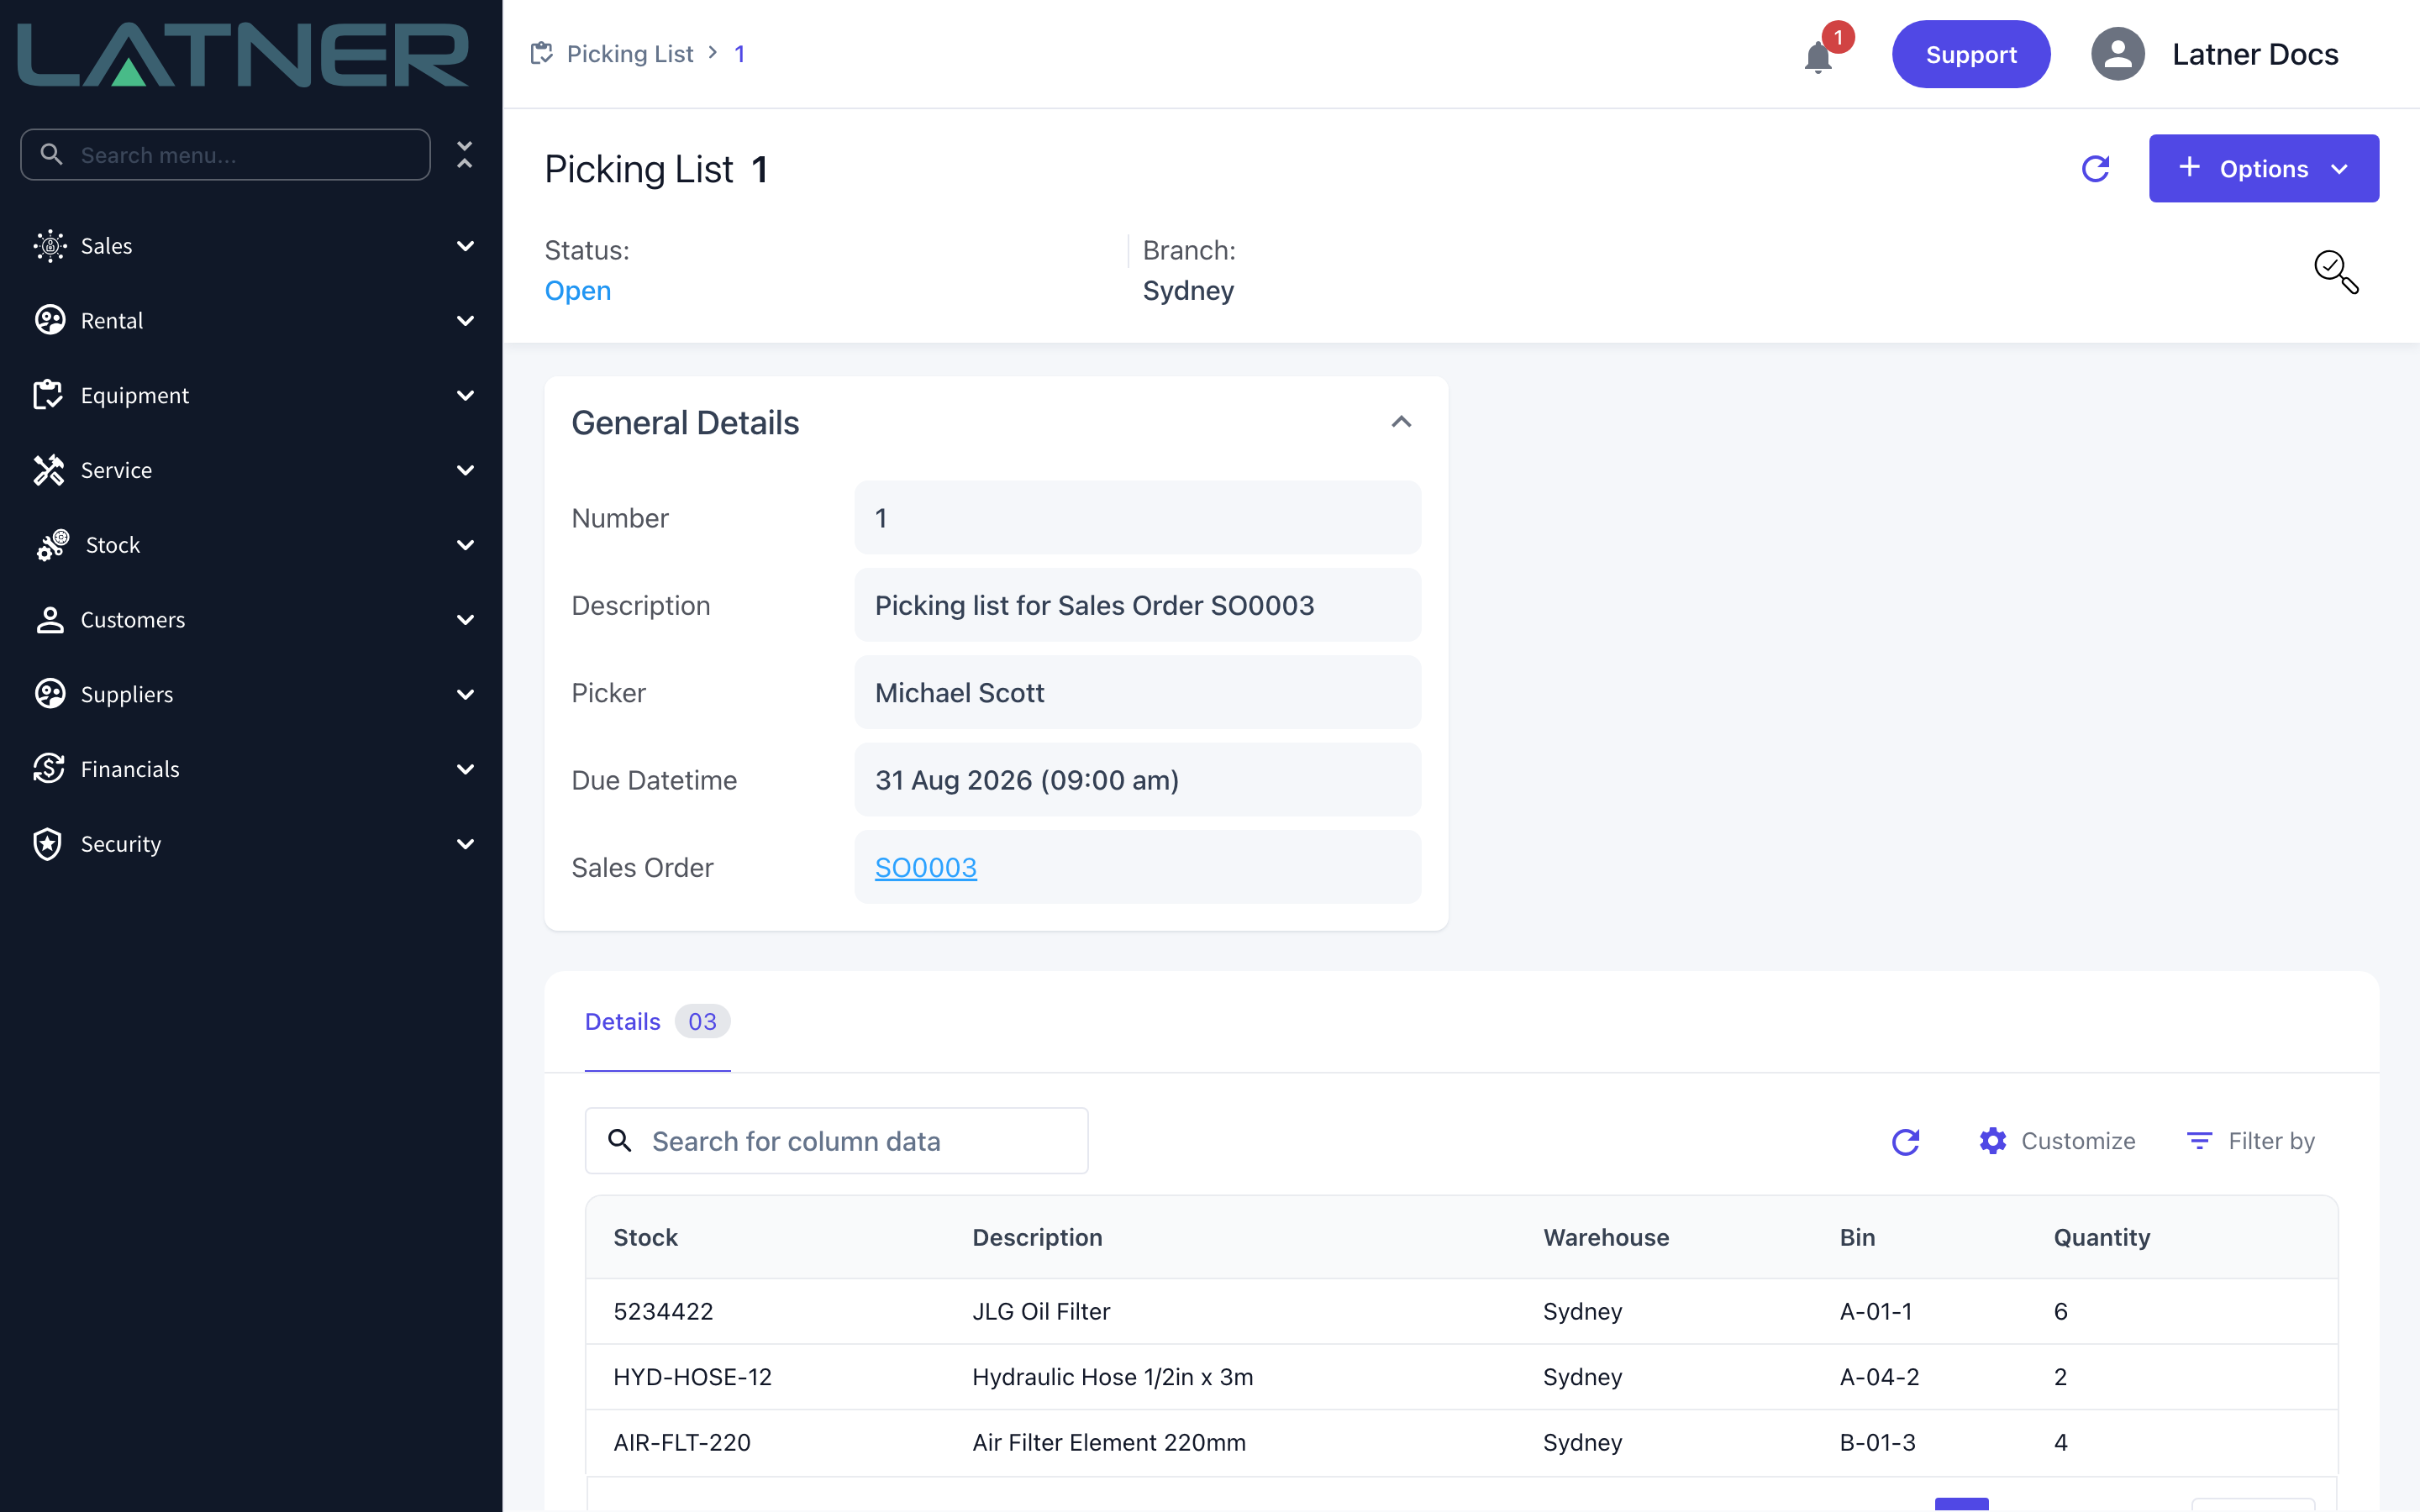
From Options › Generate Picking List PDF you can produce a printable copy to hand to the picker.
Step 6 - Set the list to Picking
When the picker starts work, select Options › Set Picking. This is not just bookkeeping: Complete Picking List stays greyed out until the list is at Picking.
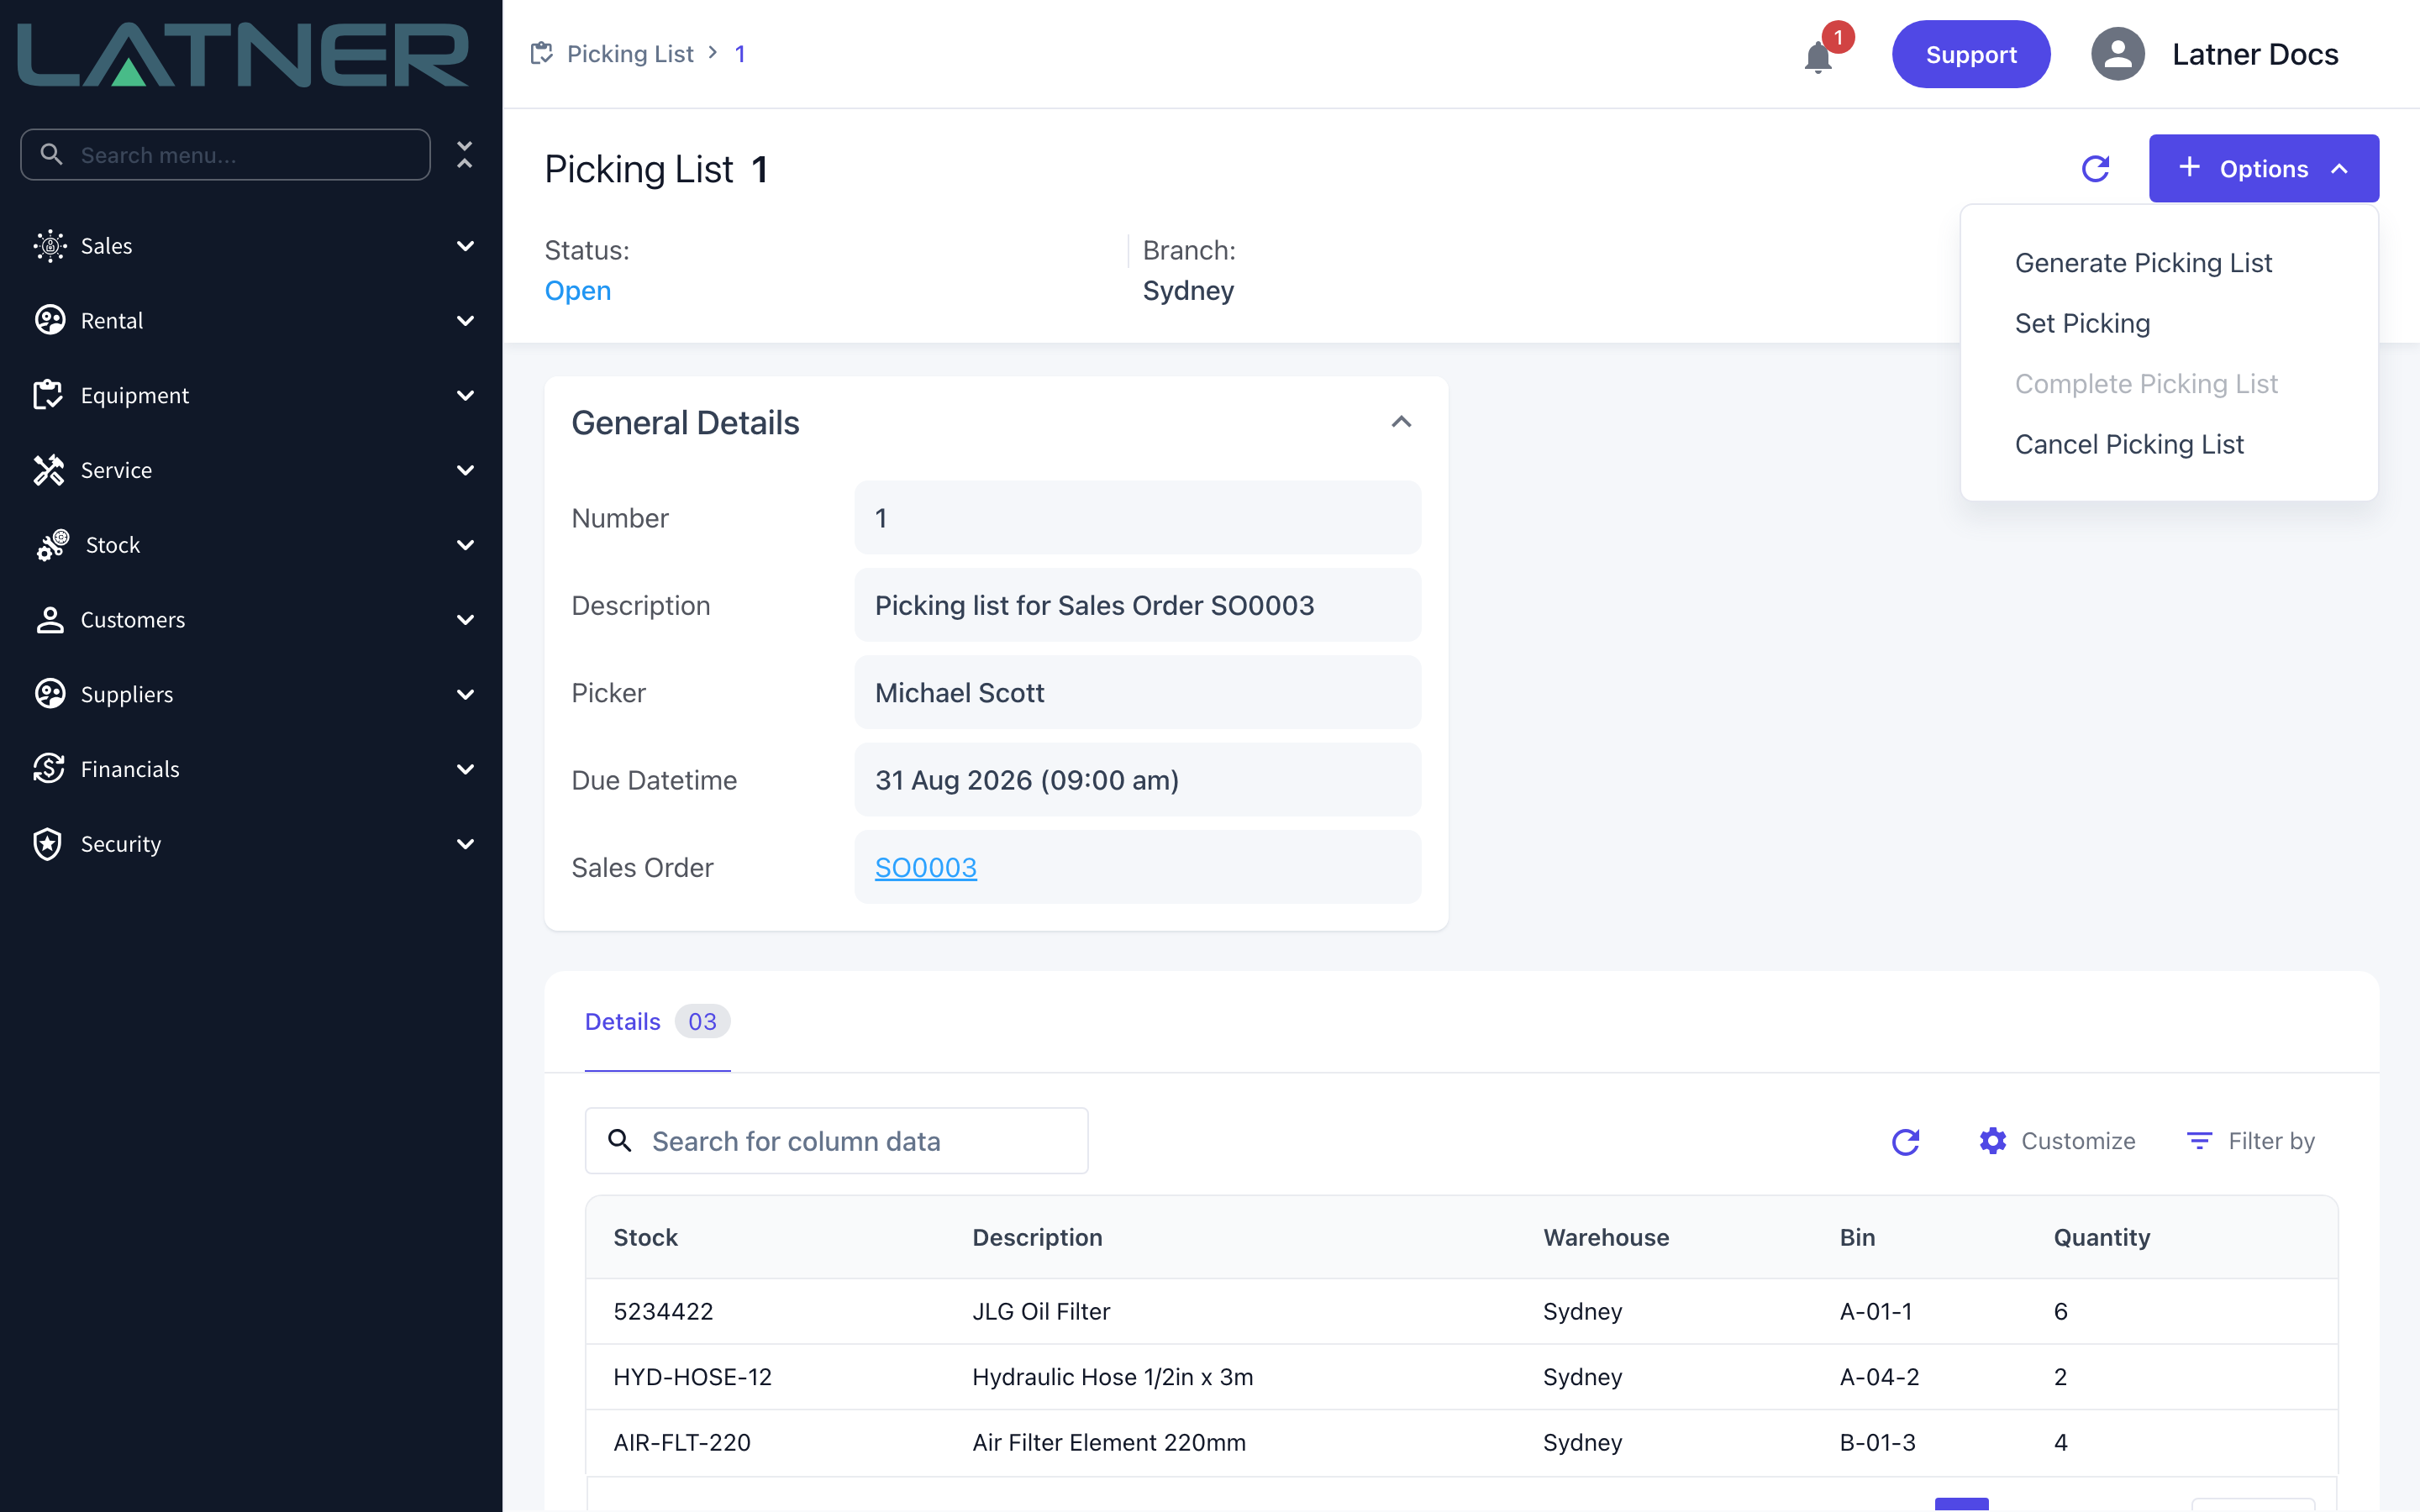
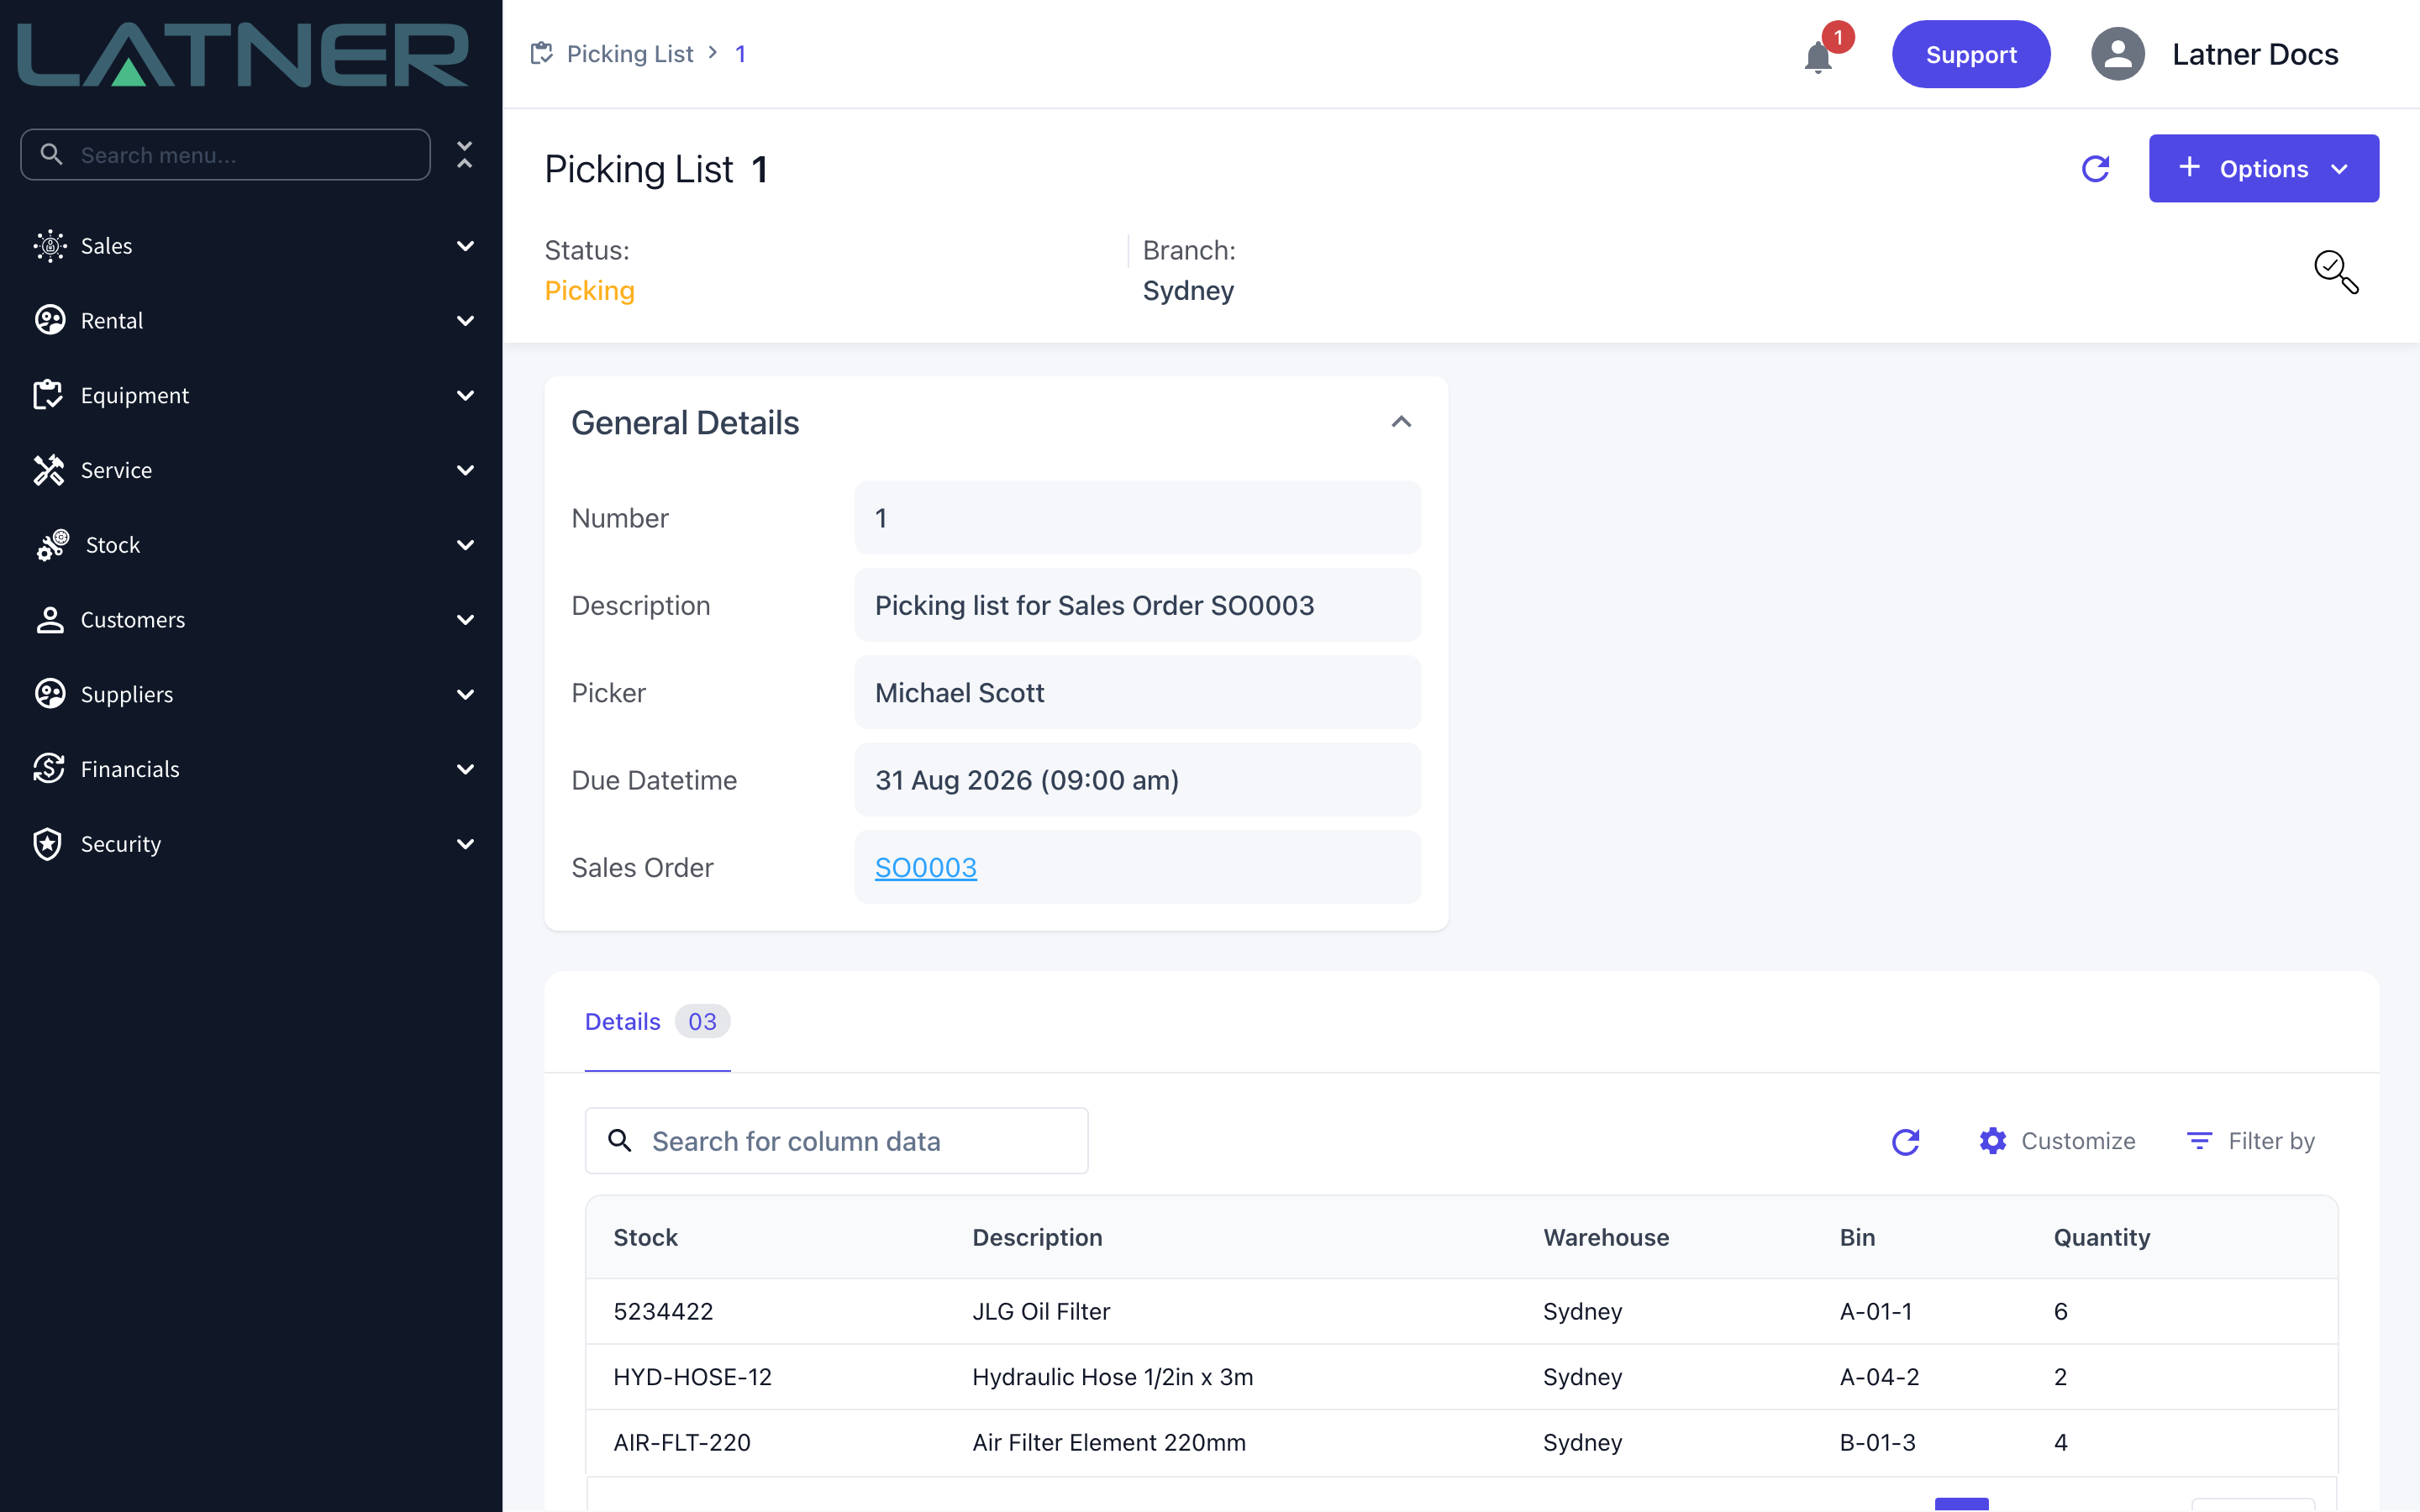
Step 7 - Complete the Picking List
Once everything is off the shelf, select Options › Complete Picking List. The list moves to Completed and the sales order lines are updated.
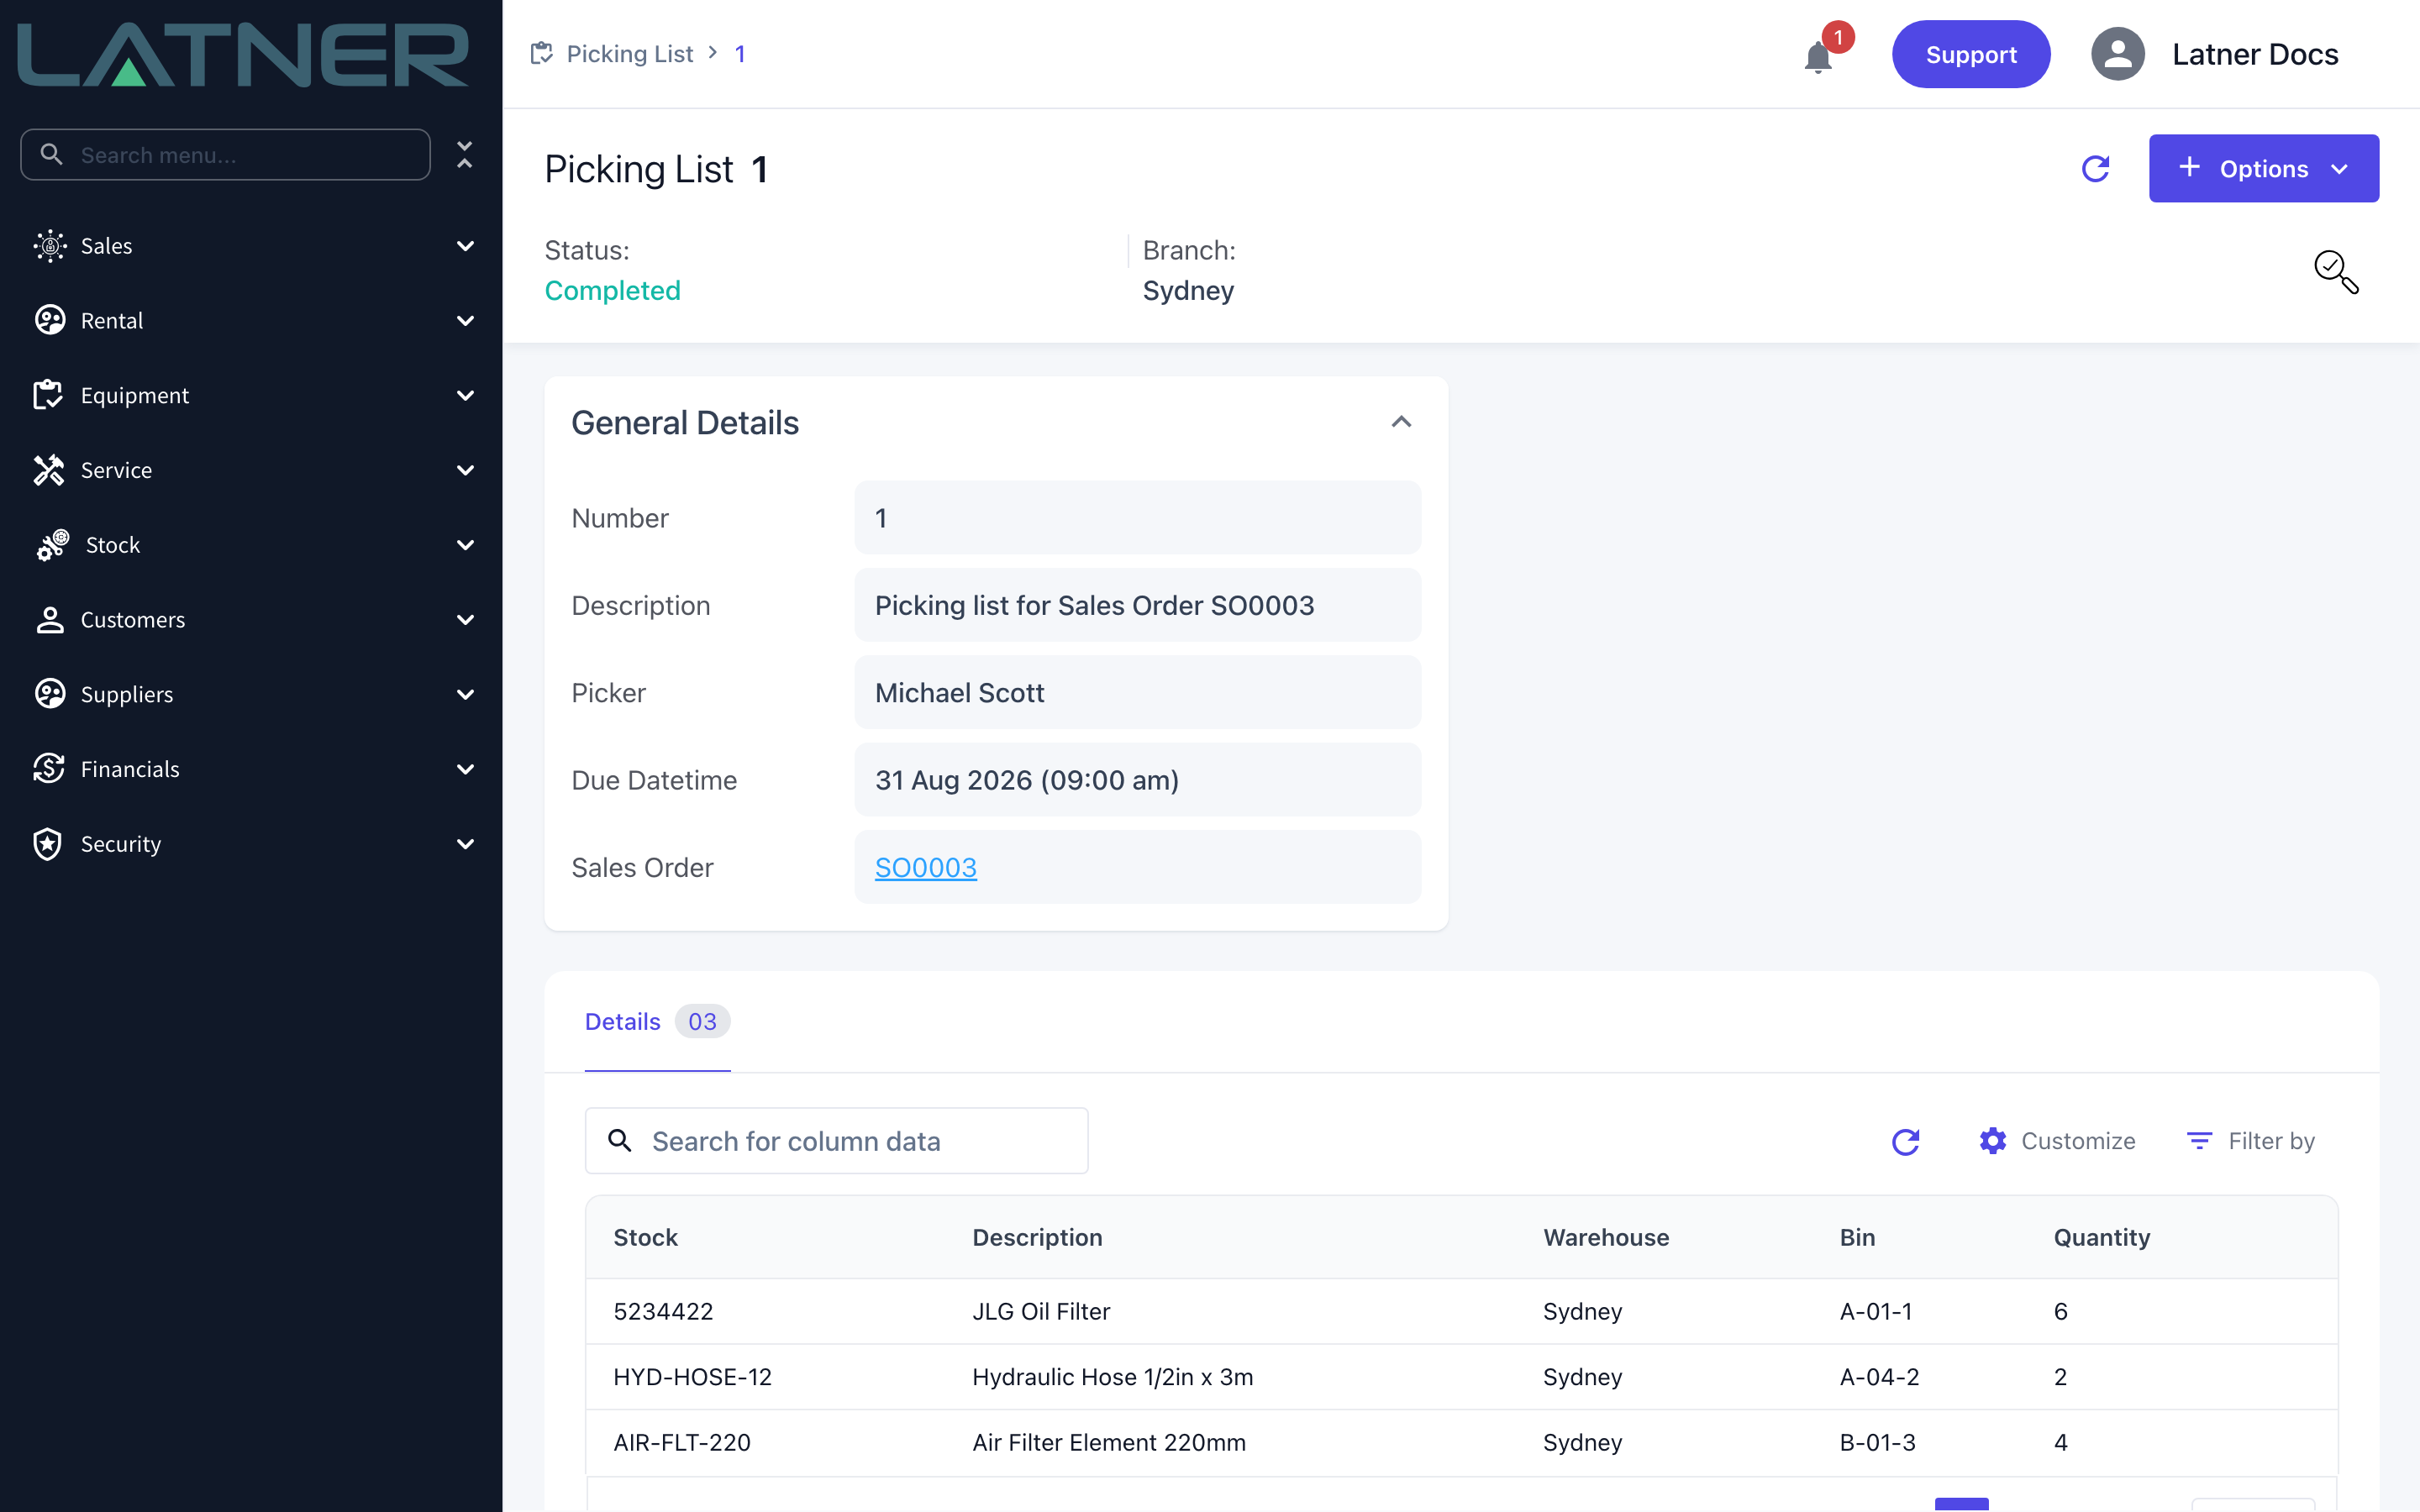
After Completion
-
Each picked line on the Sales Order moves to Picked and its Qty Fulfilled is topped up by the quantity that was picked.
-
The stock is allocated: Qty Available on the stock record drops and Qty Allocated rises by the same amount.
-
Those lines can now be invoiced. Latner won't let you invoice more than the fulfilled quantity on a line.
-
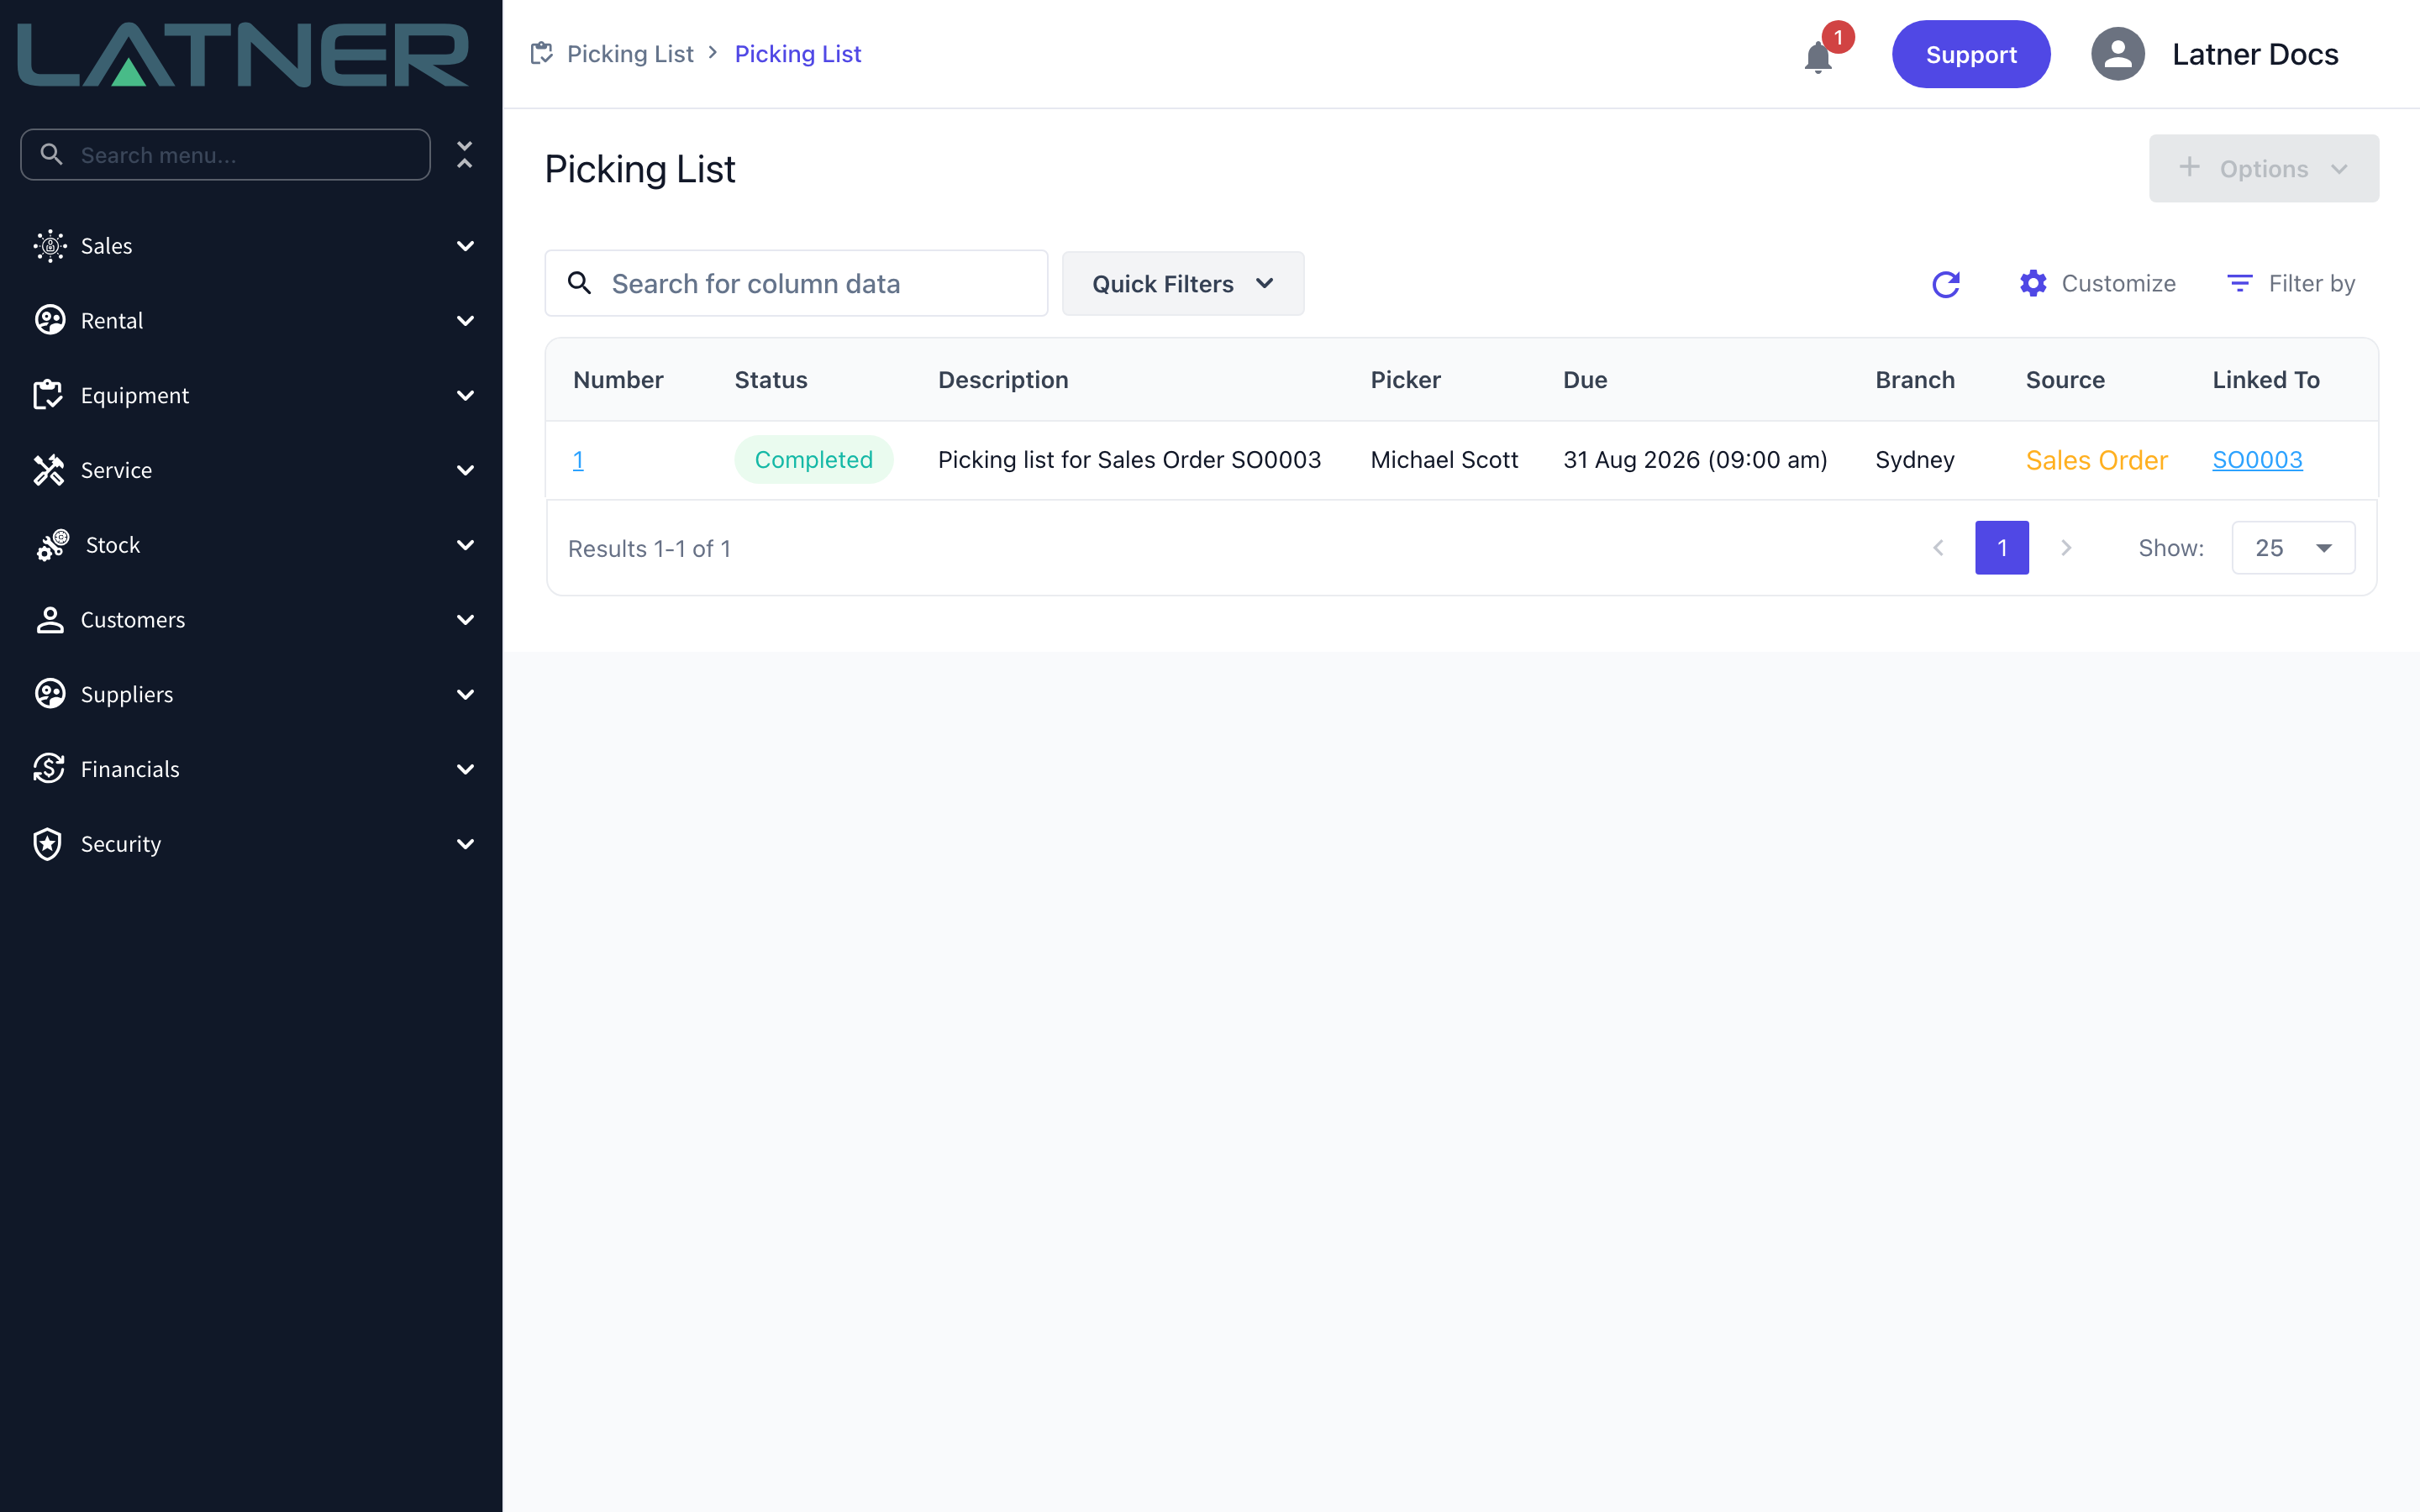
The Picking List is listed on the Sales Order's Picking Lists tab and on Stock › Picking List, where the Linked To column points back at the order.
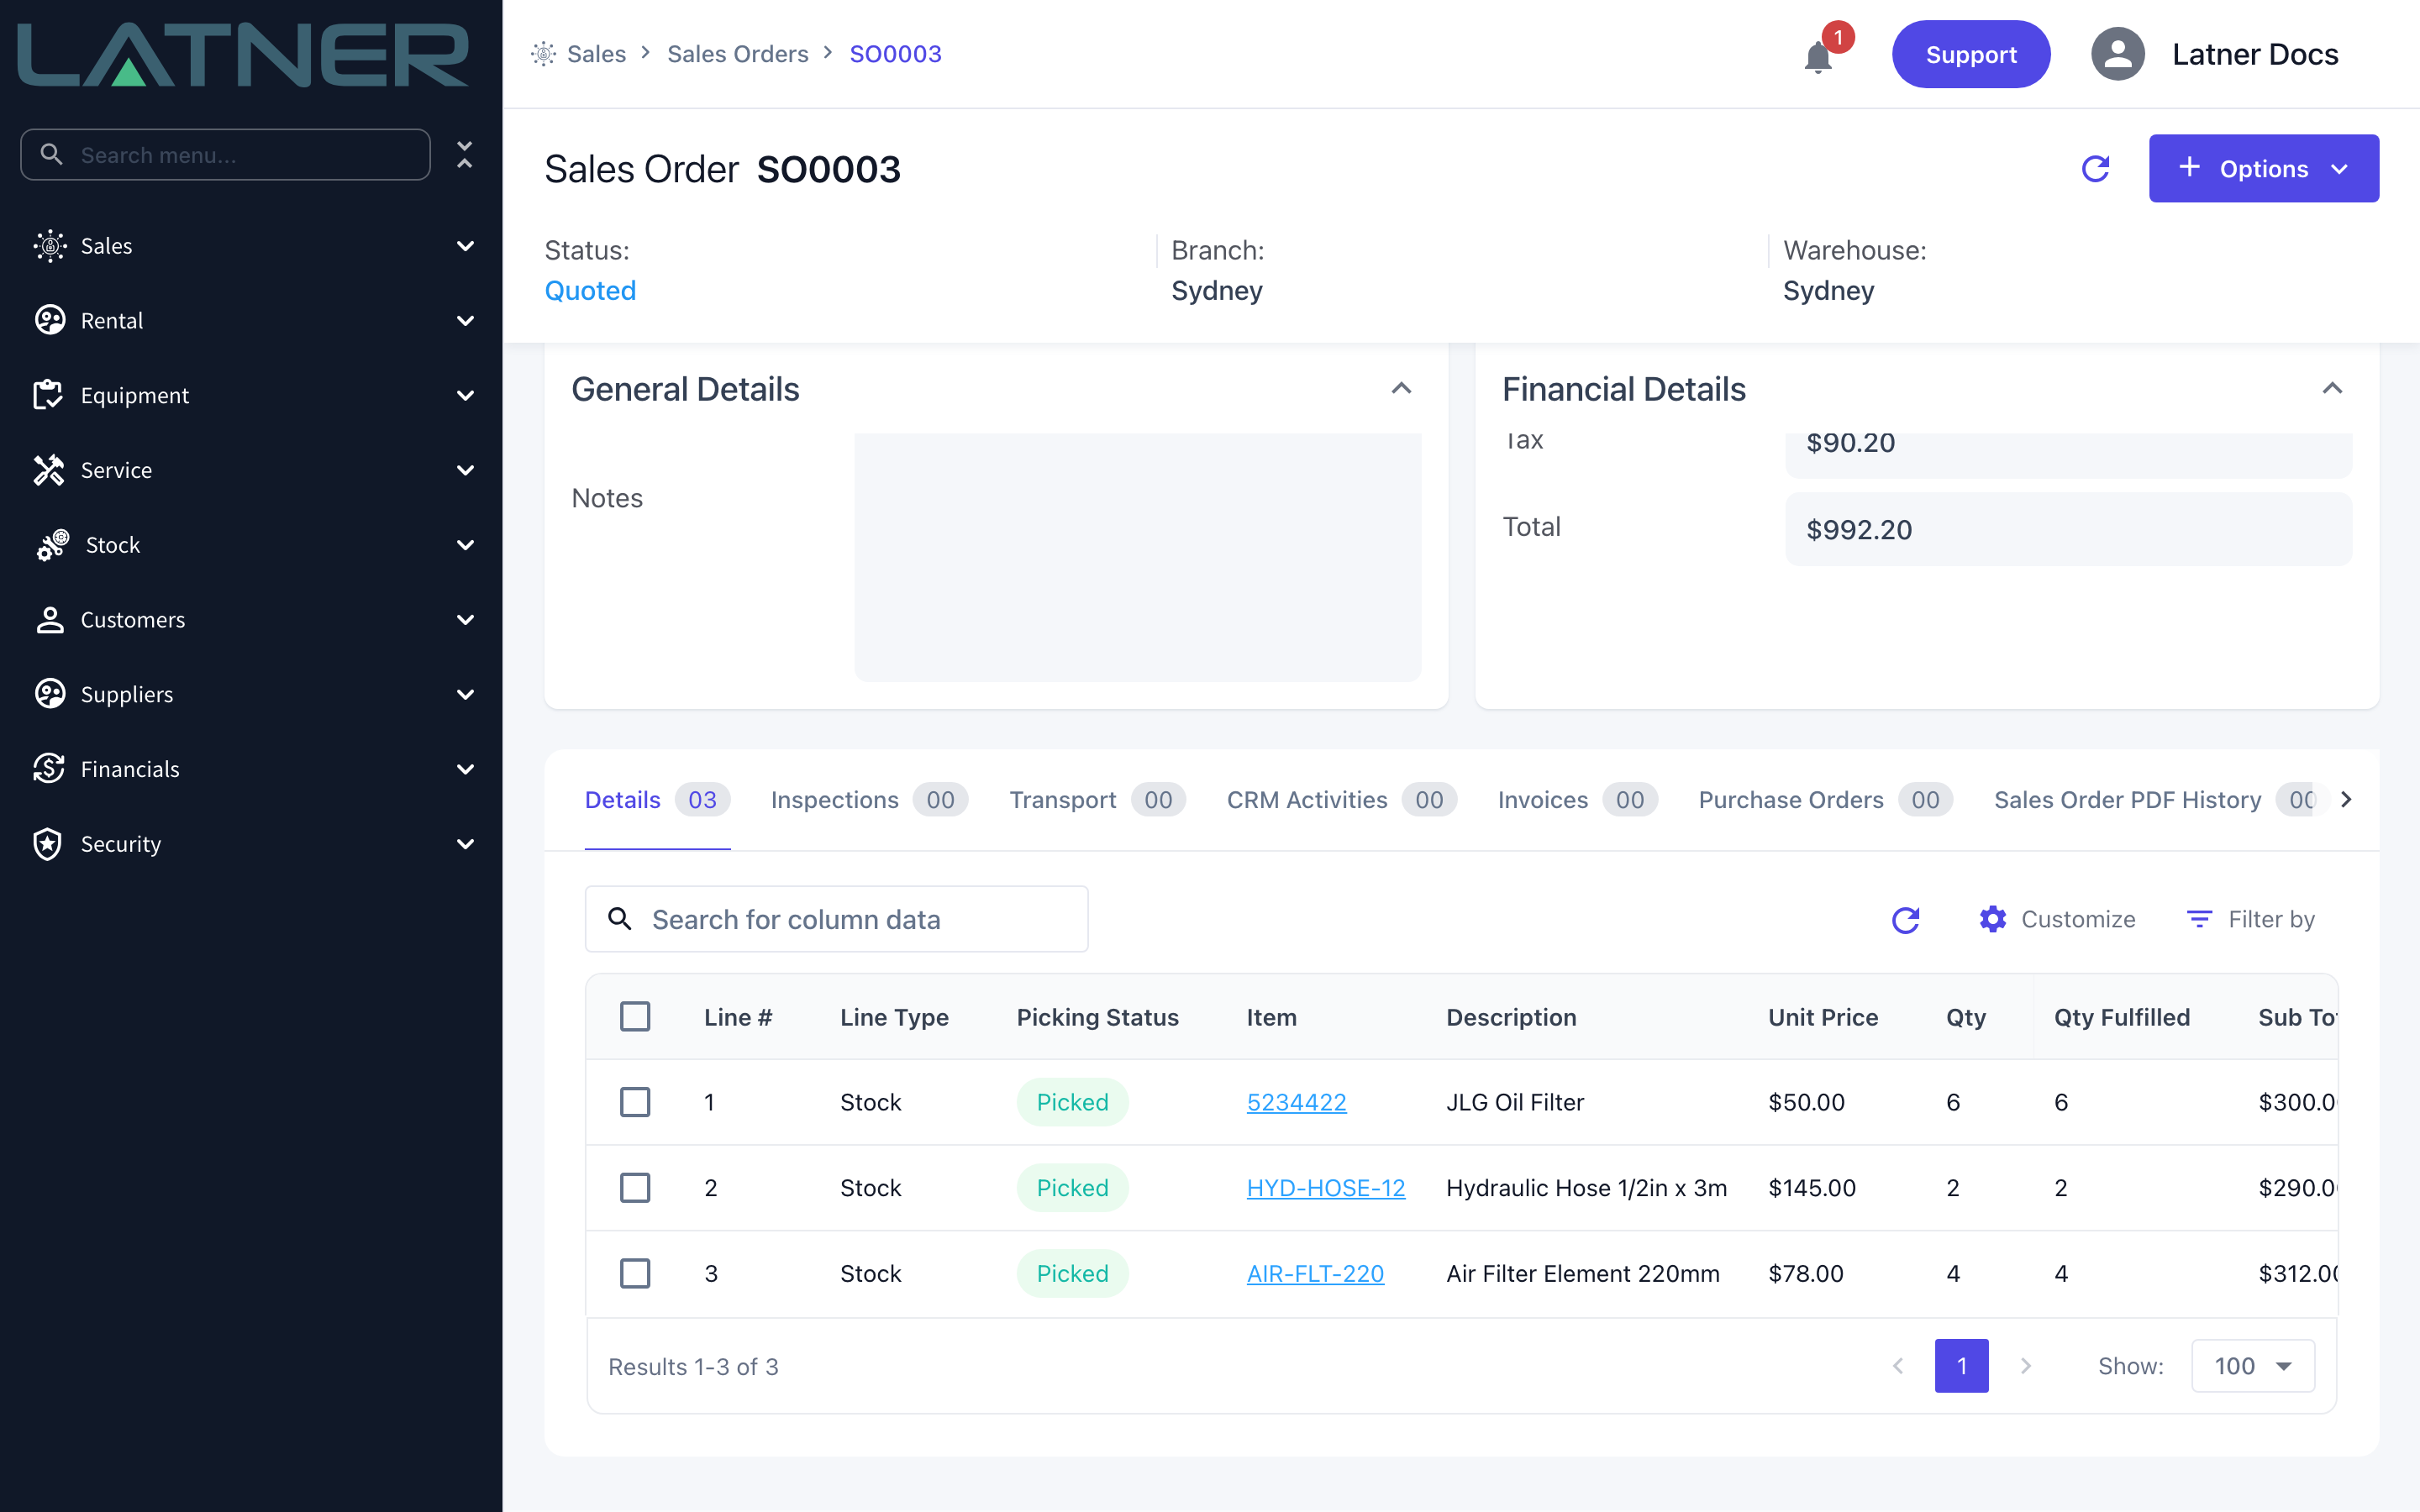
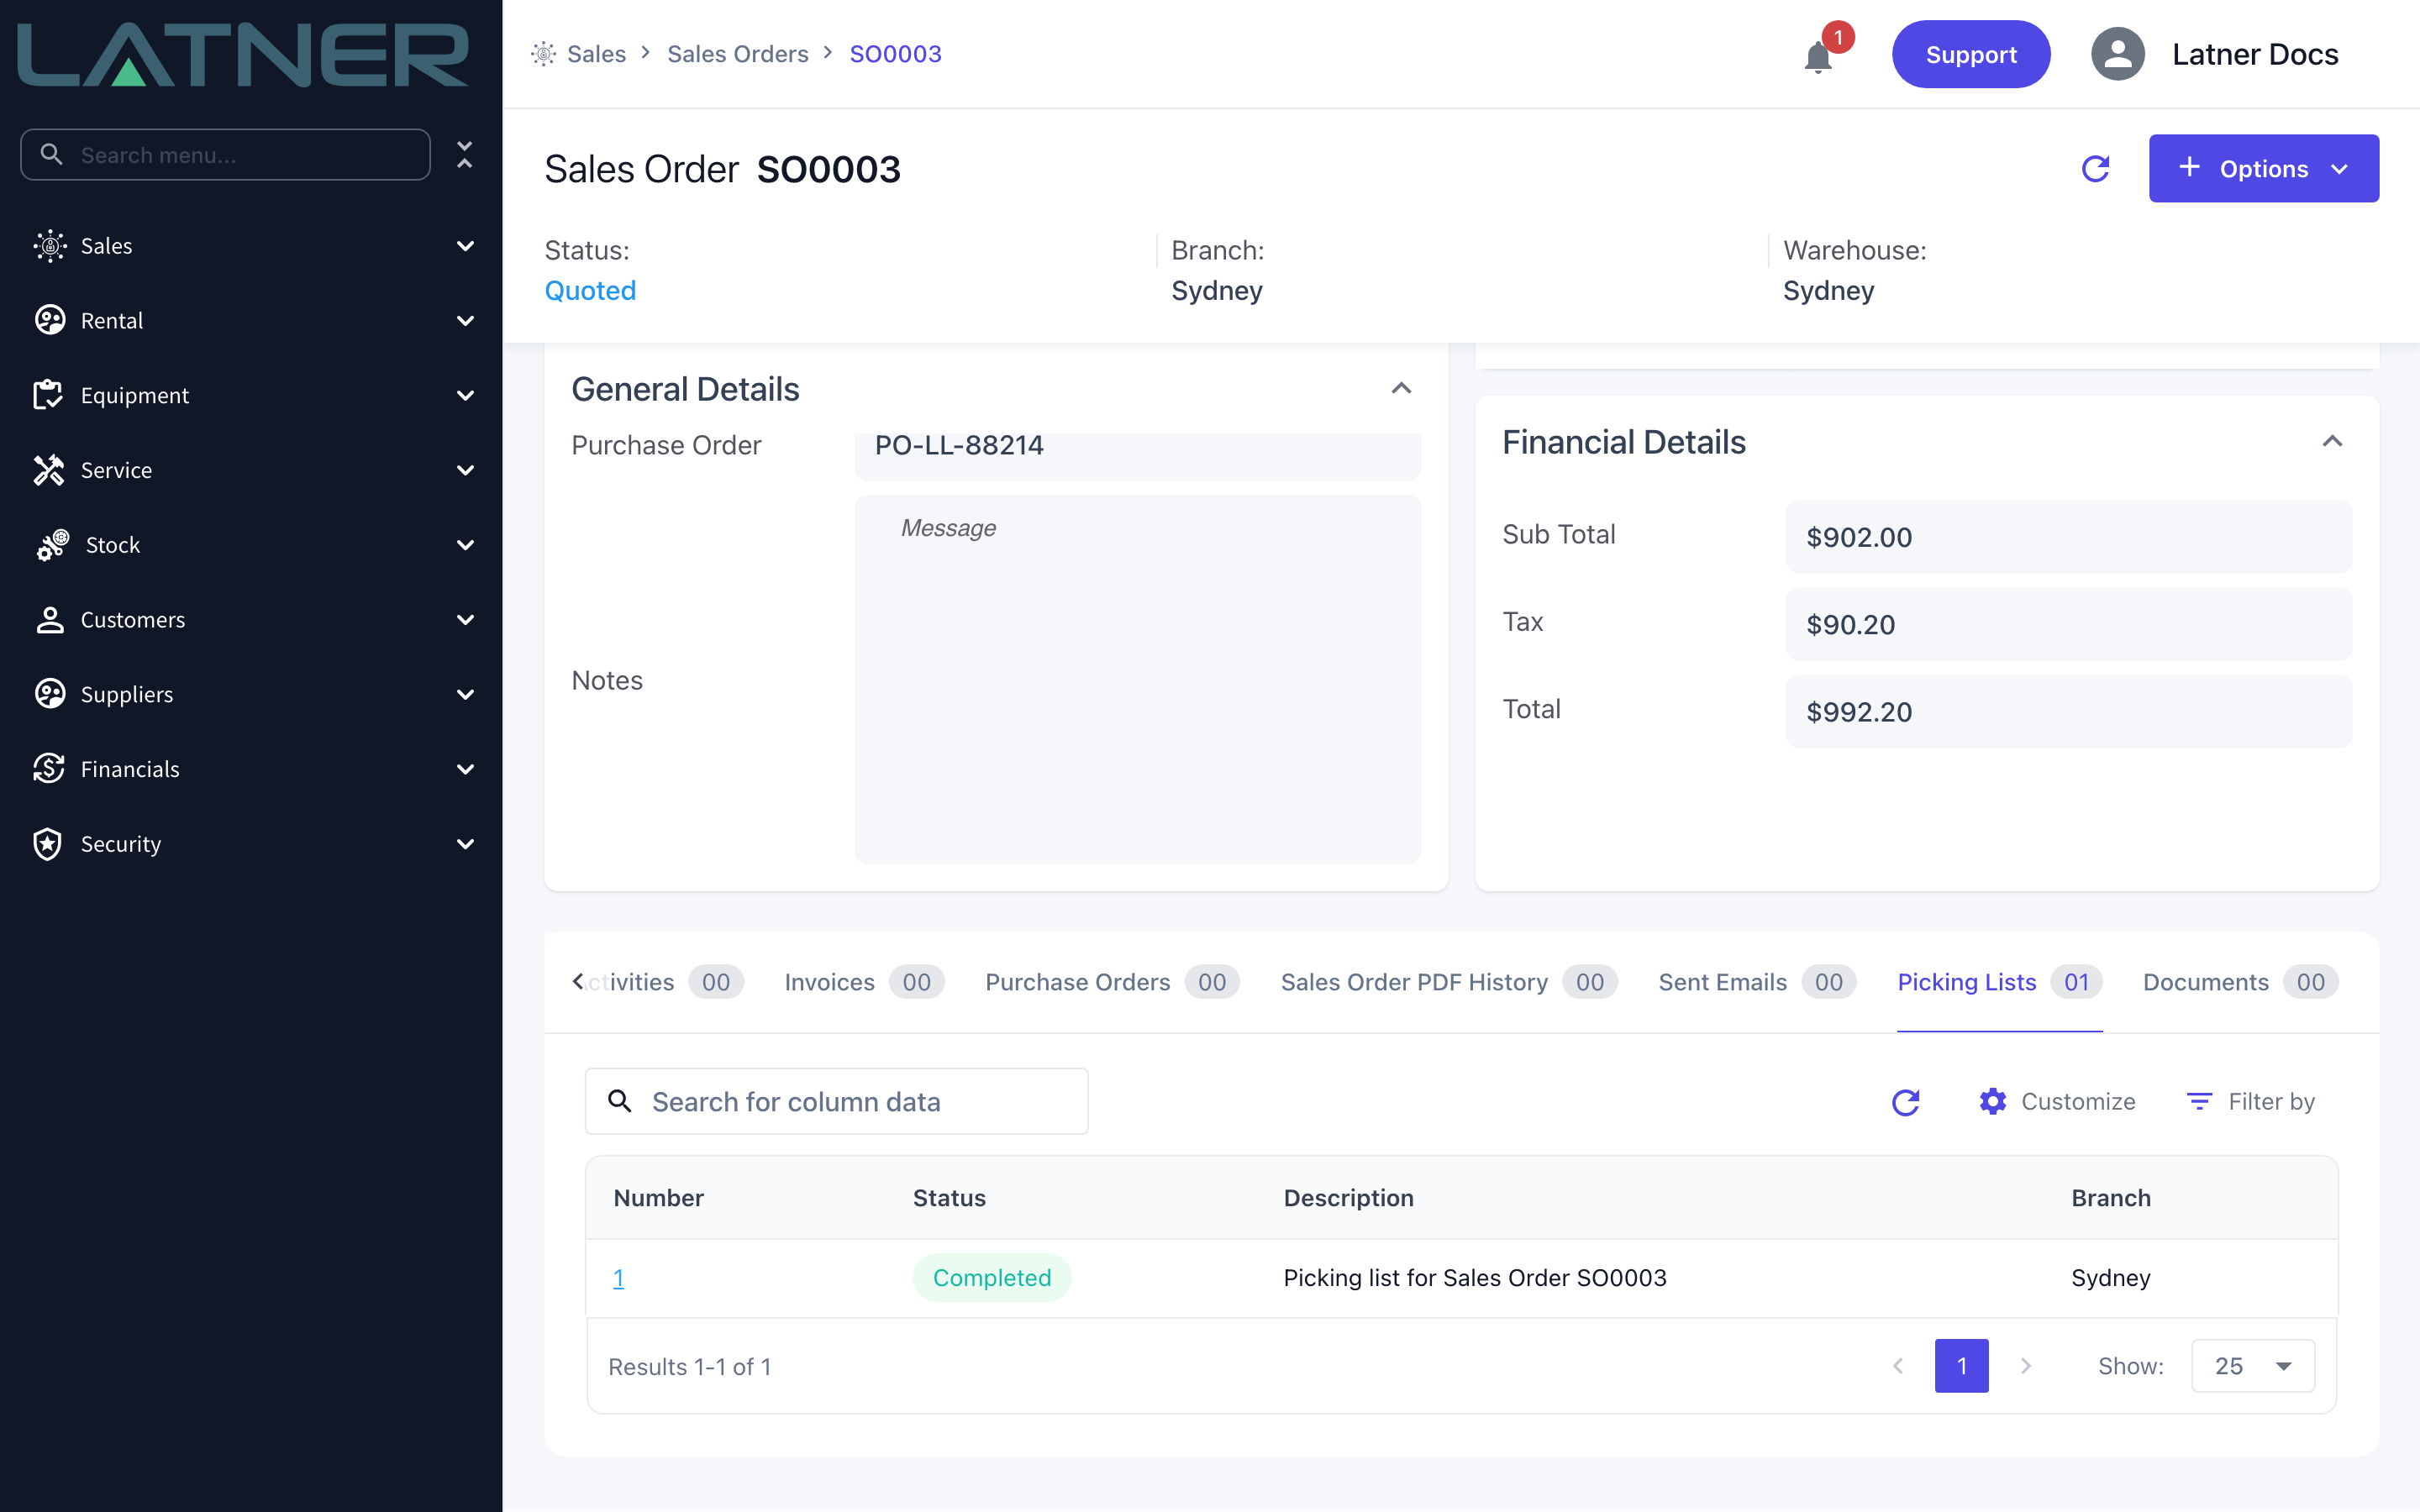
A Completed Picking List can't be reopened or reversed. If the picker can't find the stock, or the wrong lines went on the list, use Options › Cancel Picking List before completing it - cancelling puts every line on it back to Unpicked so you can raise a fresh list.
FAQs
Watch the Demo
Prefer to watch it? Step through the same flow here.